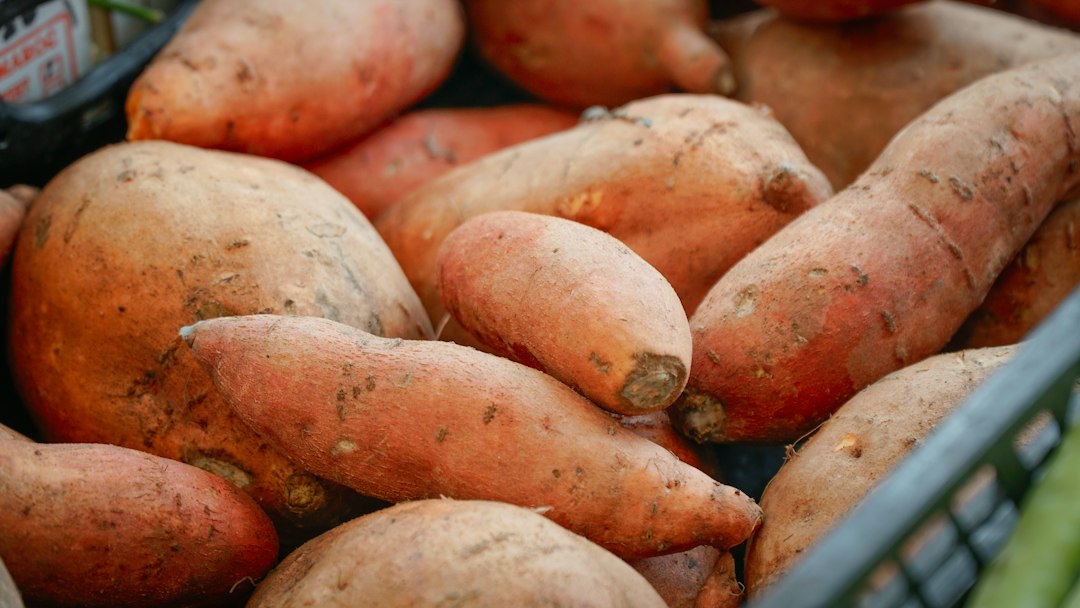
Sweet potatoes (Ipomoea batatas) are a vining root crop in the morning glory family, grown for their sweet, starchy tuberous roots rather than true potatoes, which belong to an unrelated plant family entirely. In most of Kentucky they grow as a tender annual, since frost kills the vines outright. You plant them from rooted cuttings called slips rather than seed, and in return you get a sprawling, leafy vine that doubles as attractive ground cover through summer. Growing sweet potatoes is easy once the weather warms, making this a forgiving crop for a first-time root grower, though the plant does need a long, warm season to size the tubers up properly.
Sowing and planting
Sweet potatoes aren't started from seed in most home gardens. Instead you plant slips, which are rooted shoots grown from a sprouted tuber. You can grow your own by suspending a tuber half in water until shoots form and root, or buy slips ready-grown from a nursery or mail-order supplier.
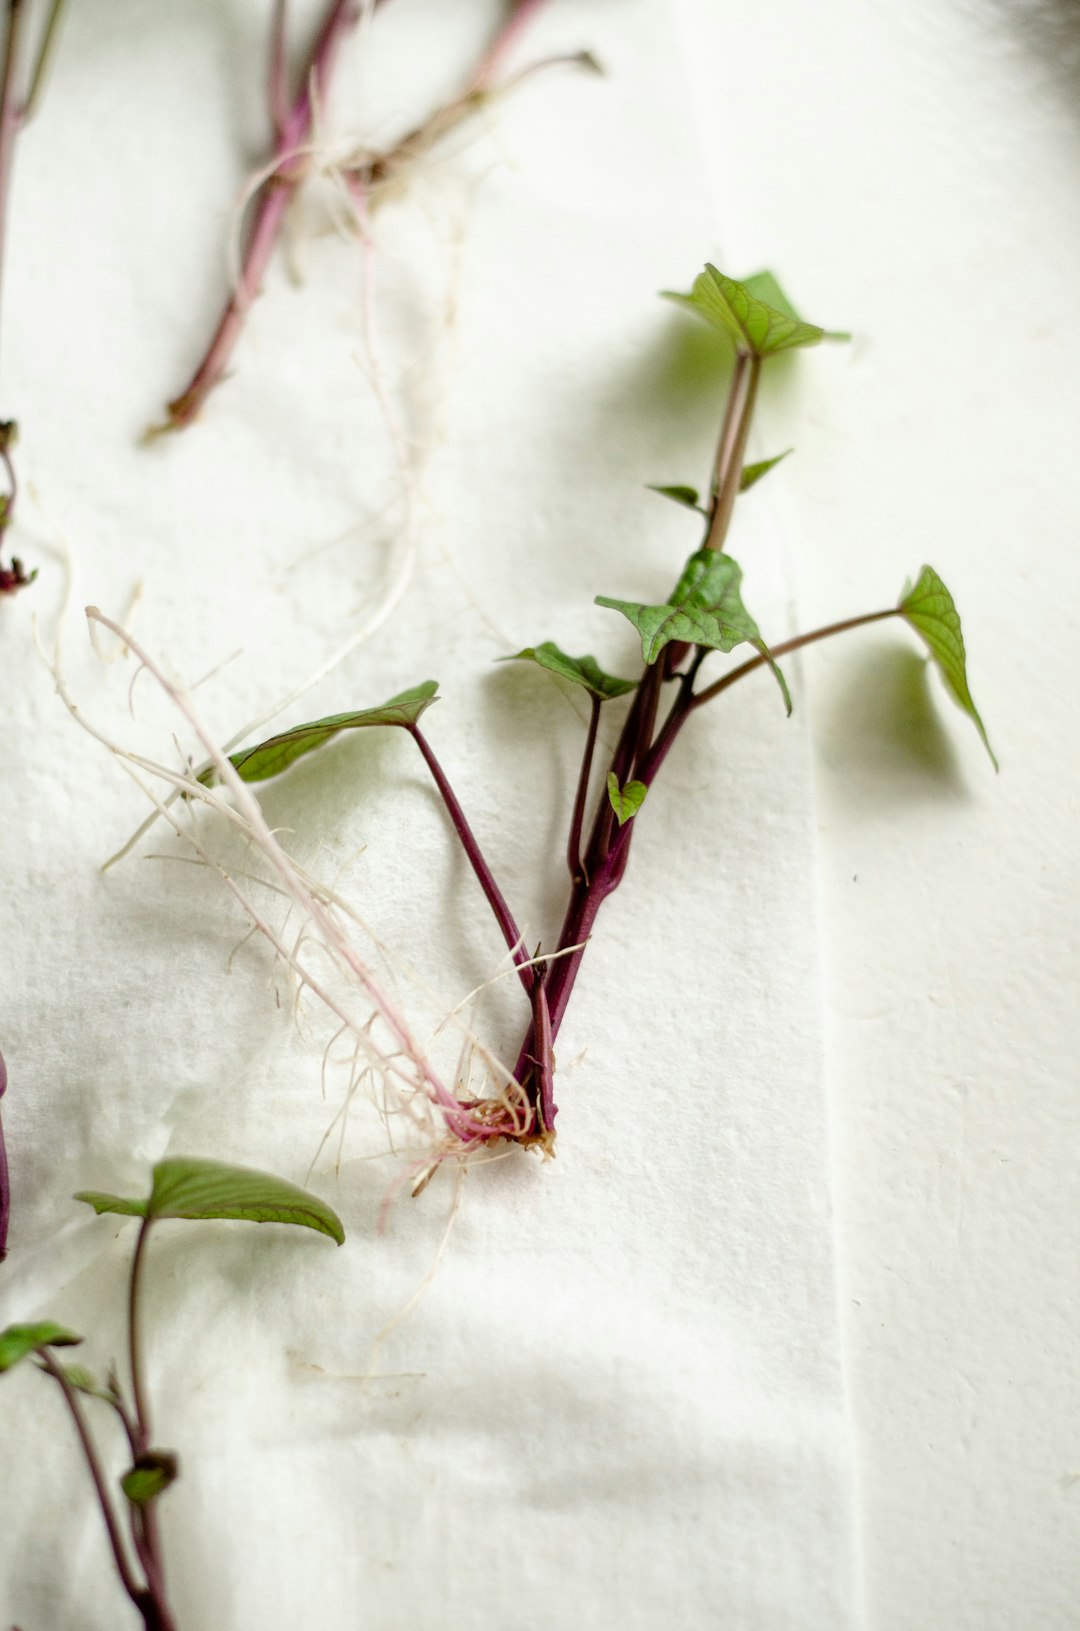
Wait until the soil has warmed and all danger of frost has passed before planting out; in zone 6b that usually means late May into early June. Cold, wet soil rots slips before they take hold, so there's no benefit to rushing. Plant each slip about 4 inches (10 cm) deep, burying the stem up to its topmost leaves, and space plants 12 inches (30 cm) apart, with rows 3 to 4 feet (90 to 120 cm) apart to leave room for the vines to sprawl. Mounding the soil into a low ridge before planting improves drainage and gives the tubers loose soil to expand into. Water well immediately after planting to settle the soil around the roots.
Growing on
Water deeply once or twice a week for the first few weeks while slips establish, then ease off once the vines are growing strongly; sweet potatoes tolerate a short dry spell better than soggy soil, and too much water late in the season encourages leafy growth at the expense of the roots. Feed sparingly: a fertilizer high in nitrogen produces lush vines and small tubers, so a balanced or low-nitrogen feed worked into the soil at planting time, with at most a light top-up mid-season, usually suits the crop better.
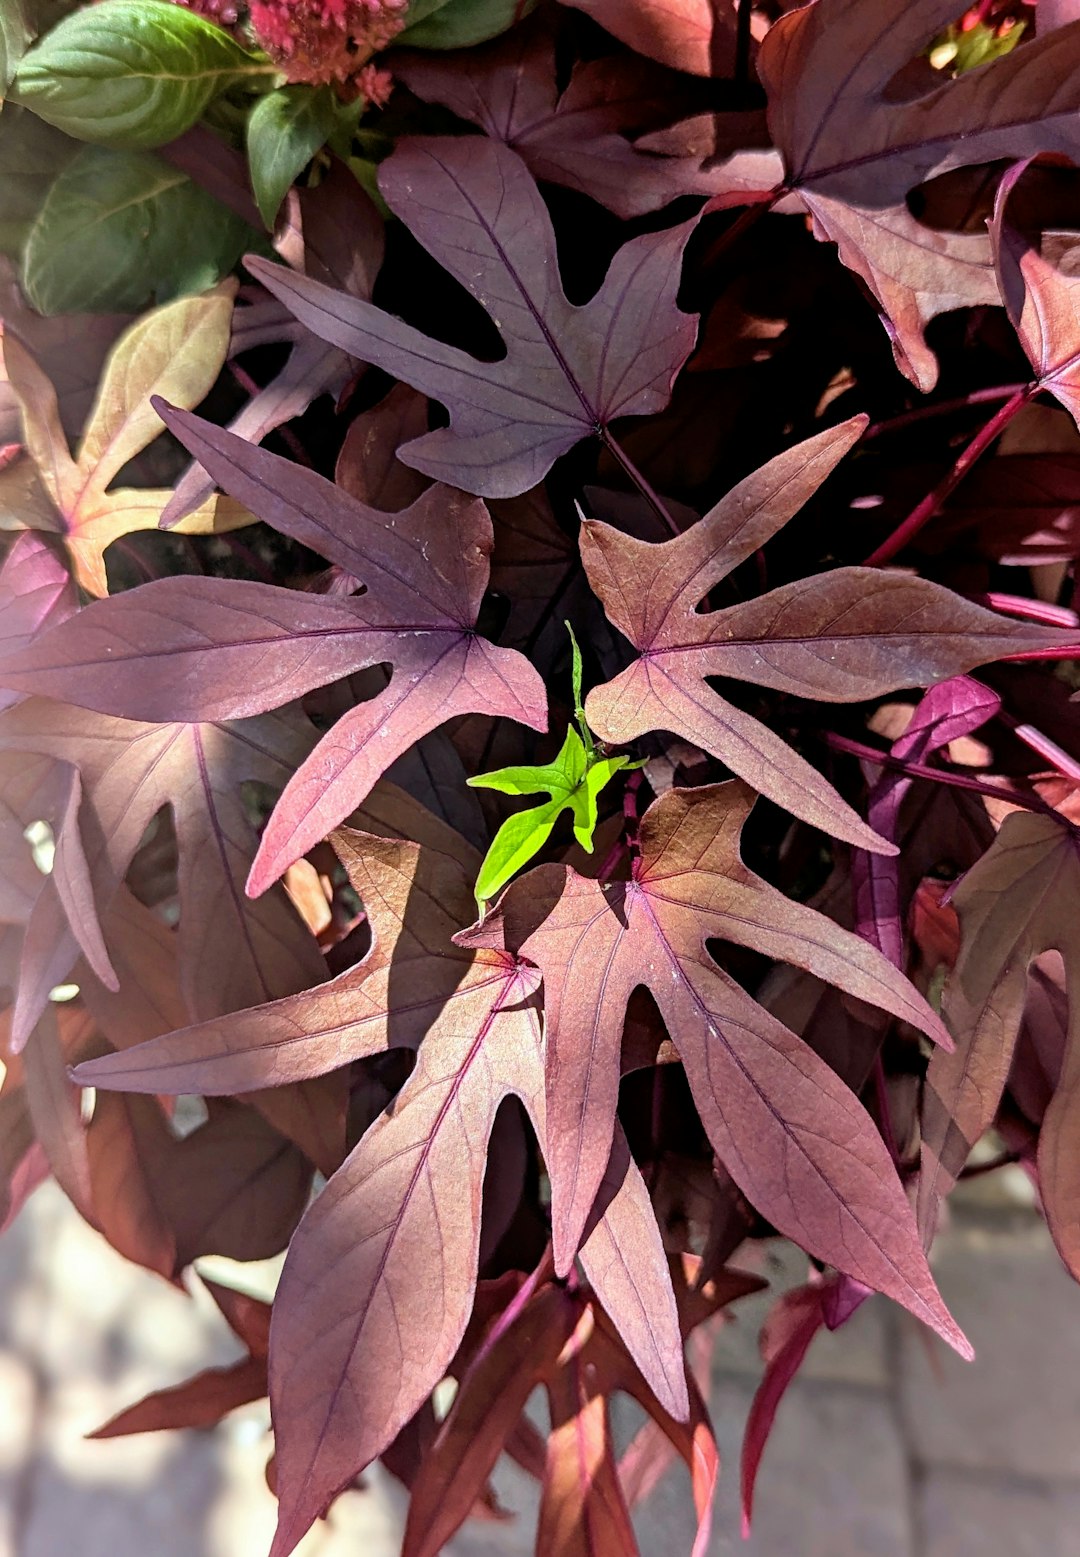
Sweet potato vines need no staking or support; they sprawl along the ground and root at the leaf nodes as they travel. If you're short on space, you can train a vine up a trellis instead, tying it in loosely as it climbs. Pinching back wandering vine tips keeps the plant within its bed and can help direct energy into the tubers rather than more foliage, though it isn't essential. Weed while the vines are still small; once established, the foliage shades out most competition on its own.
Harvesting
Tubers are usually ready once they've had their full 90 to 120 days, or when the leaves begin to yellow, whichever comes first. Dig before the first frost: frost blackens the foliage, and cold can taint the tubers' flavor even where the roots themselves survive underground a little longer. Loosen the soil well away from the base of each plant with a garden fork, then lift the tubers by hand; sweet potato skin bruises and scratches easily at this stage, and bruising shortens how long the crop stores.
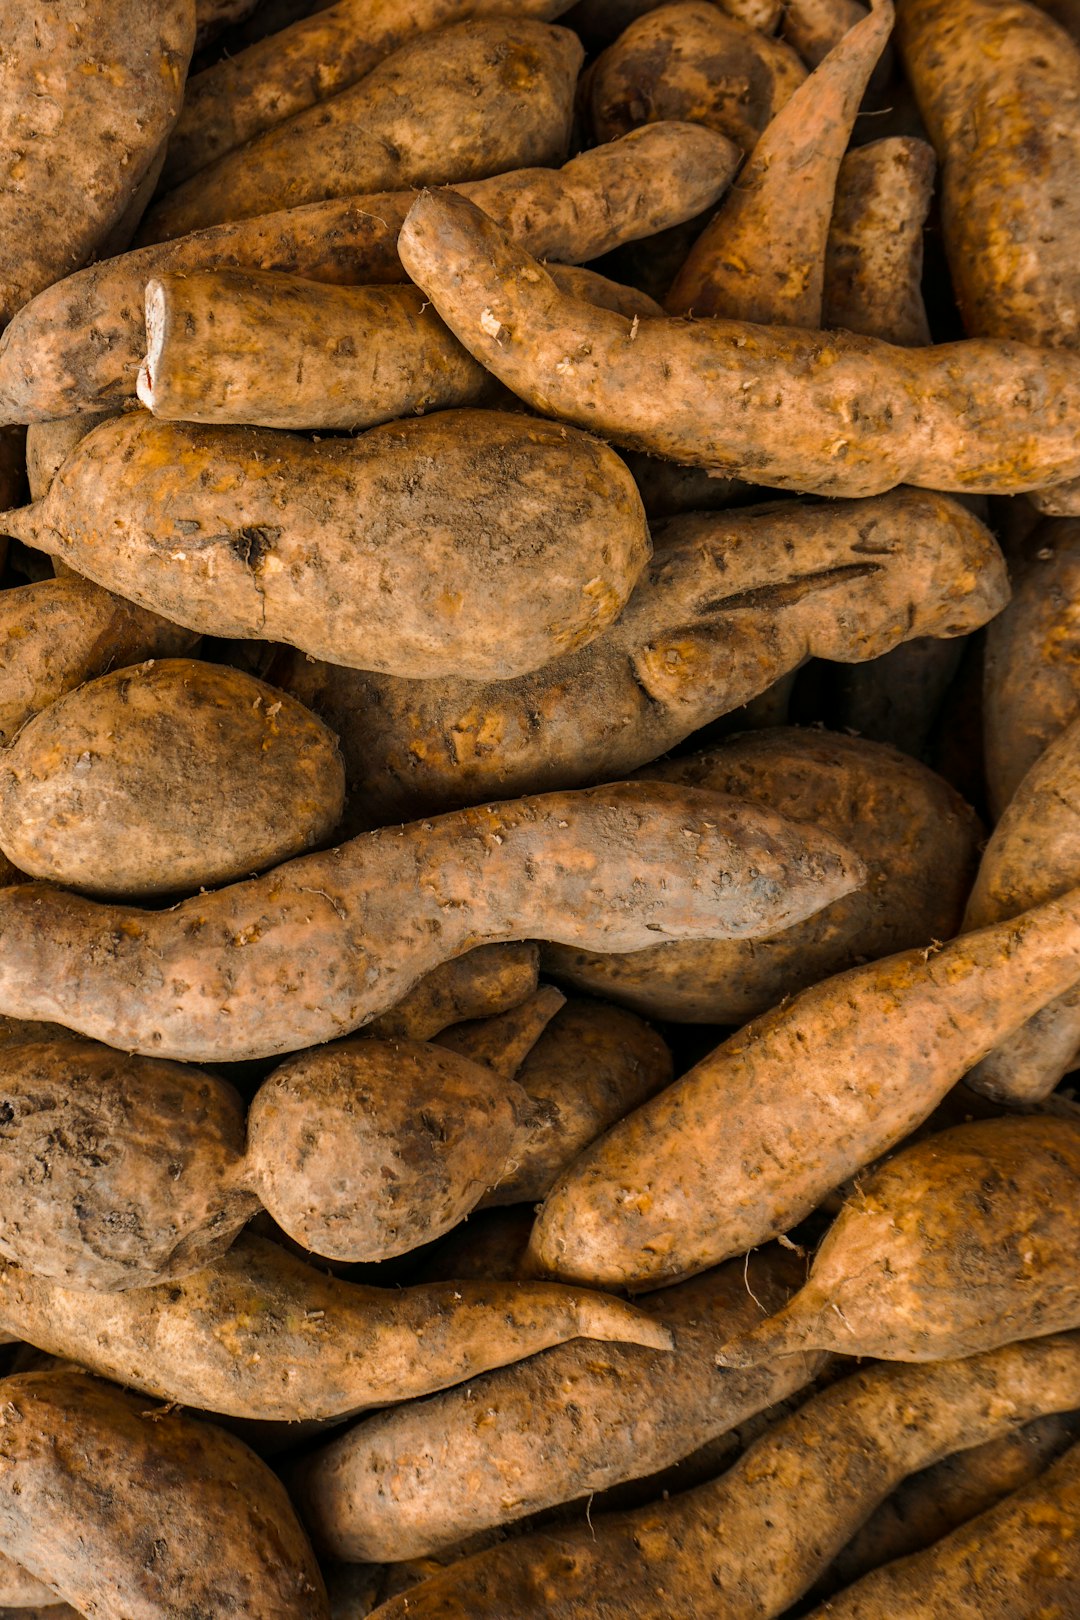
After digging, cure the tubers rather than eating or storing them straight away: lay them in a warm, humid spot, around 80°F (27°C), for 7 to 10 days. Curing heals small cuts in the skin and converts some of the tubers' starch to sugar, improving both storage life and flavor. Once cured, store them somewhere cool and dry, but never refrigerate raw sweet potatoes, since cold temperatures damage them and spoil the flavor.
Problems and pests
Holes tunneled through the tubers
Wireworms, the larvae of click beetles, tunnel into developing tubers underground, leaving narrow holes you often don't notice until harvest. They're usually worse in ground recently converted from lawn. Rotate root crops away from the same bed each year, and turn the soil over in late autumn to expose larvae to birds and cold.
Tubers gnawed or missing at harvest
Voles and other rodents tunnel in from the soil surface and chew into tubers before you dig them. A layer of hardware cloth buried around the bed helps more than any spray. Harvesting promptly once the crop is ready also limits the time tubers sit exposed underground to rodent damage.
Soft, dark patches on stored roots
Black rot and other storage fungi enter through cuts and bruises and show up as sunken, discolored patches days or weeks after digging. Handle tubers gently at harvest, cure them properly before storage, and discard any with soft spots rather than storing them alongside sound roots.
Small, ragged holes in the leaves
Flea beetles chew tiny shot-holes in the foliage, especially on young plants. Established vines usually outgrow the damage without any treatment needed. If an infestation is heavy on young slips, a floating row cover (a lightweight fabric laid over the bed) placed over the plants at planting keeps the beetles off until growth is strong.
Vines grow lush but tubers stay small
This is usually a feeding or timing issue rather than a pest: too much nitrogen, too much water late in the season, or too short a growing season all push the plant toward leaves instead of roots. Ease off high-nitrogen feeding, let the soil dry out a little between waterings once vines are established, and choose a variety suited to your season length.
Varieties worth growing
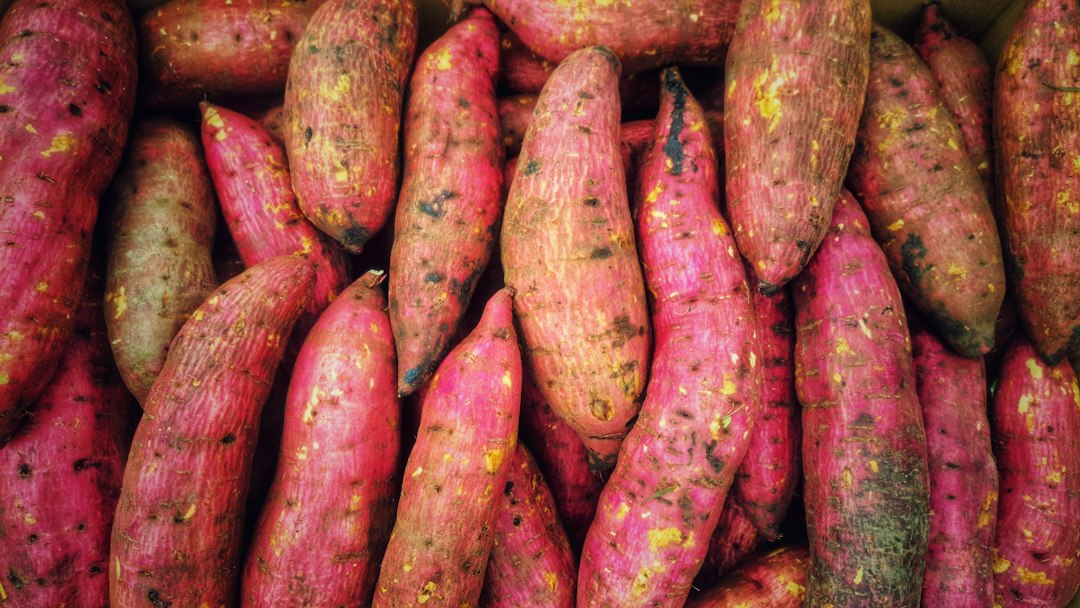
- Beauregard – A widely grown, reliable variety with orange flesh and a relatively short season, well suited to gardens with a shorter frost-free stretch.
- Georgia Jet – Matures quickly and produces heavily, with sweet, moist orange flesh.
- Covington – A popular variety with smooth rose-colored skin and orange flesh.
- Vardaman – A compact, bush-type vine that suits smaller gardens and large containers, with golden-orange flesh.
- Porto Rico – An older bush-type variety that takes up less space than sprawling vines while still producing well.