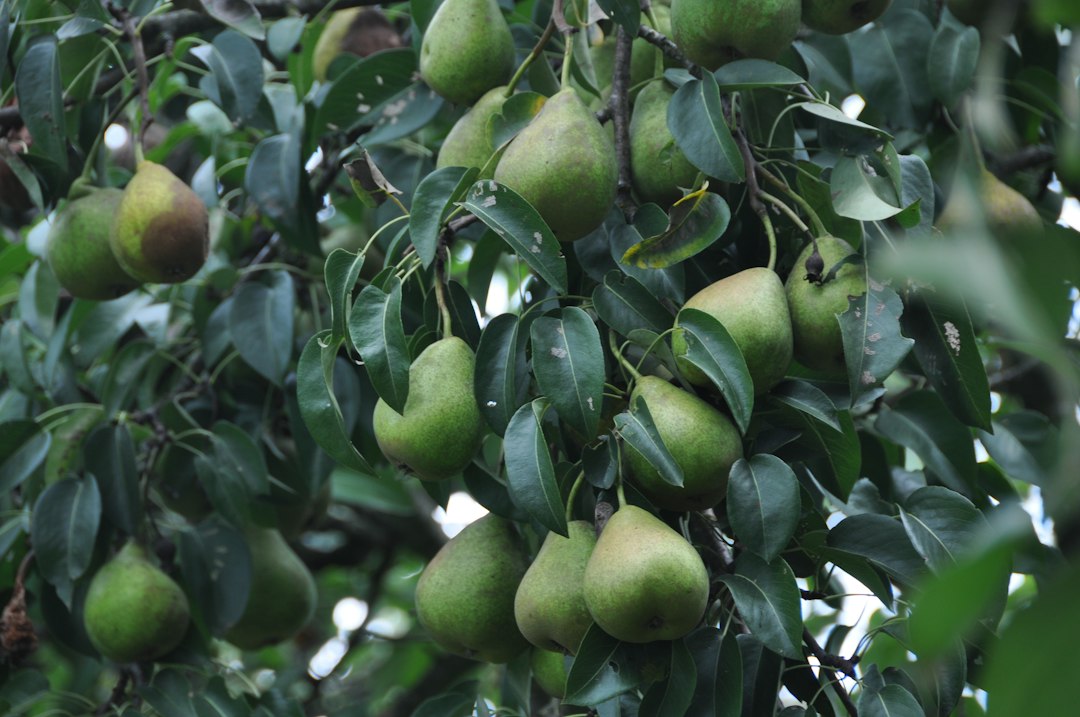
The European pear (Pyrus communis) is a long-lived, deciduous fruit tree in the rose family, grown for sweet, juicy fruit and a generous show of spring blossom. It suits a gardener willing to plan ahead: trees take a few years to reach bearing age and need a second variety nearby to set fruit, but once established they crop reliably for decades with modest upkeep. Difficulty is moderate — the main skill isn't growing the tree but picking the fruit at the right moment, since pears ripen differently from almost every other tree fruit.
Sowing and planting
Pears are planted as a young bare-root or potted tree, not grown from seed — seed-grown trees are slow, unpredictable, and rarely resemble the parent variety. Buy a one- or two-year-old tree from a nursery or garden center, grafted onto a rootstock suited to your space (a dwarfing rootstock keeps the tree smaller and easier to manage; a standard rootstock produces the full-size tree the spacing above assumes).
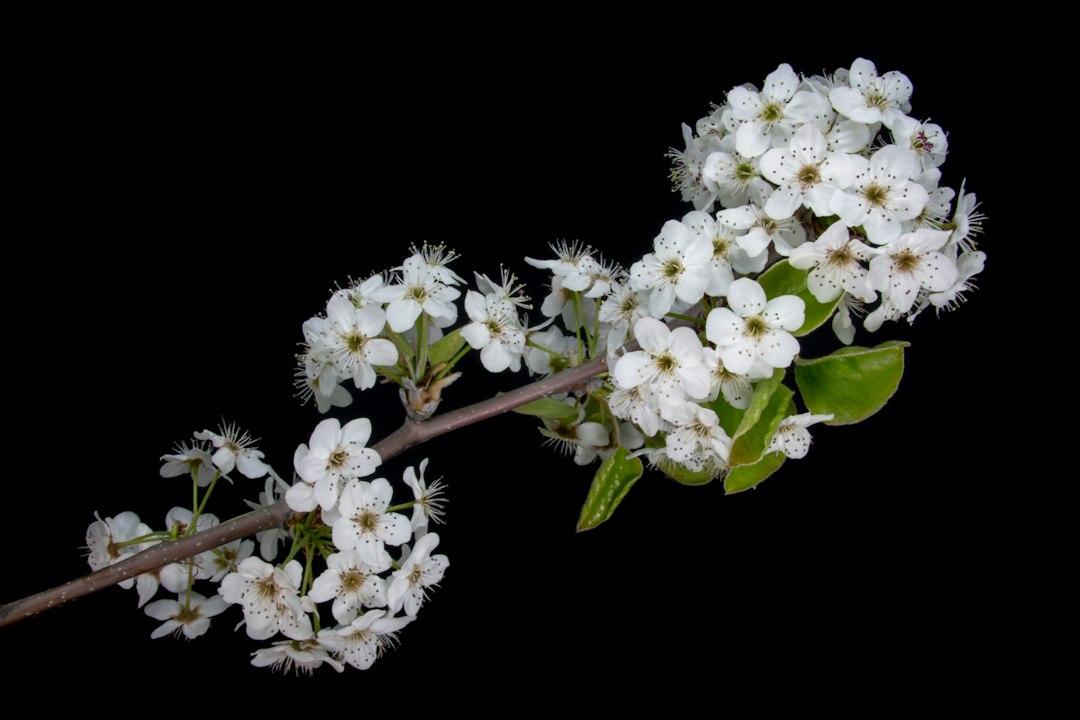
Most pear varieties need a pollinator: a second, different pear variety planted nearby, since a single tree on its own usually sets little or no fruit. Check that the two varieties you choose bloom at overlapping times, and favor fire-blight-resistant varieties where you can (see Varieties worth growing below) — fire blight is a common, serious bacterial disease of pears in many areas.
Plant in full sun, in well-drained soil, spacing standard trees about 240 inches (600 cm) apart; a dwarf tree can go much closer, so check the rootstock label. In zone 6b, plant bare-root trees in early spring while they're still dormant, as soon as the ground can be worked; potted trees can go in anytime from spring through early fall, avoiding the hottest weeks of summer. Dig a hole as deep as the root ball and at least twice as wide, spread the roots out, and set the tree at the same depth it grew at before — the graft union (the swollen point where the variety meets the rootstock) should sit a couple of inches above the soil line. Water in thoroughly and stake young trees on an exposed site.
Growing on
Water newly planted trees regularly through their first one to two summers while roots establish, favoring deep, infrequent watering over little and often. Once established, pear trees tolerate some dryness, but even moisture during fruit development — roughly 1 inch (2.5 cm) a week in the absence of rain — helps the fruit size up well.
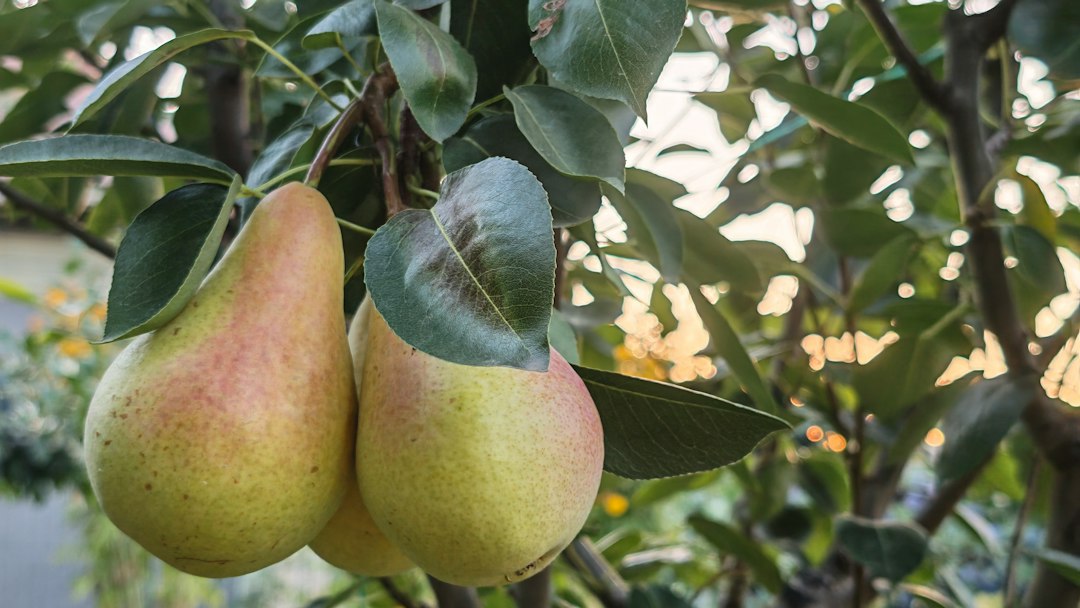
Feed lightly in early spring with a balanced fertilizer, following the product's rate for a young tree. Mature, cropping trees usually need little beyond a yearly mulch of compost, since heavy feeding, particularly high nitrogen, pushes soft, lush growth that's more vulnerable to fire blight.
Train young trees to an open, balanced framework of three to five main branches over their first few winters, removing any crossing, damaged, or inward-growing branches while the tree is dormant. Once the framework is set, prune lightly each winter to keep the center open to light and air, and cut out any vigorous upright shoots (watersprouts) that crowd the canopy. Avoid heavy pruning in summer, since fresh cuts made in warm, wet weather give fire blight an easy way in.
Harvesting
Pears are unusual among tree fruit: you pick them underripe and let them finish ripening off the tree, rather than waiting for them to ripen on the branch. Left in place, most European pear varieties turn grainy and mealy at the core before the flesh properly softens, so timing the pick by feel rather than by taste gives a far better result. This is the single most important thing to get right with pears.
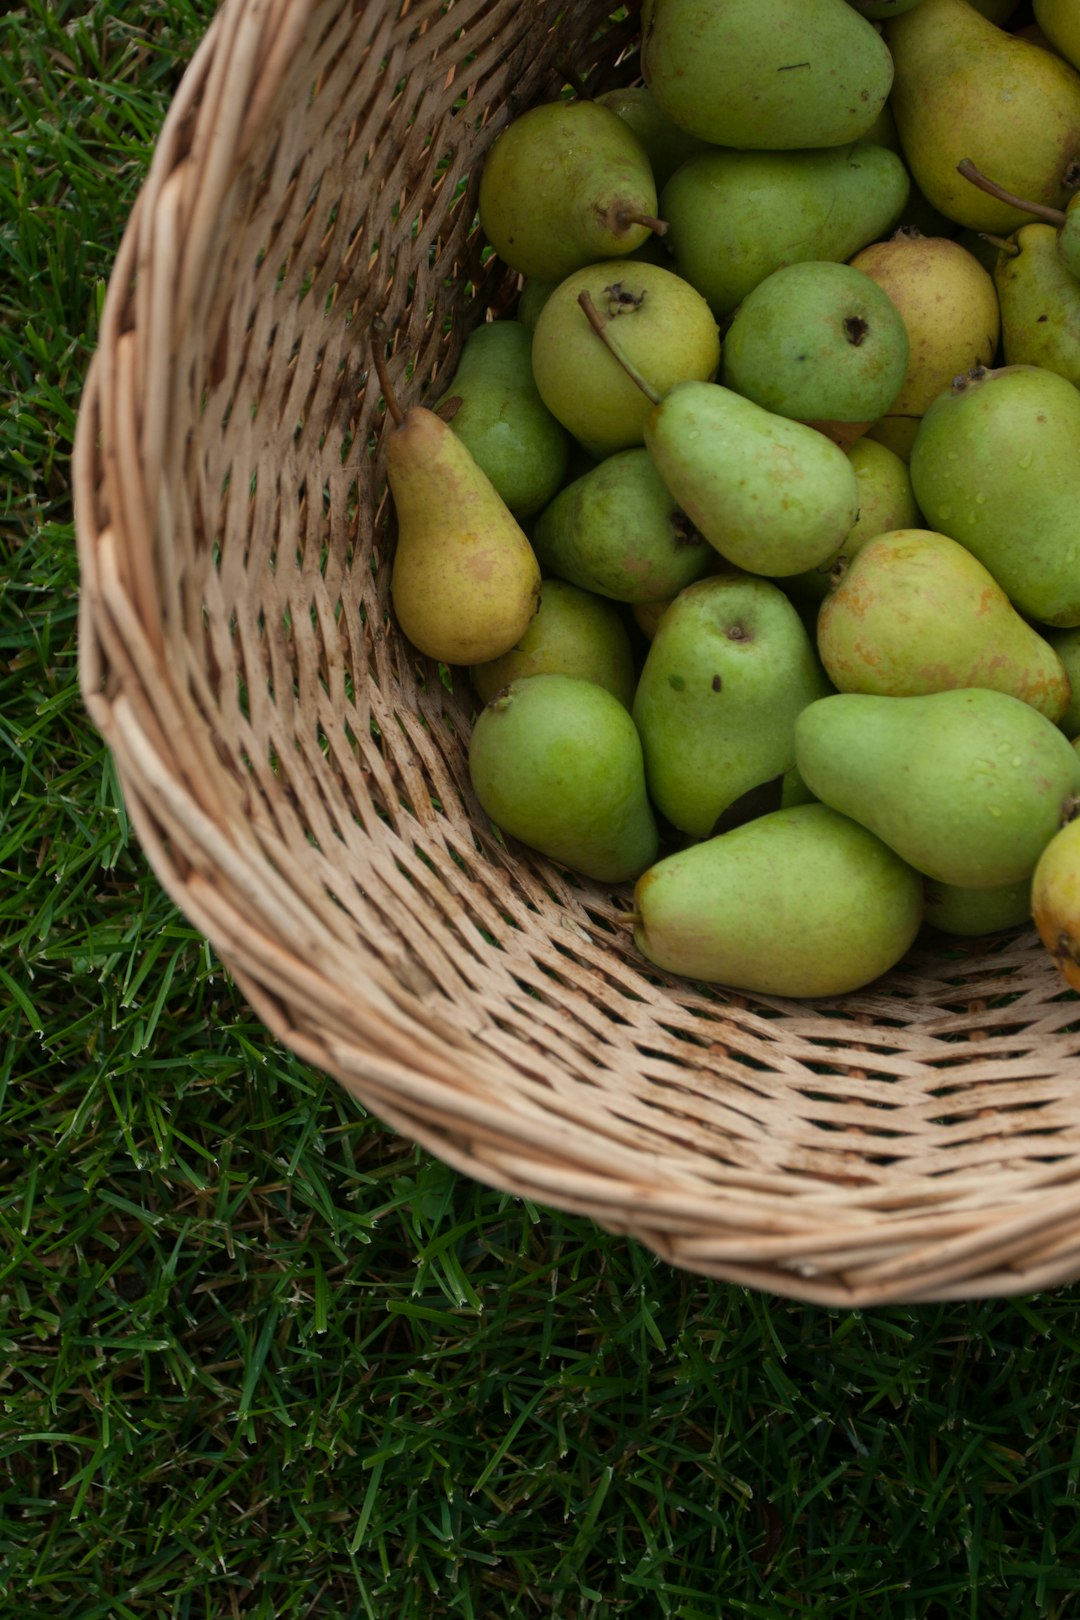
A pear is ready to pick once it has reached full size and its background color has just started to lighten, but while it is still firm to the touch. The reliable test is to cup the fruit in your hand, tilt it to horizontal, and give it a gentle lift-and-twist: a pear that's ready parts from the spur (the short woody stub it grows on) easily, with little resistance. If it resists and you have to tug, leave it on the tree a few more days and try again.
Once picked, ripen pears at room temperature out of direct sun; depending on the variety and the temperature, most take anywhere from a few days to two weeks. Check daily — a ripe pear yields slightly to gentle pressure near the stem end. For a longer season, move some of the picked fruit to a cold, dark spot such as a refrigerator or cool cellar and bring batches out to ripen a few at a time, which spreads the harvest over several weeks instead of all at once.
Problems and pests
Leaves, blossom, and shoot tips blacken and shrivel as if scorched
Fire blight, a bacterial disease, is the most serious threat to pears and spreads fast in warm, wet weather, especially during bloom. Affected shoots often curl into a distinctive "shepherd's crook" shape. Cut out infected wood well below the visible damage — at least 8-12 inches (20-30 cm) into healthy wood — disinfecting pruning tools with diluted bleach or alcohol between cuts. Avoid heavy nitrogen feeding and summer pruning, both of which encourage the soft growth the bacteria spreads through fastest, and choose resistant varieties as the best long-term defense.
Small holes in developing fruit, with tunnels and frass (insect droppings) inside
Codling moth larvae tunnel into fruit, usually entering near the blossom end or where two fruits touch each other. Hang pheromone traps in spring to monitor activity and time any control measures, bag individual young fruit in small mesh or paper bags, and clear up fallen fruit promptly, since larvae overwinter in debris nearby.
Leaves show yellow mottling and a sticky residue, sometimes with black sooty mold
Pear psylla, a small sap-sucking insect, feeds on leaves and shoots and excretes a sticky substance called honeydew that sooty mold then grows on. Encourage natural predators such as ladybugs and lacewings, apply horticultural oil in late winter before buds break to smother overwintering eggs, and avoid excess nitrogen feeding, which makes new growth more attractive to the insect.
Dark, scabby spots develop on leaves and fruit skin
Pear scab, a fungal disease, favors cool, wet spring weather and overwinters in fallen leaves. Rake up and dispose of fallen leaves in autumn, prune to improve airflow through the canopy, and choose scab-resistant varieties where fire blight resistance allows.
Varieties worth growing
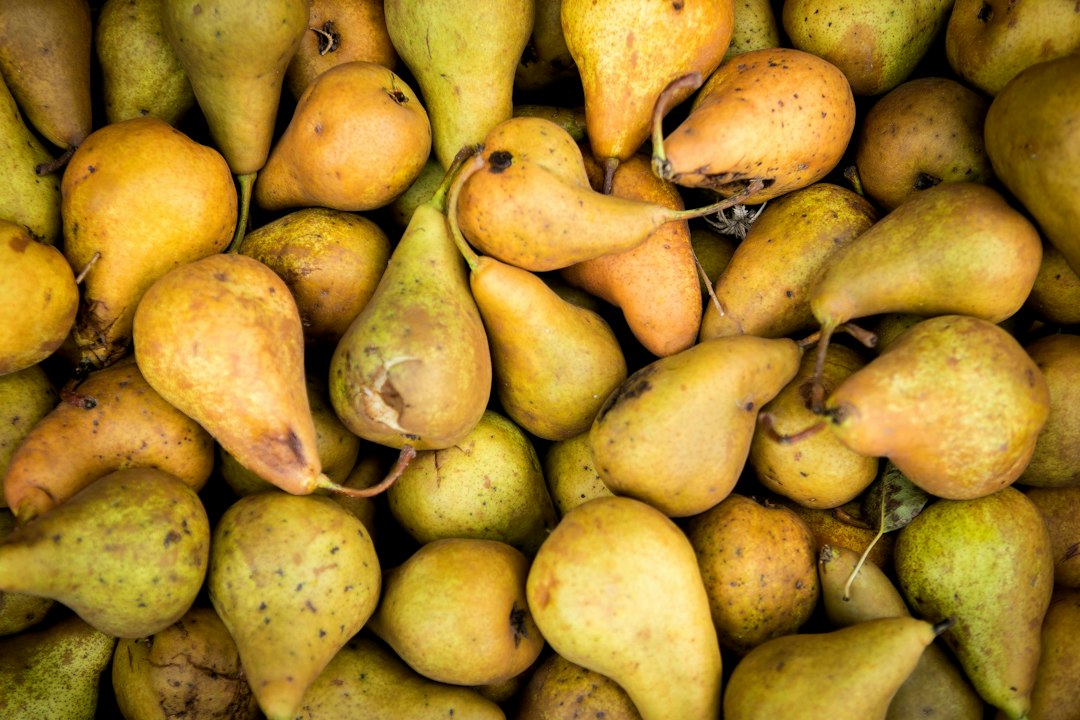
- Moonglow – an early-season, reliable cropper with good resistance to fire blight; a popular first choice and pollinator partner for other varieties.
- Magness – excellent sweet, smooth-textured fruit and strong fire blight resistance, but a poor pollinator itself, so plant it alongside two other varieties rather than relying on it to pollinate a second tree.
- Kieffer – an old, exceptionally tough variety with good fire blight resistance; the fruit is grainier than dessert pears, but the tree is dependable even on difficult sites.
- Orient – vigorous and fire-blight resistant, producing large, round fruit often used for canning as much as fresh eating.
- Bartlett – the classic, most widely grown pear in the US for its buttery texture and flavor, though it is notably susceptible to fire blight, so site and watch it carefully.