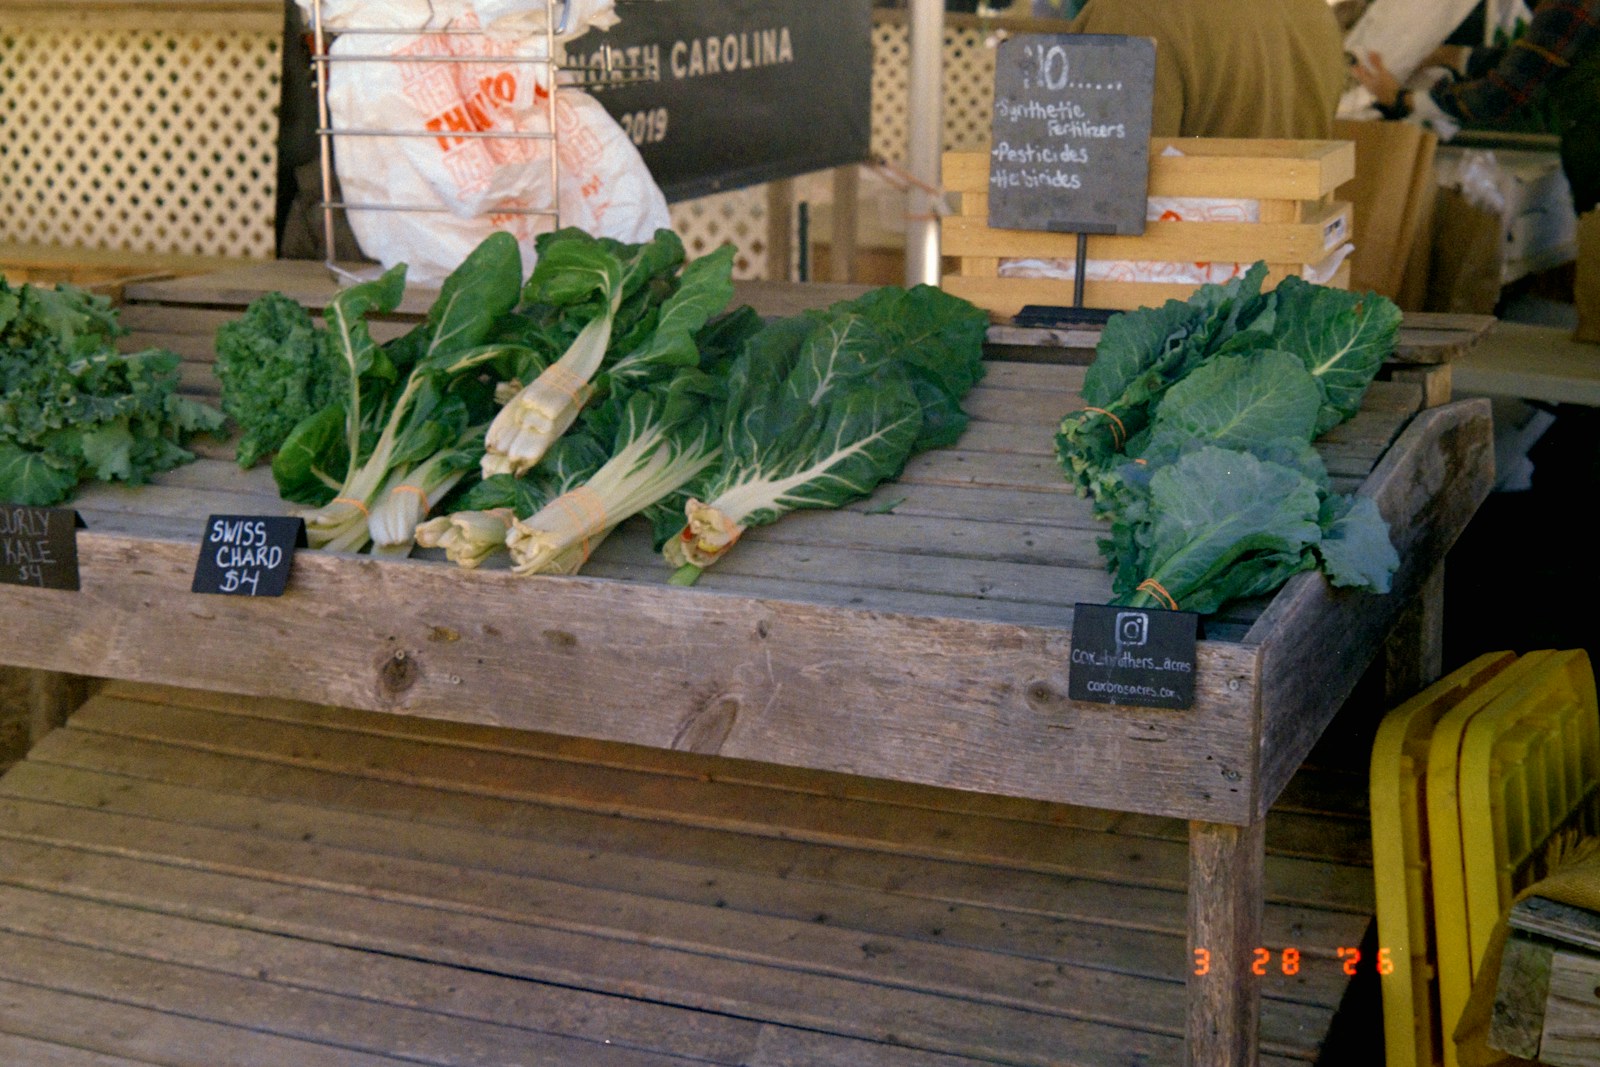
Collard greens are a loose-leaved member of the cabbage family, grown for their broad, smooth, blue-green leaves. They cope with summer heat better than most leafy brassicas, and a touch of frost makes the leaves sweeter. One planting keeps producing for months if you pick from the bottom up. They are easy for beginners, provided you keep caterpillars off them.
Sowing and planting
Collards give you two main windows: a spring crop and a fall crop. The fall crop is usually the better one, because cooling weather sweetens the leaves and pest pressure drops.
For a spring crop, sow indoors four to six weeks before your last frost. Sow two or three seeds per cell, 1/4 inch (6 mm) deep, and thin to the strongest seedling. Keep the trays at around 70°F (21°C) until they sprout, which takes five to ten days. Then grow them on cooler, near 60°F (16°C), in bright light to keep them sturdy.
Harden off the seedlings (get them used to sun, wind and cooler nights) over seven to ten days. Plant them out two to three weeks before your last frost. Young collards handle a light frost once hardened off.
You can also sow directly outdoors from about three weeks before your last frost, once the soil reaches 45°F (7°C). Sow thinly in rows and thin in stages to the final spacing. Eat the thinnings as baby greens.
For a fall crop, count back 10 to 12 weeks from your first expected fall frost. Sow then, either in a shaded seed bed or directly in the row. In hot regions, give seedlings afternoon shade until they establish. In USDA zones 8 to 10, you can sow in late summer and pick right through the mild winter.
Plant transplants slightly deeper than they sat in the pot, up to the first true leaves. This steadies the stem. Firm the soil and water well.
Succession sowing is rarely needed. A single well-grown plant keeps producing for many weeks. A small second sowing in midsummer, though, gives you a fresh, vigorous fall row.
Growing on
Watering. Water deeply once or twice a week rather than a little every day. Aim for about 1 to 1.5 inches (2.5 to 4 cm) a week, including rain. Dry spells make leaves tough and bitter.
Feeding. Collards are leafy and hungry. Work 2 to 3 inches (5 to 8 cm) of compost into the bed before planting. Side-dress (apply fertiliser in a band beside the row) with compost or a balanced organic feed about four weeks after planting. Repeat every four to six weeks during heavy picking. Nitrogen drives leaf growth, but too much makes soft, pest-prone leaves.
Mulching. Once the soil has warmed, lay 2 to 3 inches (5 to 8 cm) of straw or shredded leaves around the plants. Mulch keeps roots cool and moist and holds down weeds. Keep it an inch (2.5 cm) clear of the stems.
Support. Collards rarely need staking. Tall, overwintered plants can lean in wind. Mound soil around the base, or push in a single stake if your site is exposed.
Pinching and tidying. Pull off yellowing lower leaves as they appear. This improves airflow and removes hiding places for pests. Do not cut out the central growing tip unless you are finishing the crop; the tip makes all the new leaves.
Companions. Aromatic herbs such as dill, thyme and chamomile may help draw beneficial insects. Keep collards out of beds where other cabbage-family crops grew in the last three years. This rotation helps prevent soil-borne disease.
Harvesting
Start picking once plants have eight to ten good-sized leaves. Choose leaves that are 10 to 12 inches (25 to 30 cm) long, dark green and firm. Younger leaves are more tender. Very large old leaves turn tough.
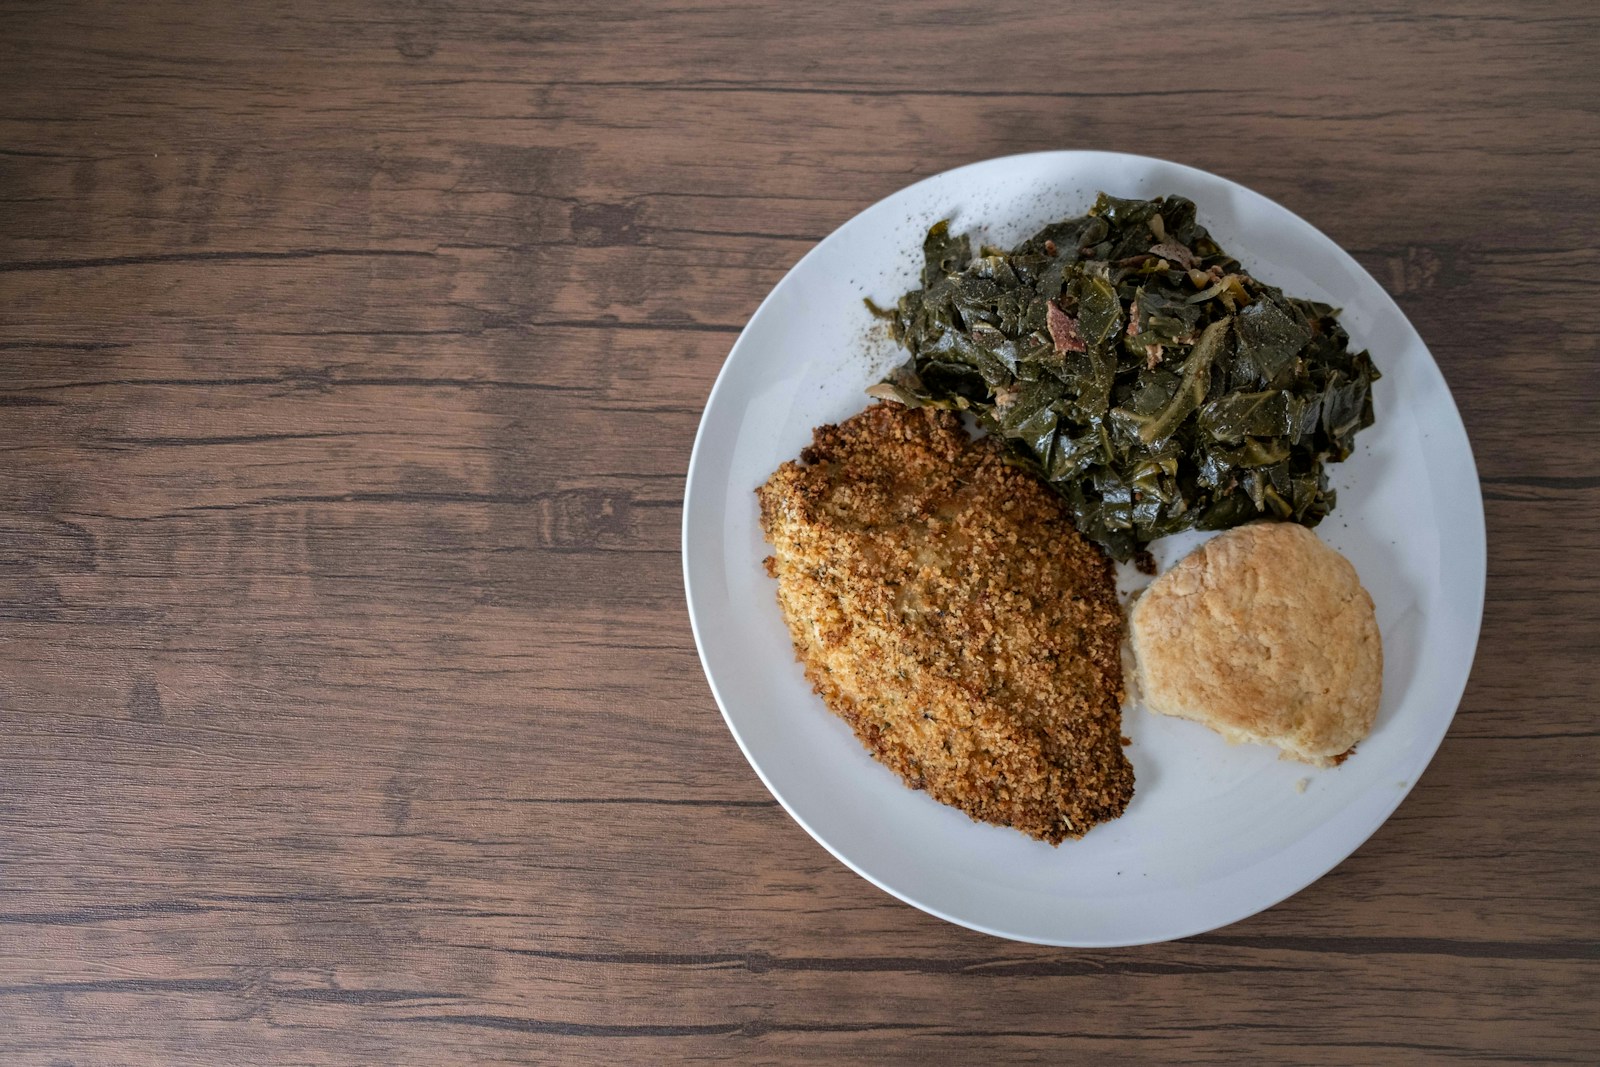
Harvest from the bottom of the plant upward. Snap or cut each leaf where it meets the main stem. Leave at least five or six leaves at the top so the plant keeps growing. Handled this way, one plant yields for many weeks.
Flavour is best after a light frost, which converts some starch in the leaves into sugar. Pick in the cool of the morning when the leaves are crisp.
If you prefer to clear a plant at once, cut the whole head at ground level. Young whole plants cook quickly and taste mild.
Storage. Rinse the leaves, shake them dry and store them loosely wrapped in a bag in the fridge. They usually keep for a week or so. For longer storage, blanch the leaves in boiling water for about three minutes. Cool them in ice water, drain and freeze.
Saving seed. Collards flower in their second spring after a winter outdoors. They cross readily with kale, cabbage, broccoli and other Brassica oleracea crops. Only save seed if nothing else in that group flowers nearby at the same time. Let the pods dry to brown on the plant before you collect them.
Problems and pests
Cabbage caterpillars can strip a row of collards in a week. Check the undersides of leaves every few days from planting, and cover young plants with fine insect netting before the white butterflies arrive.
Leaves full of ragged holes and green droppings
Imported cabbageworms, cabbage loopers or diamondback moth caterpillars are feeding. Pick them off by hand and crush the yellow eggs beneath leaves. Cover the crop with fine netting or floating row cover, sealed at the edges. For bad outbreaks, spray Bacillus thuringiensis (Bt, a bacterial spray that affects only caterpillars). Follow the label, wear gloves, and spray in the evening.
Grey, waxy clusters under curled leaves
These are cabbage aphids. Blast them off with a strong jet of water. Remove the worst leaves. Encourage ladybugs and lacewings by growing flowers nearby. Insecticidal soap works if you spray it directly onto the colonies; test it on one leaf first and avoid spraying in hot sun.
Many tiny pinholes in young leaves
Flea beetles are small jumping beetles that attack seedlings. Cover transplants with row cover straight after planting. Larger plants usually outgrow the damage.
Wilting plants with swollen, knobbly roots
This is clubroot, a soil-borne disease. It thrives in acid, wet soil. Pull and bin affected plants; do not compost them. Raise soil pH toward 7.0 with garden lime, improve drainage and rotate brassicas over several years.
Leaves with yellow blotches and shield-shaped bugs
Harlequin bugs, common in warm regions, suck sap and leave pale patches. Hand-pick adults and destroy the barrel-shaped egg clusters. Clear brassica debris at the end of the season, where they shelter.
Varieties worth growing
- 'Georgia Southern': the classic heirloom, tall and heat-tolerant, with large blue-green leaves.
- 'Vates': compact, slow to bolt and quite cold-hardy, a good choice for fall and overwintering.
- 'Champion': an improved 'Vates' type with uniform plants and good cold tolerance.
- 'Morris Heading': an heirloom that forms a loose, cabbage-like head of tender leaves.
- 'Flash': a hybrid with smooth, dark leaves, bred to be slow to bolt.
- 'Top Bunch': a hybrid with slightly savoyed (crinkled) leaves that grows quickly and evenly.