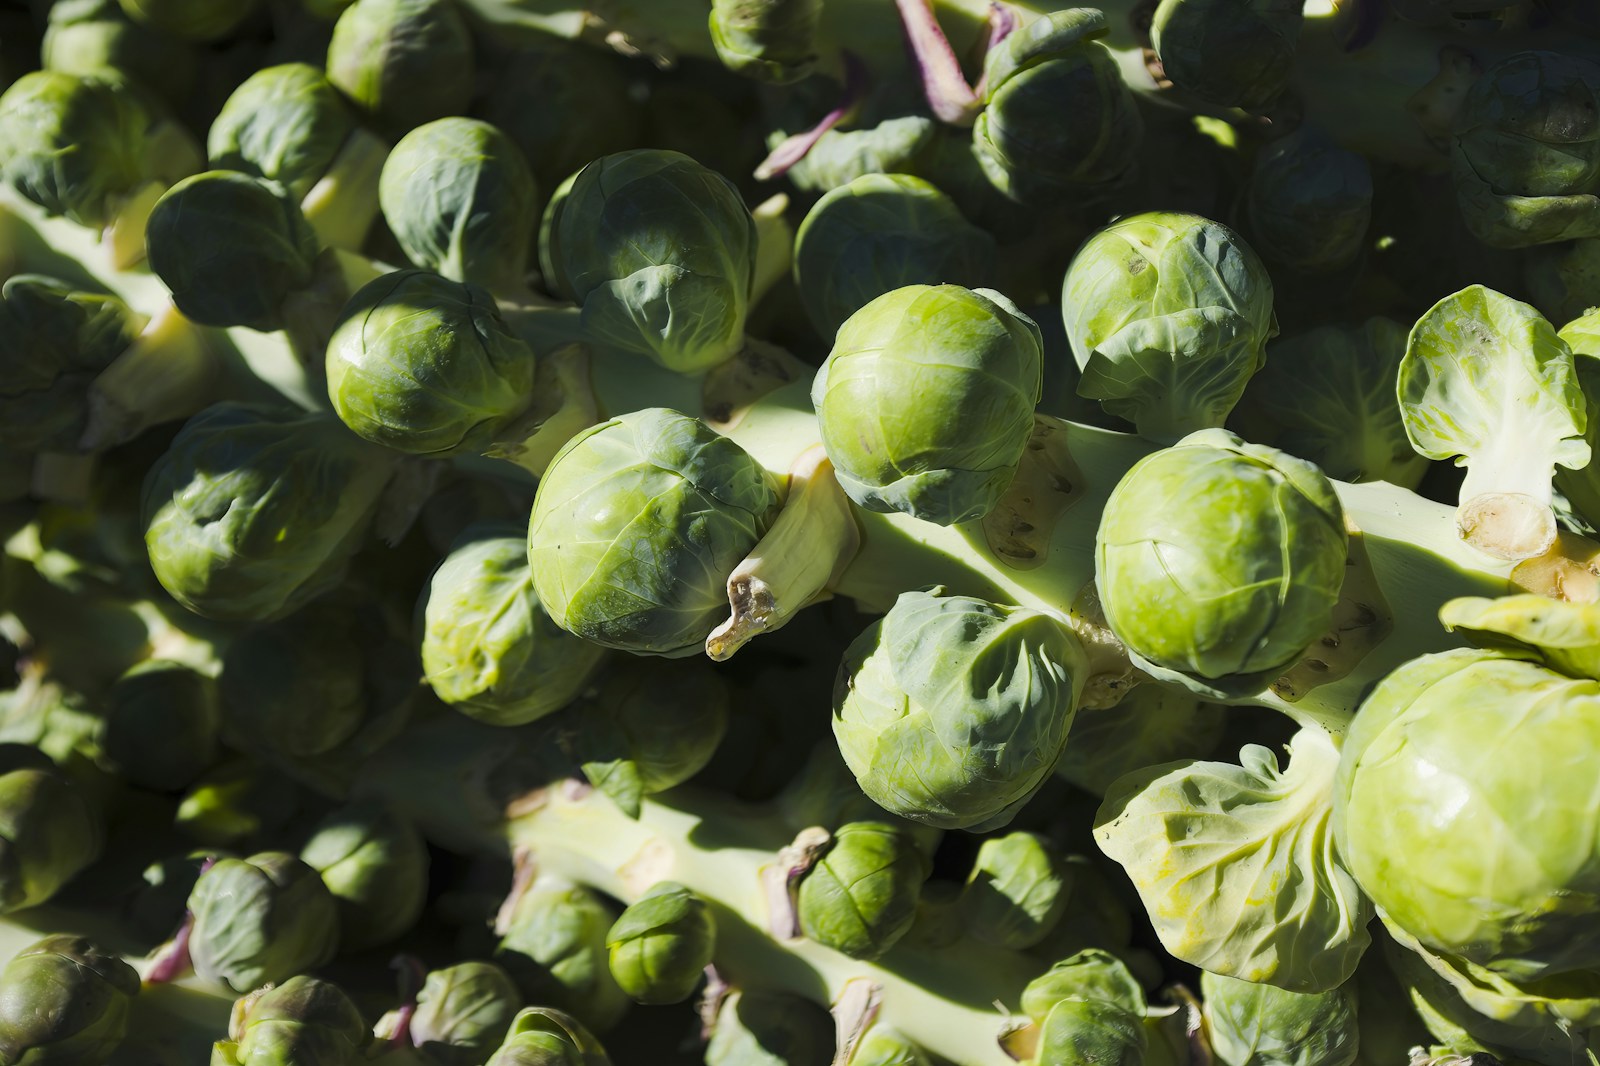
Brussels sprouts are tall cabbage-family plants that carry dozens of small, tight heads along one stem. They need a long season and patience. They are moderately easy, and a light frost makes the sprouts noticeably sweeter.
Sowing and planting
Brussels sprouts form best in cool weather, between about 45°F and 75°F (7°C and 24°C). Plan so the sprouts develop in fall, not in summer heat. Count back from your first fall frost using the days to harvest on the seed packet.
Cold and short-season areas
In roughly USDA zones 3 to 6, start seed indoors in spring. Sow four to six weeks before you plan to transplant. Set plants out around your last frost date, once they have four to six true leaves. True leaves are the ones that look like the adult plant. Sprouts then form as summer cools into fall.
Mild-winter areas
In roughly USDA zones 7 to 9, plant for a fall and winter harvest. Start seed in early to mid summer, indoors or in a shaded outdoor bed. Transplant in late summer, about three to four months before your coolest weather. Plants then crop through winter.
Sowing and transplanting
Sow two seeds per cell and thin to one. Grow seedlings cool, around 60°F to 70°F (15°C to 21°C), in bright light. Seed usually comes up in five to ten days.
Harden off seedlings for about a week before planting out. Hardening off means getting them used to outdoor sun and wind a little more each day.
Plant in firm soil. Loose, fluffy soil lets the tall stems rock in the wind, which weakens roots and loosens sprouts. Set each plant a little deeper than it grew, up to the first leaves. Firm the soil around it with your hands and water well.
Succession sowing is rarely worth it. One well-timed planting usually gives you a long harvest.
Growing on
Watering. Keep the soil evenly moist all season. Brussels sprouts have shallow roots and suffer quickly in dry spells. Water deeply at the base about once a week, more often in heat.
Feeding. Before planting, dig in plenty of compost or well-rotted manure. Side-dress (feed alongside the row) with compost or a balanced organic fertilizer about a month after transplanting. Feed once more when sprouts start forming. Avoid heavy nitrogen late in the season, which leads to loose, leafy sprouts. Wear gloves when handling manure or fertilizer and wash your hands afterwards.
Mulching. Spread 2 to 3 inches (5 to 8 cm) of straw or shredded leaves once the soil has warmed. Mulch keeps roots cool and moist and suppresses weeds.
Staking. Tall plants loaded with sprouts often lean or fall over. Drive a sturdy stake beside each plant and tie the stem loosely with soft twine. Earthing up soil around the base also helps.
Removing lower leaves. As sprouts swell, snap off yellowing leaves from the lower stem. This improves airflow and makes picking easier. Keep the top leaves, which feed the plant.
Topping. Topping means cutting out the growing tip of the plant. Do this about three to four weeks before you want to harvest, when the lowest sprouts are about 1/2 inch (1 cm) across. The plant then puts its energy into swelling the sprouts. Topping suits a single, even harvest. Skip it if you prefer to pick a few sprouts at a time over many weeks.
Row covers. Fabric row cover keeps cabbage moths and flea beetles off young plants. Remove or raise it as plants grow tall.
Rotation and companions. Do not plant where any cabbage-family crop grew in the last three years. Low crops such as lettuce or radish fit between young plants early in the season.
Heat is the most common reason Brussels sprouts fail. Sprouts that form in hot weather are loose, open and often bitter. Time your planting so sprouts develop in the cool of fall, and keep plants evenly watered.
Harvesting
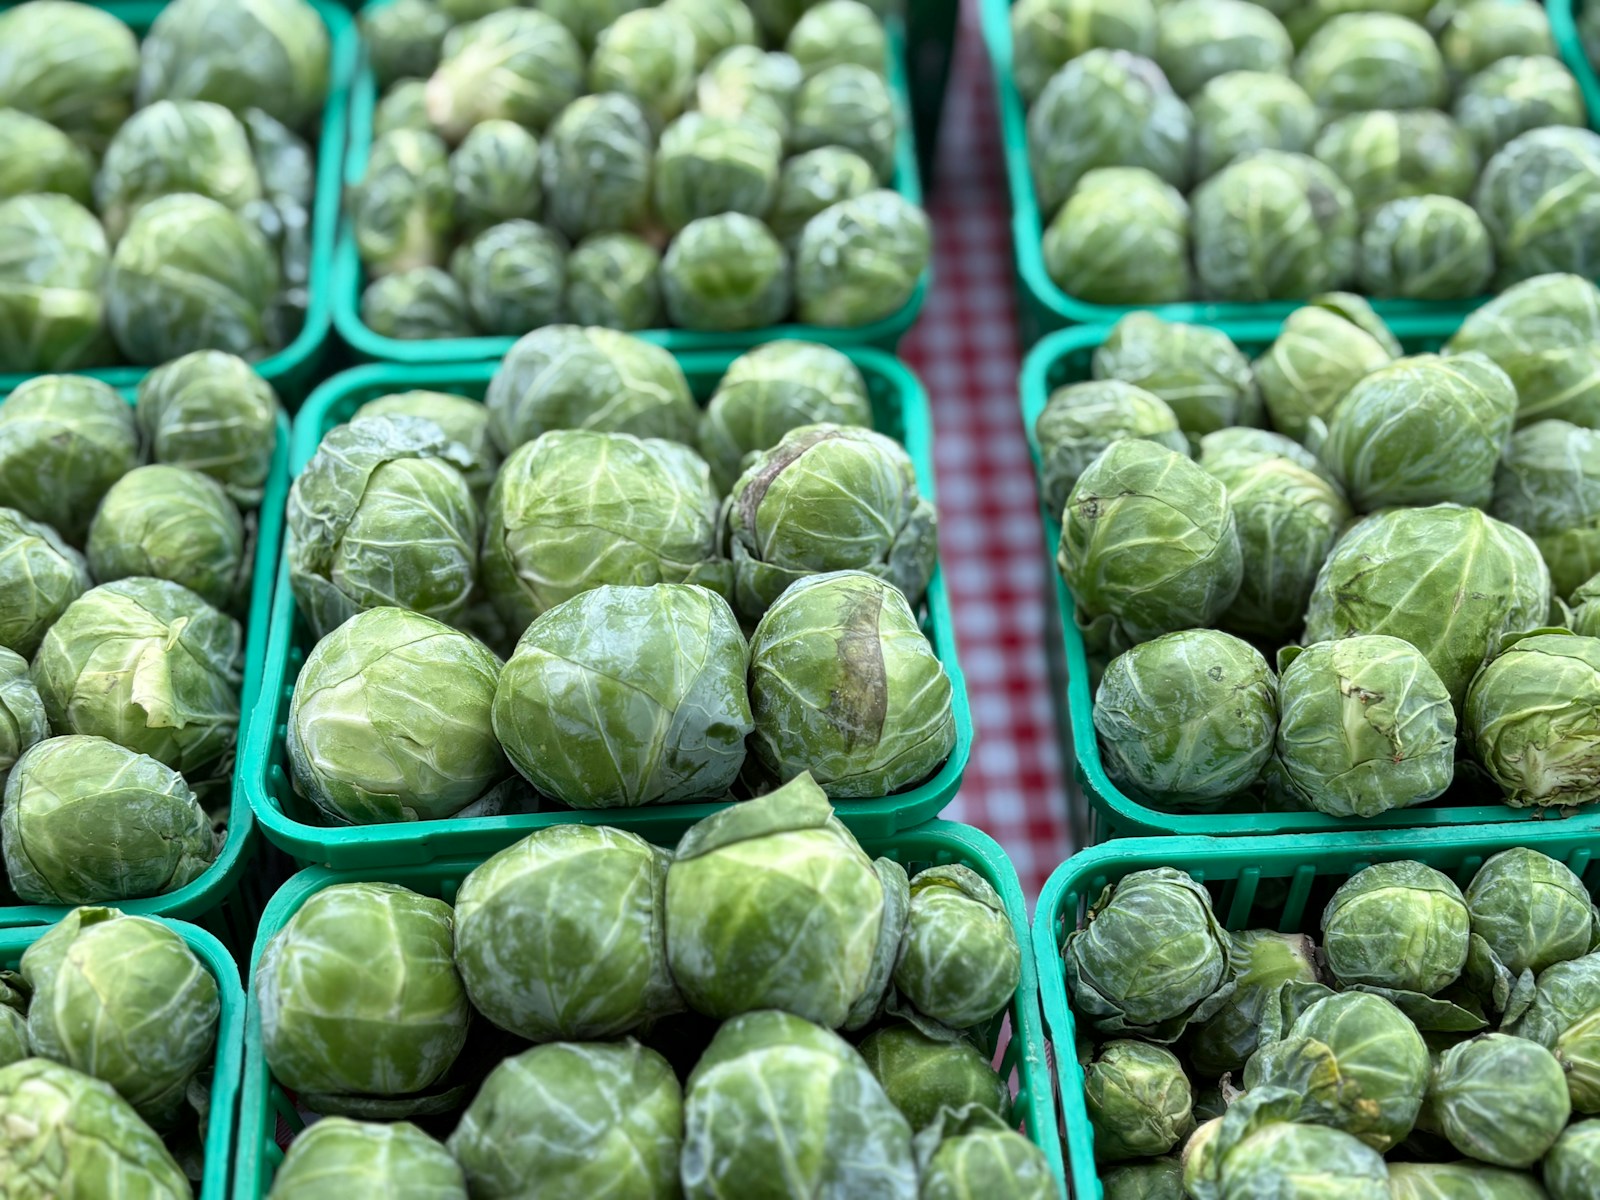
Signs they are ready. Sprouts ripen from the bottom of the stem upward. Pick them when they are firm, tightly closed and 1 to 2 inches (2.5 to 5 cm) across. Pick before the outer leaves turn yellow or start to open.
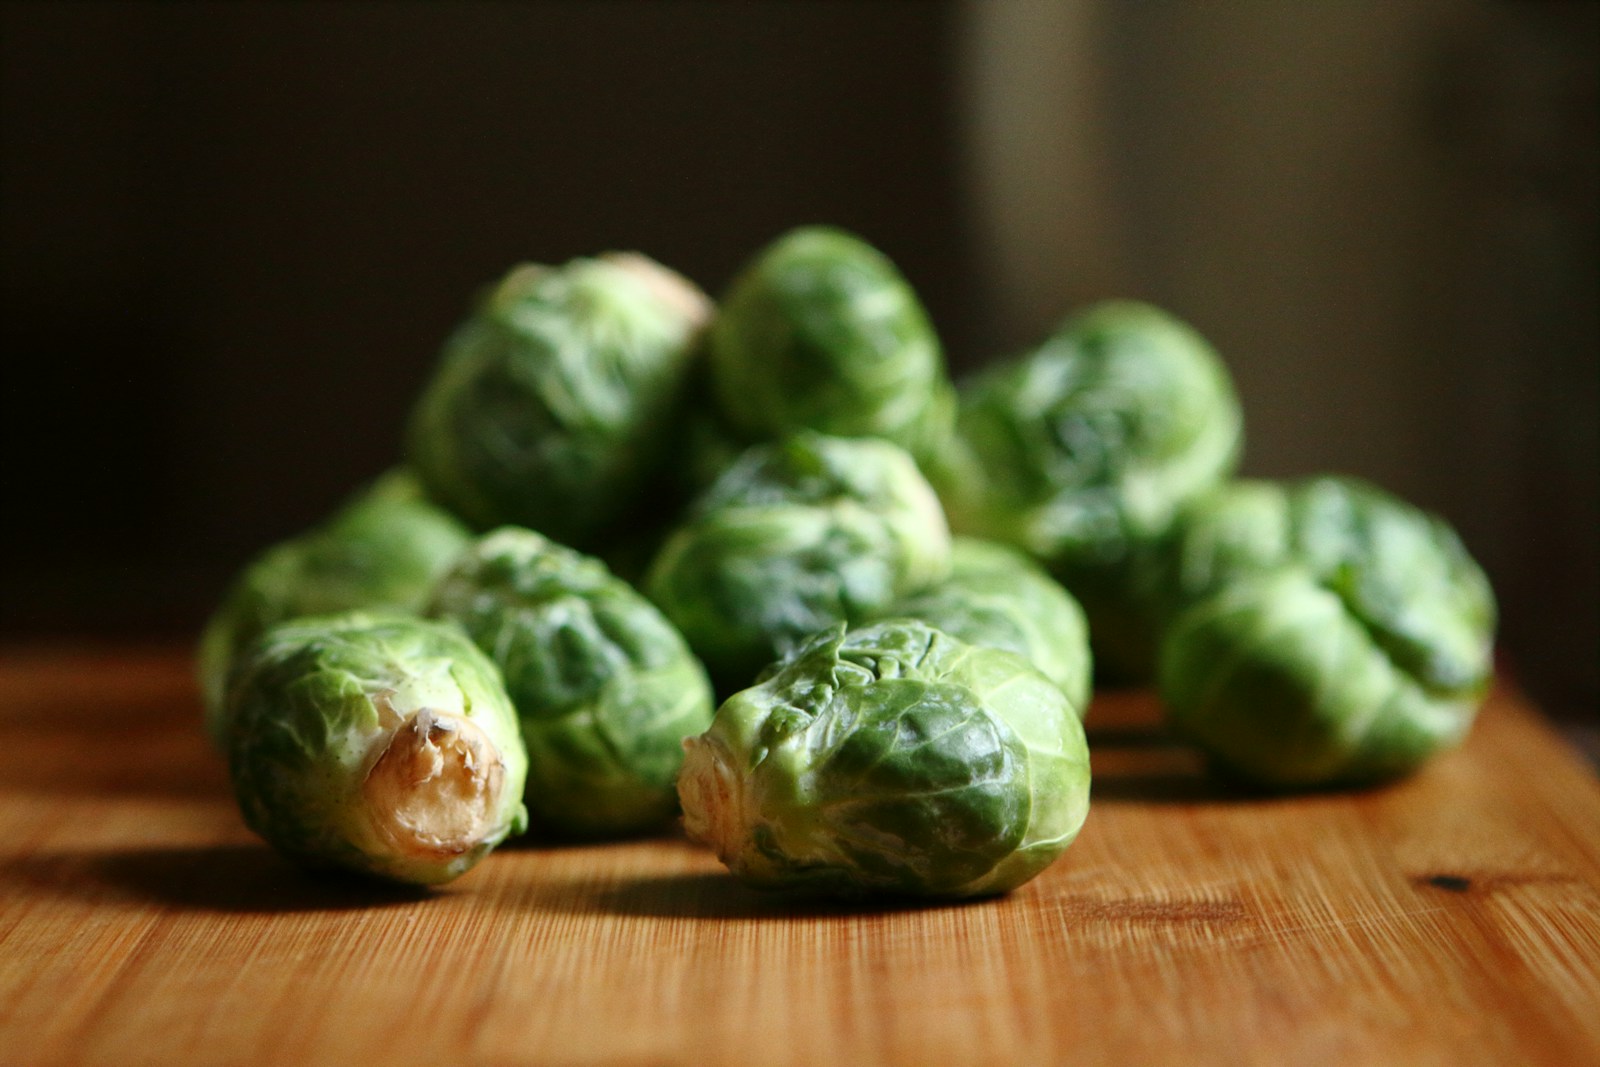
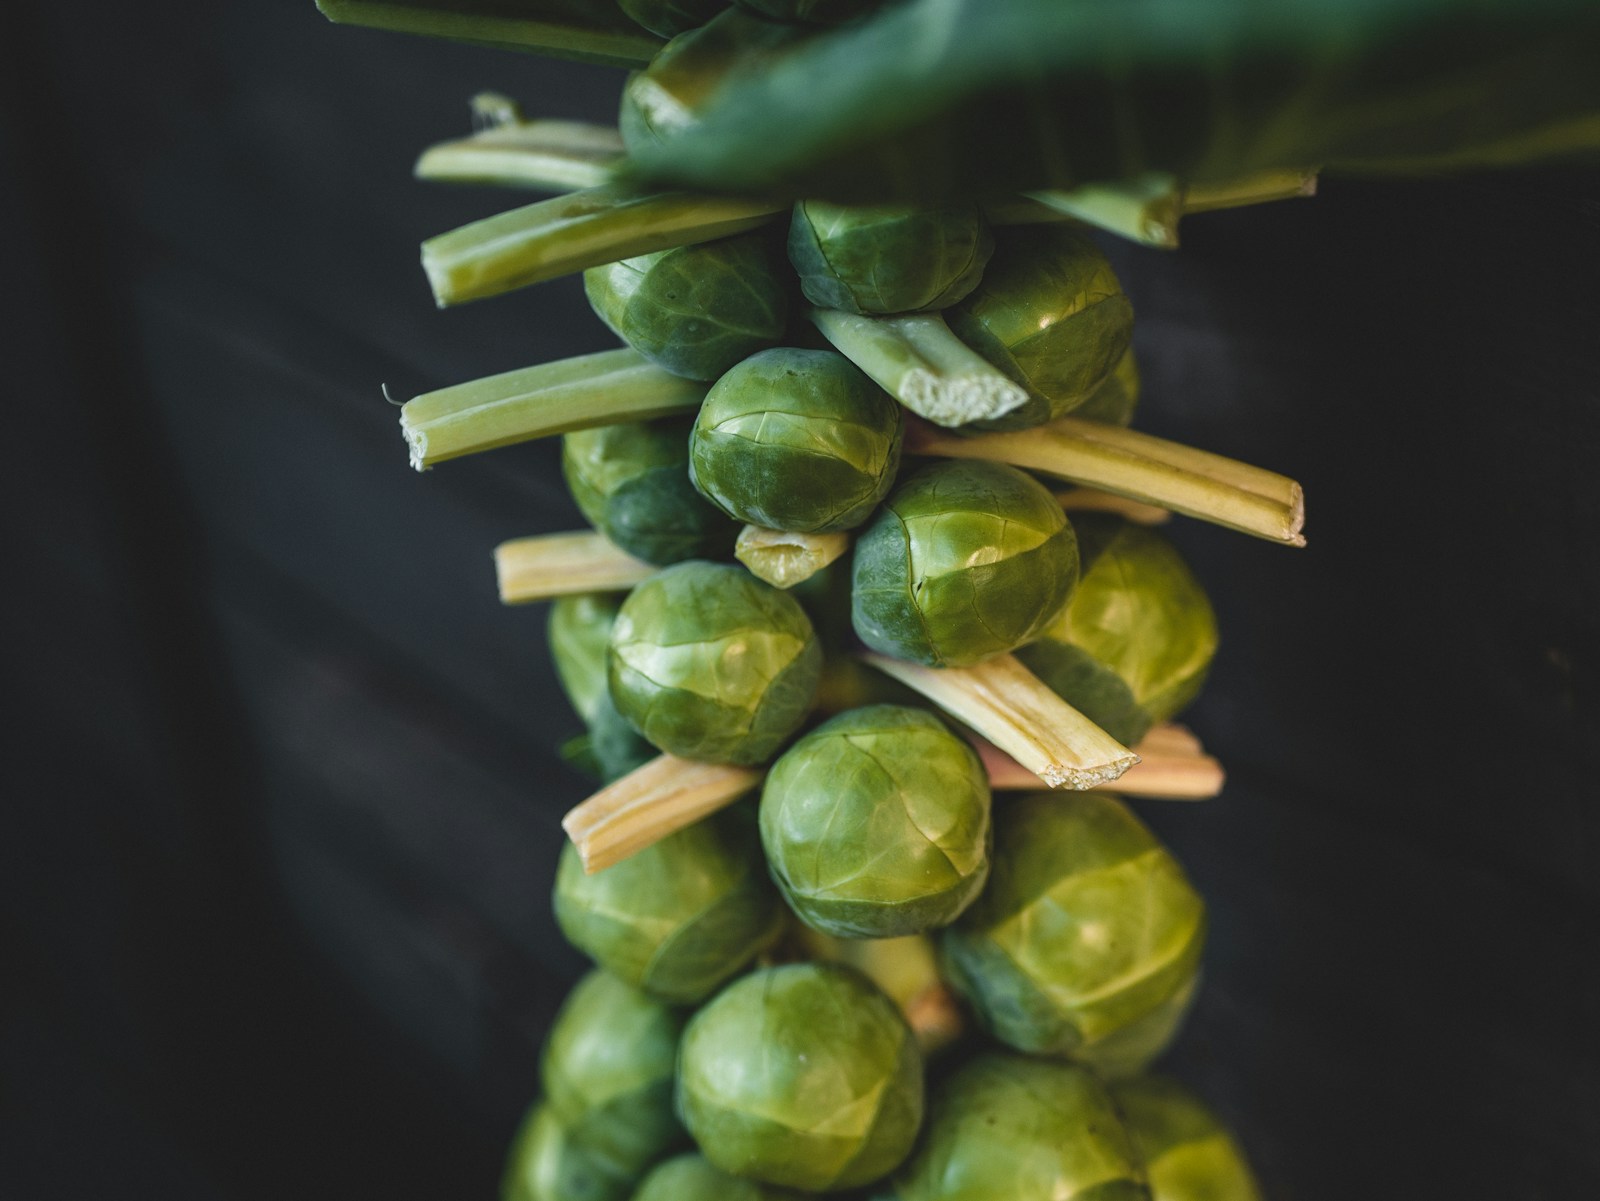
Flavor and frost. A few light frosts turn some starch into sugar, so sprouts taste sweeter. Many gardeners wait for the first frosts before picking in earnest.
How to pick. Twist each sprout sideways until it snaps off, or cut it with a sharp knife close to the stem. Work up the stem over several weeks. Remove the leaf below each sprout as you go.
Whole stalk. Before a hard freeze below about 20°F (-7°C), cut the whole stem at ground level. Strip the leaves. A stalk keeps well for a week or two in a cool place.
Tops. The leafy top of the plant is edible. Cook it like cabbage or kale.
Storage. Keep unwashed sprouts in a bag in the fridge for up to three to five weeks. For longer storage, blanch them in boiling water for three to five minutes, depending on size. Cool them in ice water, drain and freeze.
Saving seed. Brussels sprouts are biennial and only flower after winter. They also cross with cabbage, kale and broccoli. Saving seed is rarely practical in a home garden.
Problems and pests
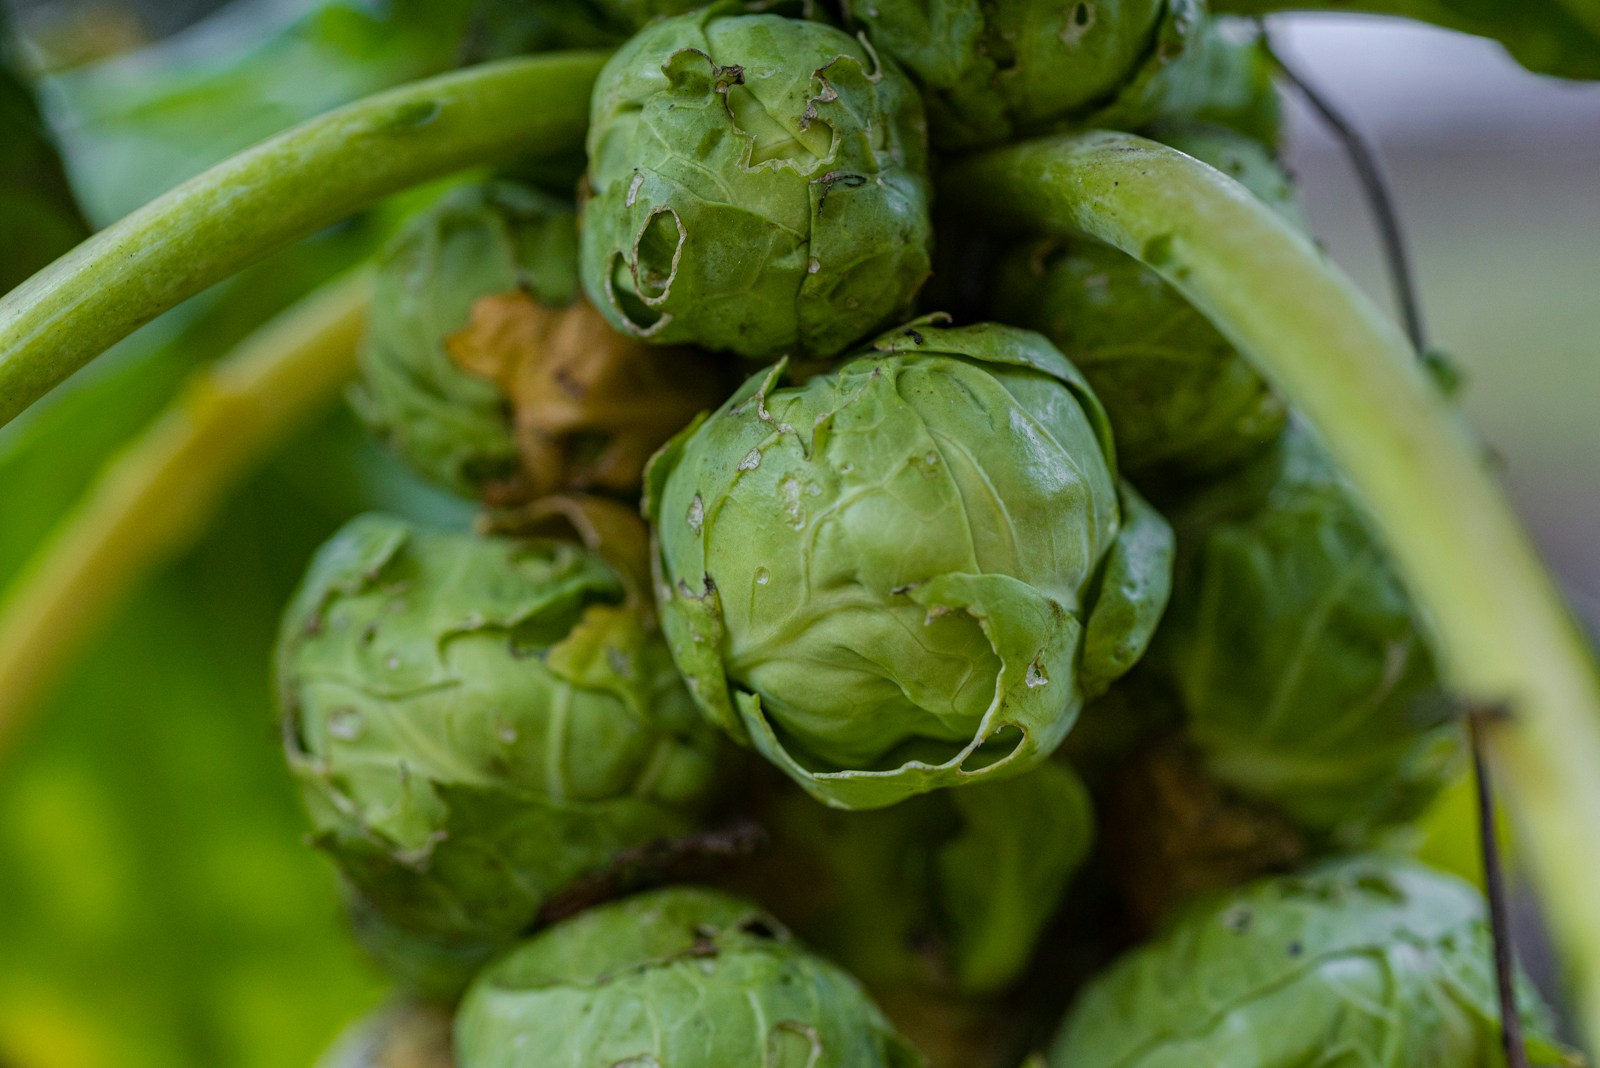
Loose, open sprouts
Cause: Hot weather while sprouts form, dry soil or too much late nitrogen.
Fix: Adjust timing so sprouts form in fall. Keep soil moist and mulched. Stop feeding nitrogen once sprouts start to form.
Grey, waxy colonies between the sprouts
Cause: Cabbage aphids, small sap-sucking insects coated in grey powder. They hide deep between sprouts.
Fix: Blast them off with a strong spray of water. Encourage ladybugs and hoverflies with flowers nearby. Insecticidal soap works on heavy colonies. Spray in the evening, follow the label and avoid skin contact.
Ragged holes and green caterpillars
Cause: Imported cabbageworms and cabbage loopers.
Fix: Cover young plants with row cover. Hand-pick caterpillars from under leaves and in the sprouts. For heavy attacks, spray Bacillus thuringiensis (Bt), a bacterial control that only affects caterpillars. Follow the label and wear gloves when mixing and spraying.
Plants toppling over
Cause: Tall, top-heavy stems in loose soil or wind.
Fix: Plant in firm soil, earth up the base and stake each plant early.
Wilting plants with swollen roots
Cause: Clubroot, a soil-borne disease of cabbage-family plants that persists for years.
Fix: Rotate strictly and raise soil pH toward 7.0 with garden lime. Wear gloves and a dust mask when spreading lime. Pull and bin infected plants, roots and all. Do not compost them.
Varieties worth growing
- 'Long Island Improved': An old open-pollinated standard; compact plants that suit short seasons.
- 'Jade Cross': A reliable older hybrid with uniform sprouts on a sturdy stem.
- 'Diablo': A productive hybrid with good-sized, well-spaced sprouts.
- 'Churchill': An early, adaptable hybrid with smooth, even sprouts.
- 'Falstaff': A red-purple variety that keeps some color when lightly cooked.
- 'Rubine': A red heirloom; slower and lower yielding, but striking in the garden.