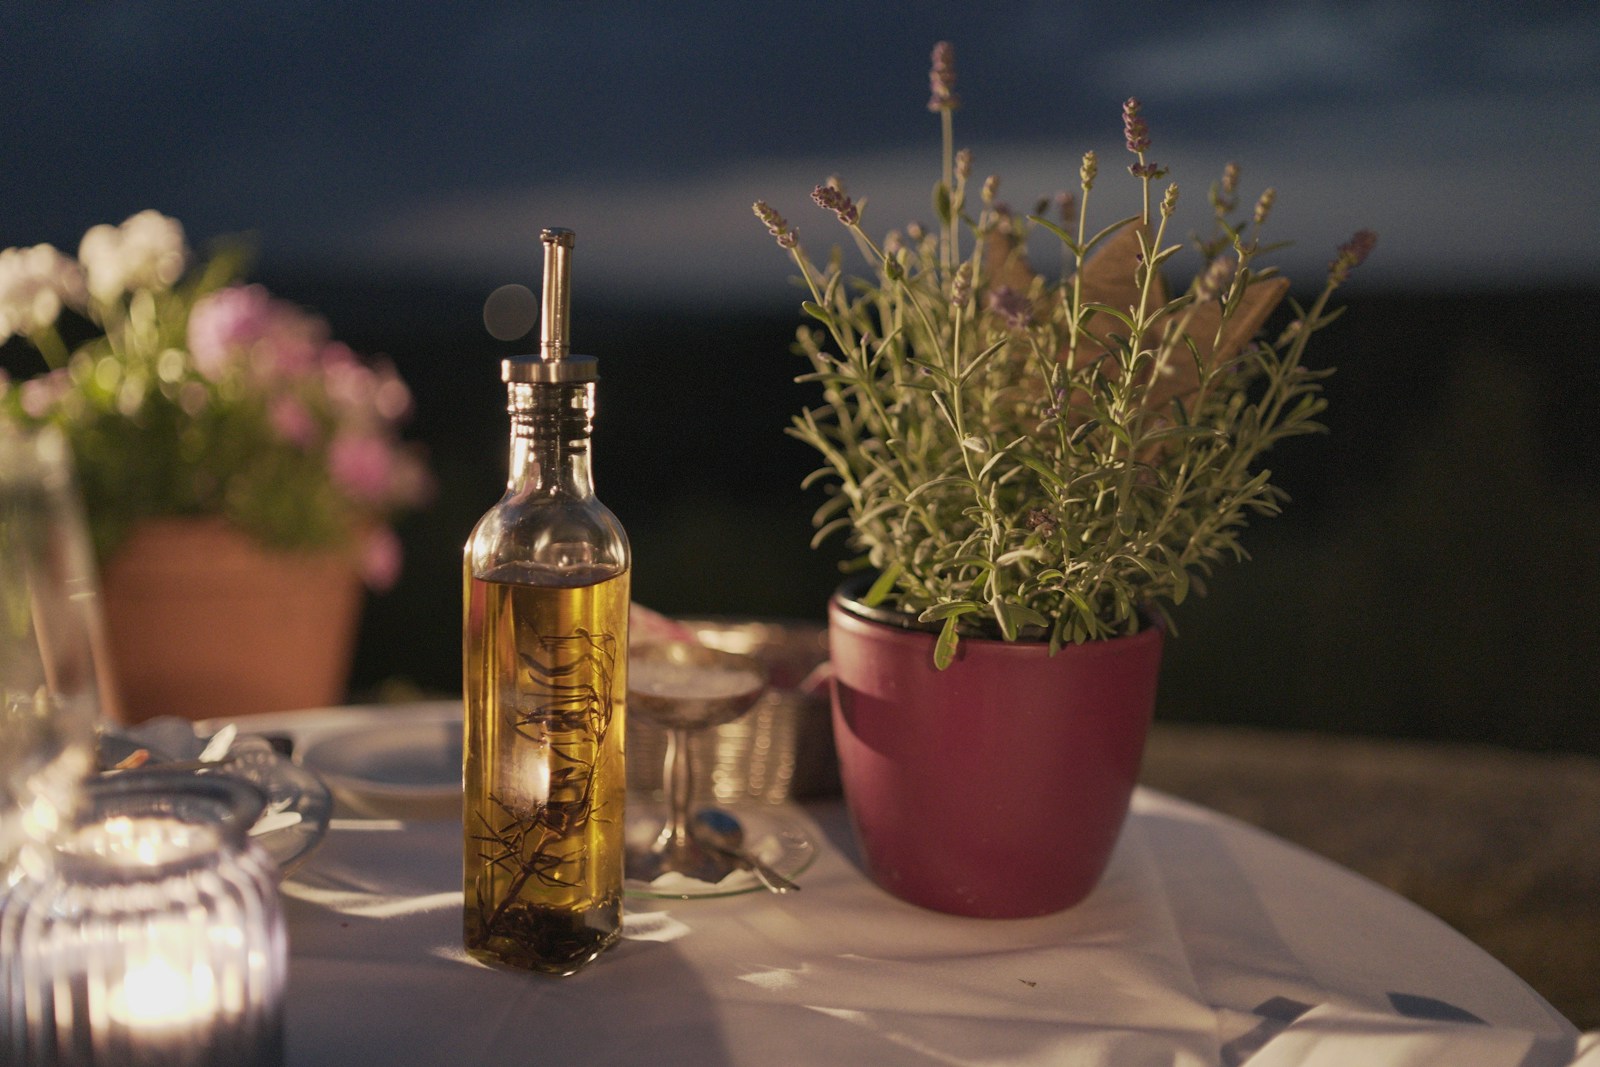
A jar of rosemary or oregano oil turns your herb harvest into something you can drizzle, cook with or give away. Calendula oil makes a simple base for balms and soaps. The method is easy. The one thing that matters most is water: keep every trace of it out of the jar, because moisture plus oil is where food-safety trouble starts.
What you need
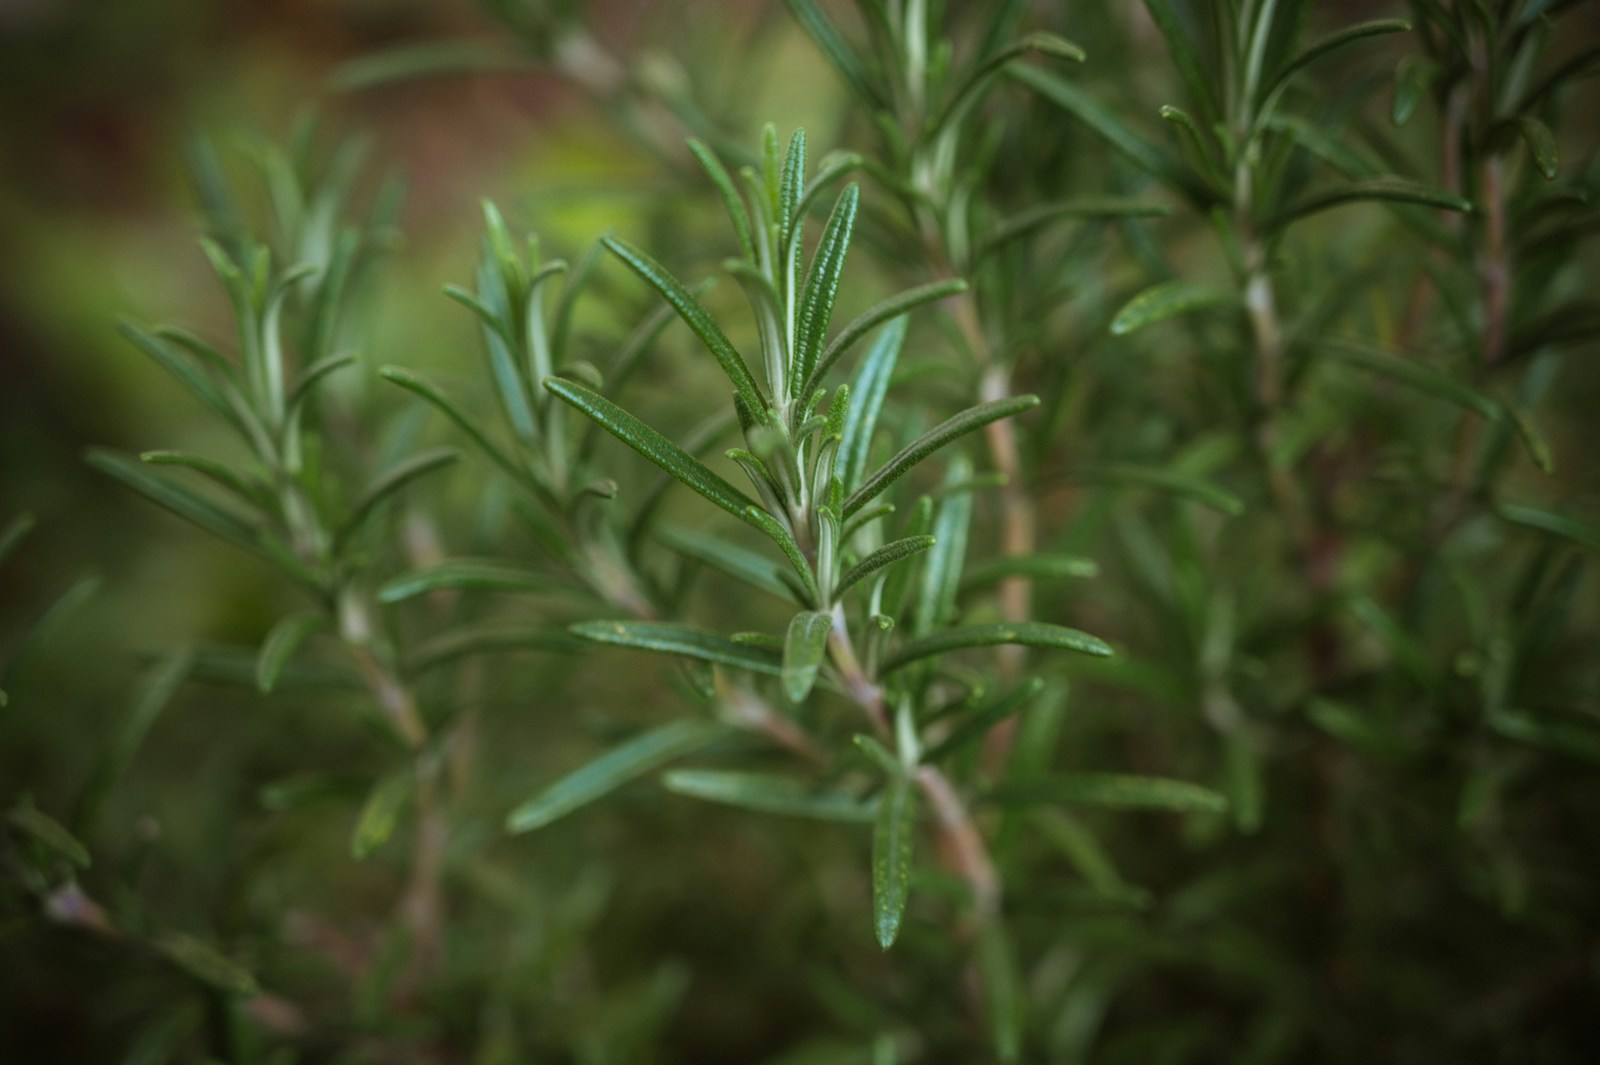
- Dried herbs: rosemary, thyme, oregano or basil for cooking, or calendula petals for craft oil
- A culinary oil such as olive or sunflower, or a skin-safe carrier oil such as sunflower or sweet almond for craft use
- Glass jars with tight lids, plus dark bottles for storage
- Cheesecloth or a fine sieve, and a funnel
- A double boiler, or a heatproof bowl over a pan, and a cooking thermometer
- Labels and a pen
When to make herb oil
Pick herbs in summer, when growth is lush and before the plants flower heavily. Harvest in the morning once the dew has dried, so the leaves go into drying clean and dry. Calendula flowers all summer and often into autumn, so you can pick heads every few days. The oil itself can be made at any time of year once your herbs are fully dry. Many gardeners make it in autumn and winter, when the harvest is in and the kitchen is cool. In USDA zones 9 to 11, rosemary, thyme and oregano stay green through winter, so you can harvest and dry them in most seasons. In colder zones, cut the last generous harvest before your first frost.
Step 1: Choose your oil and herbs
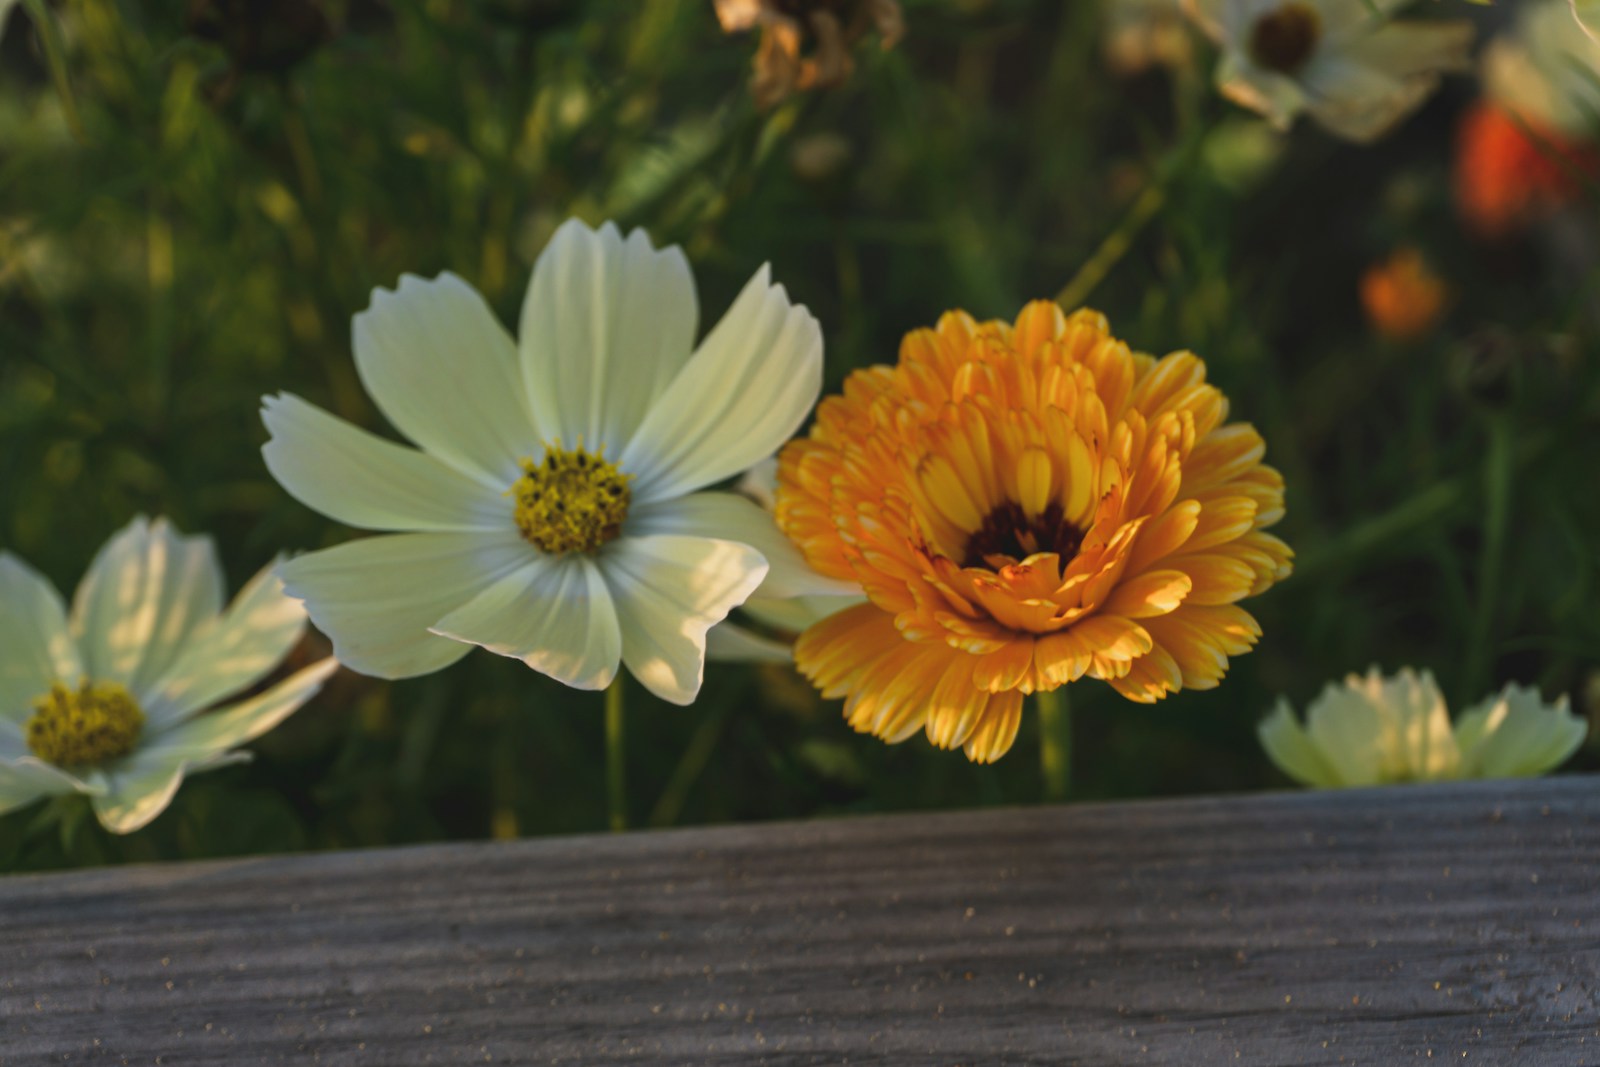
Decide first whether the oil is for eating or for craft use, and keep the two separate. For the kitchen, olive oil gives a fruity flavour that suits rosemary, thyme and oregano. Sunflower oil is milder and lets delicate basil come through. For craft oil, such as calendula for salves, sunflower and sweet almond oil are common choices. Craft oil is not food, so never cook with it, and label it clearly. Calendula (Calendula officinalis) is traditionally used in homemade skin balms. If you plan to put any homemade oil on your skin, patch-test a small amount on your inner arm first and wait a day for any reaction. Choose herbs that are free of disease and pest damage. Avoid anything sprayed with a chemical not approved for food crops. Fresh garlic, fresh chilli peppers and fresh herbs all hold water, so they do not belong in a shelf-stable oil.
Step 2: Dry the herbs completely
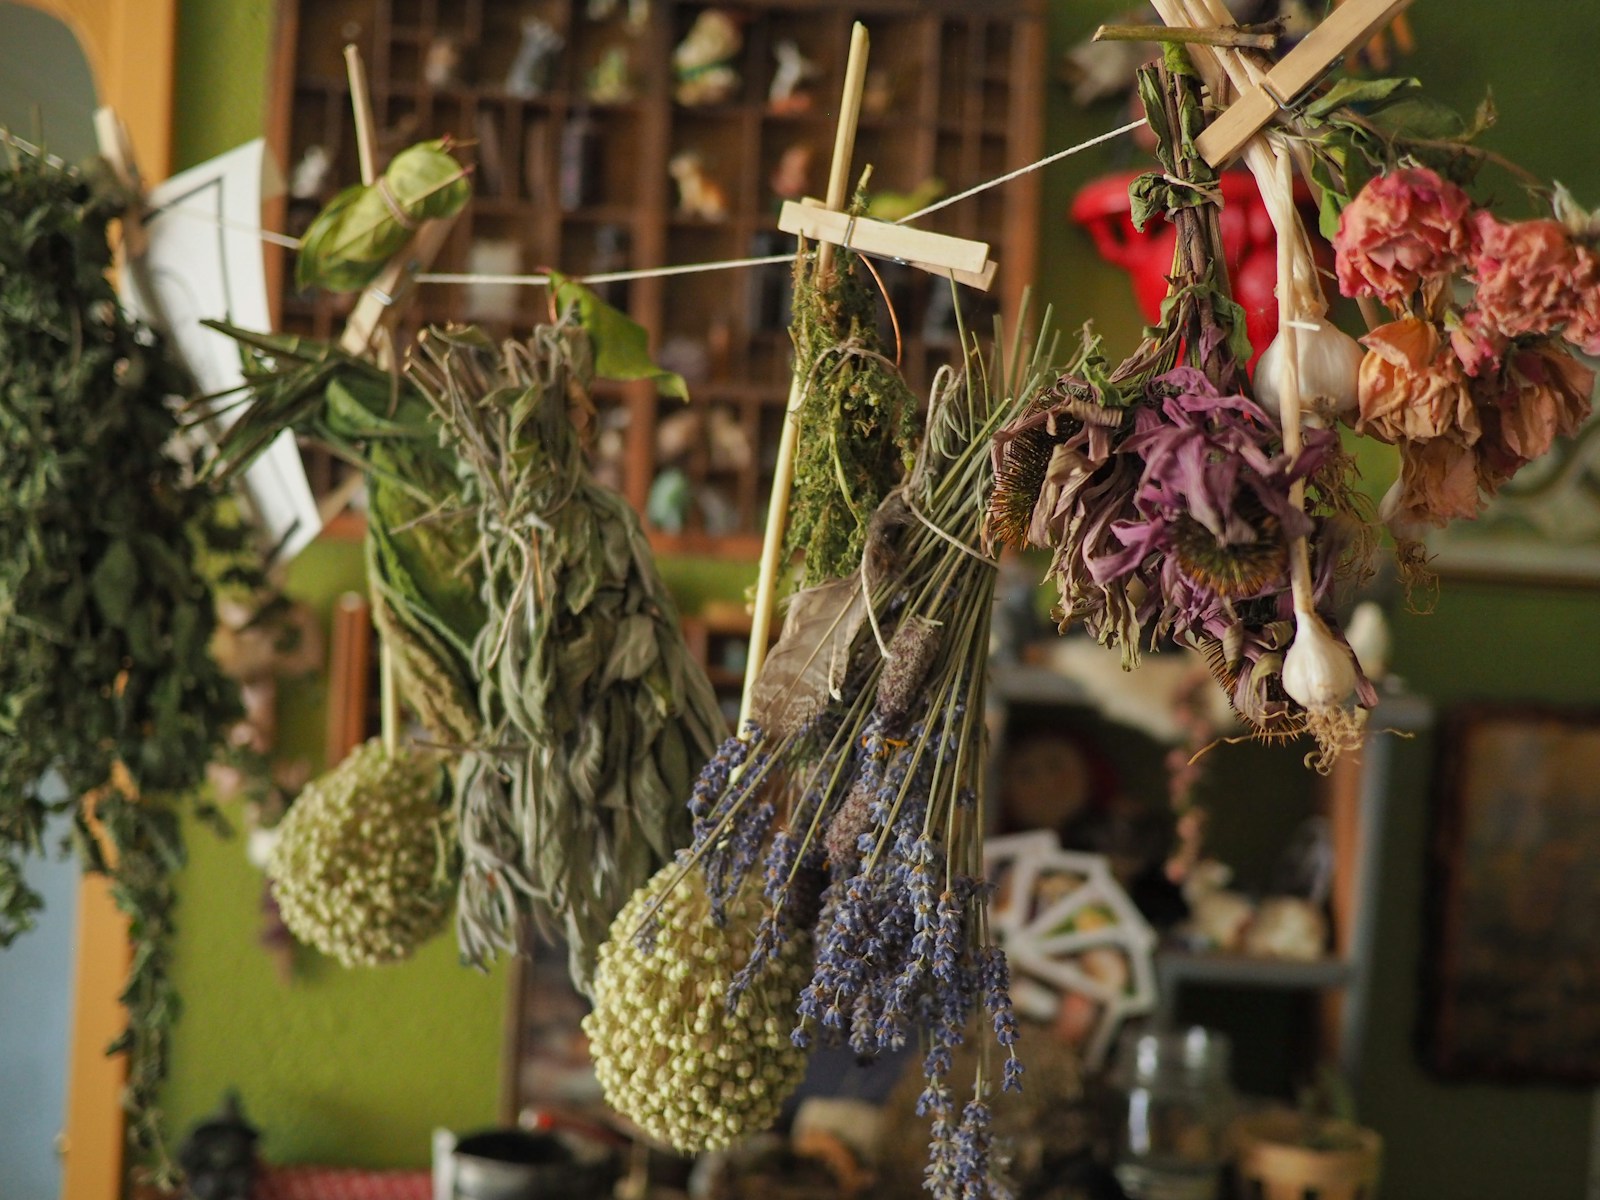
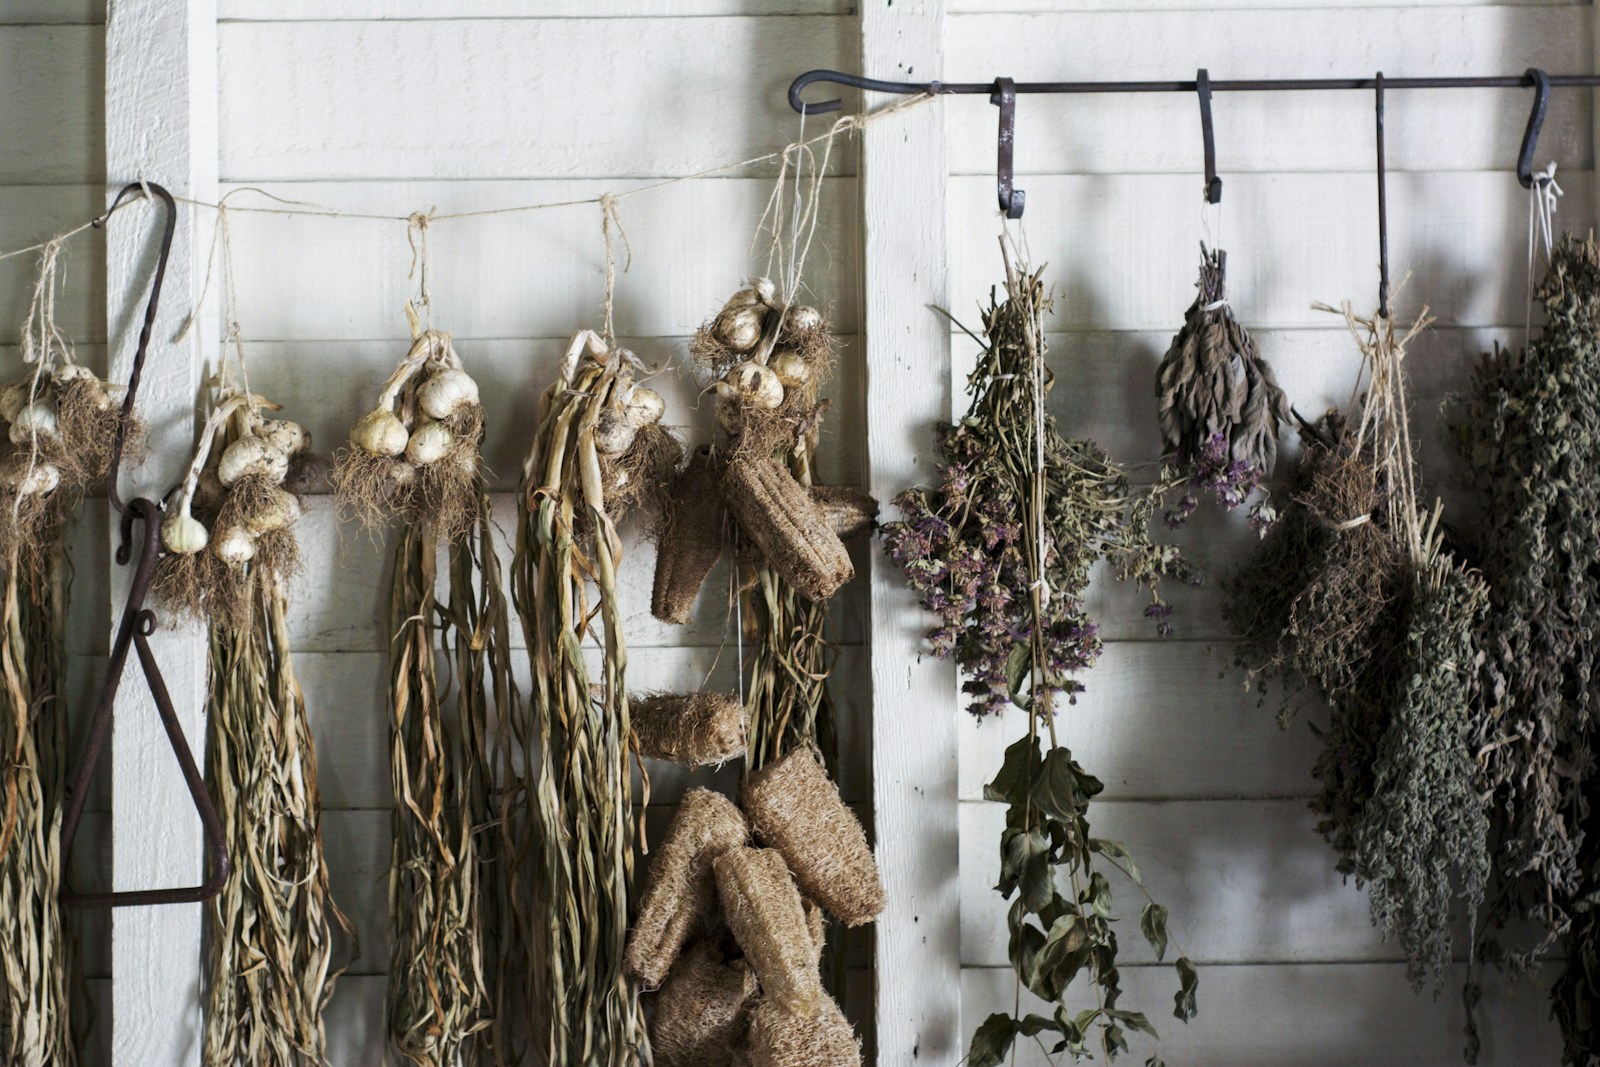
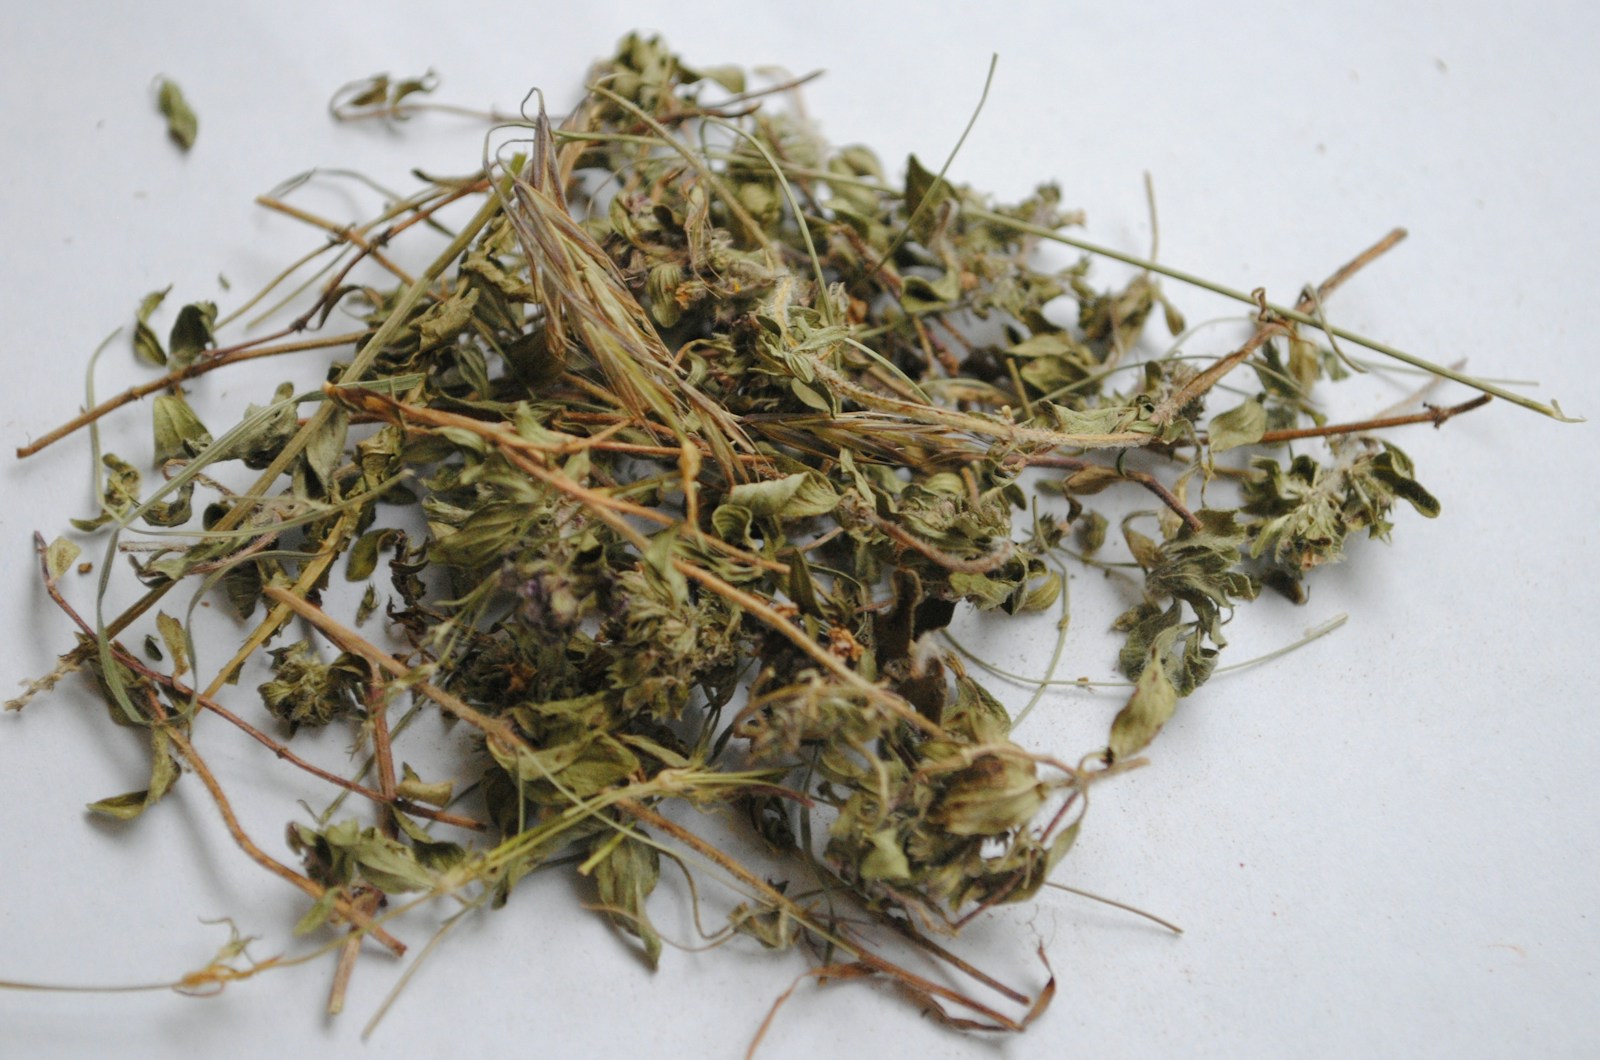
Dry herbs are the key to an oil you can keep in the cupboard. Hang small bunches upside down in a warm, airy, shaded spot. You can also spread leaves and calendula petals on a screen. Most herbs dry in one to two weeks, depending on humidity. They are ready when the leaves crumble and the stems snap cleanly. Calendula petals should feel papery, with no soft centres. If your summers are humid, a food dehydrator on its herb setting finishes the job evenly. Pick the leaves off woody stems once they are dry. Store them in an airtight jar until you are ready to infuse. Shop-bought dried herbs work just as well for culinary oil, and they are a good choice while you learn. Any leaf that still bends rather than breaks goes back to drying. Pockets of moisture are the main risk in homemade herb oil.
Step 3: Clean and dry the jars
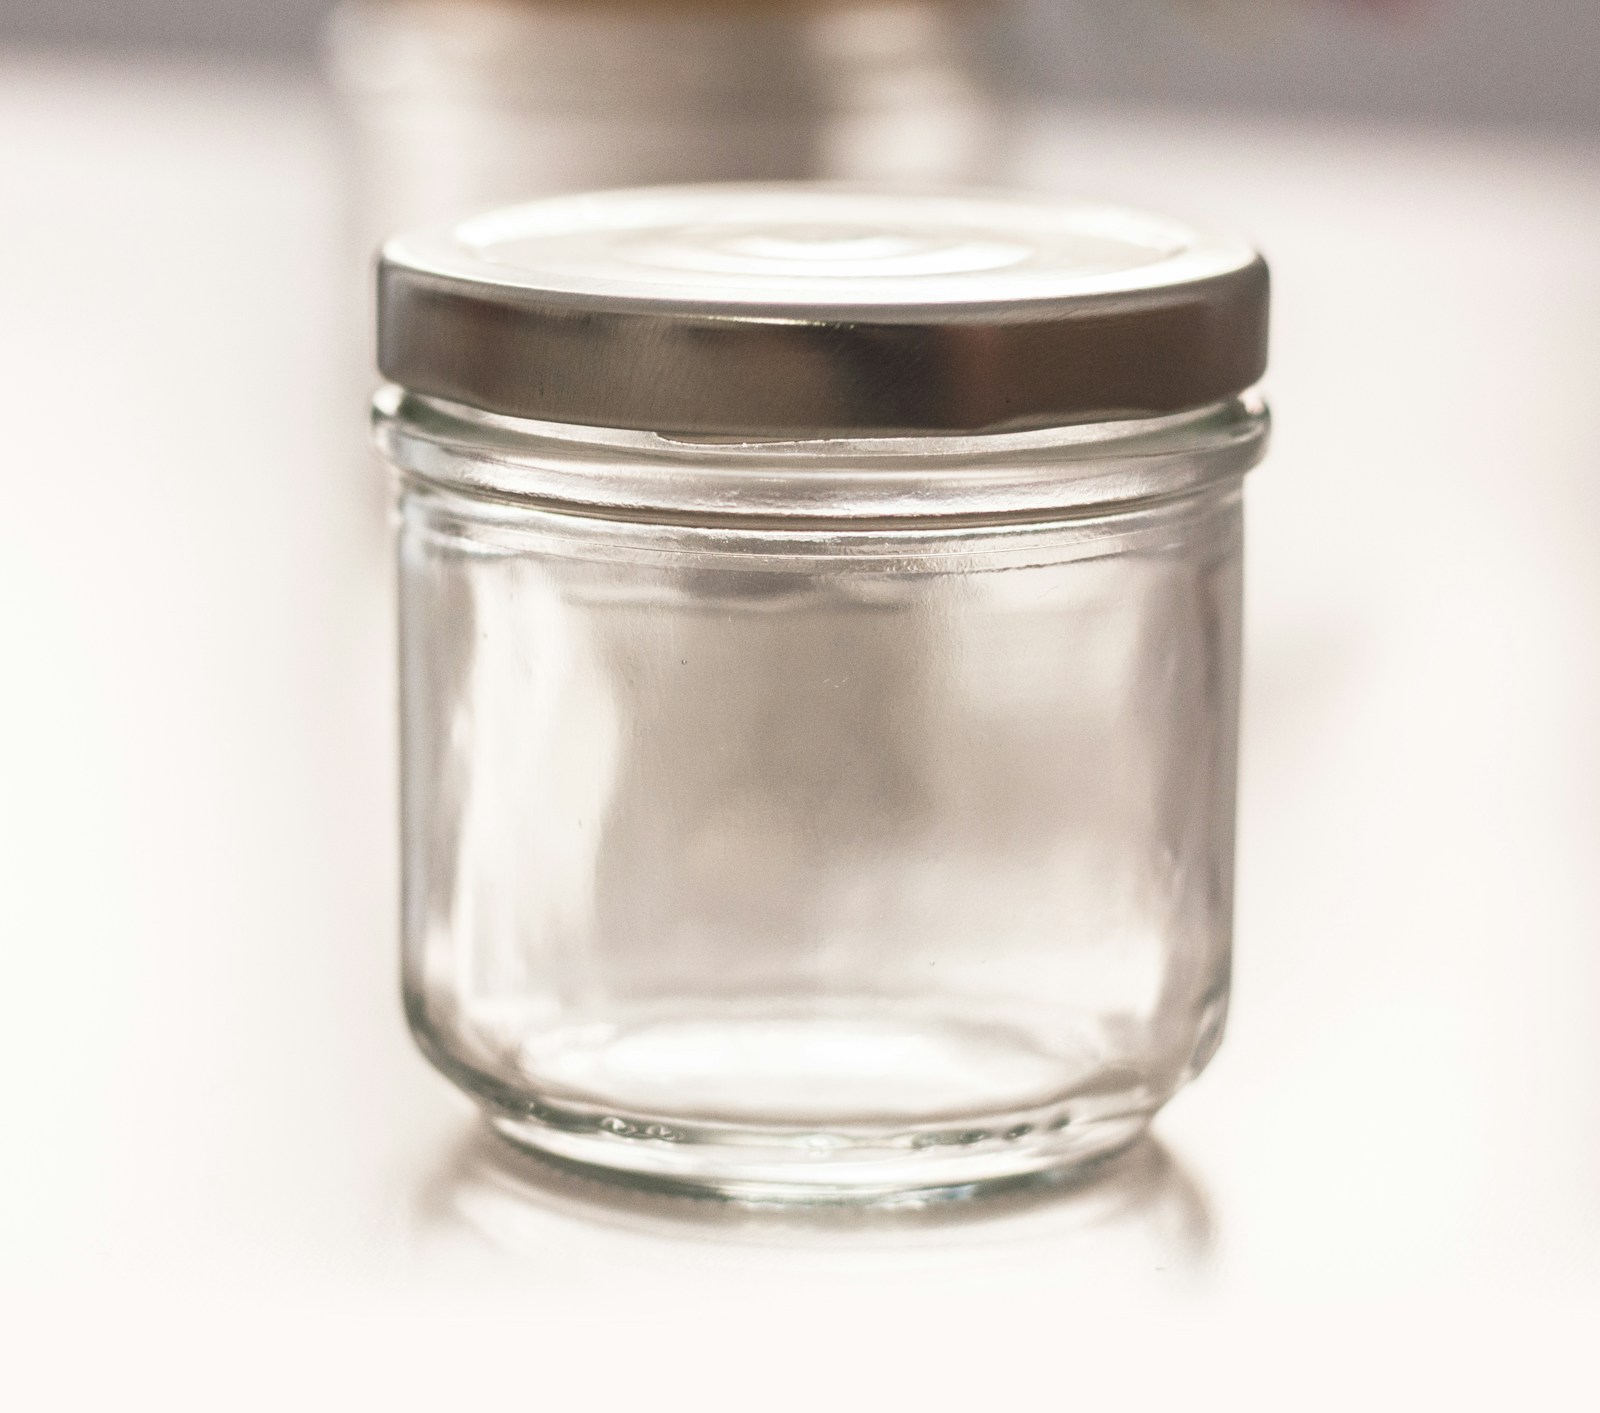
Wash the jars, lids, funnel and bottles in hot, soapy water and rinse them well. For culinary oil, many extension services suggest boiling glass jars for about 10 minutes before use. Use tongs to lift them out, and let them cool before handling, because the glass and water can scald. Then dry everything completely. Stand the jars upside down on a clean rack until no drops remain, or dry them in a low oven. A single bead of water left inside a jar undoes the careful drying you did in Step 2. Check the lids for old food residue in the threads and seals. Use jars small enough that you finish the oil within its storage life. Several small jars keep better than one large one, because each is opened fewer times.
Step 4: Infuse the oil cold
Cold infusion is the slow, simple method, and it suits dried herbs only. Fill a clean jar about one-third to one-half full with crumbled dried herbs. Pour in oil until the herbs are covered by at least 1 inch (2.5 cm). Stir with a clean, dry spoon to release trapped air bubbles, then seal the lid. Set the jar in a cool, dark cupboard away from the stove and sunny windows. Light and warmth make oil go rancid (stale and bitter from oxidation) faster. Leave it for two to six weeks. Shake the jar gently every few days so the herbs stay coated. Taste a drop of culinary oil after two weeks. Strain it once the flavour is as strong as you want. Calendula craft oil is usually left for the longer end of the range, until the oil turns a deep golden colour.
Step 5: Infuse the oil warm, if you are short of time
Warm infusion gives a usable oil in hours rather than weeks. Put the dried herbs and oil in the top of a double boiler, with simmering water in the pan below. Heat gently and watch the thermometer. Keep the oil below about 180°F (82°C), which is the temperature extension food-safety guides give for heating oil before pouring it over dried herbs. Hold it warm for one to three hours, then take it off the heat. Hot oil causes serious burns and can catch fire, so stay with the pan the whole time. Keep water away from the oil, use oven gloves, and turn the pan handle inwards. If the oil smokes, turn off the heat at once. If it ever catches fire, smother it with a lid and never use water. Let the oil cool completely before you strain it.
Step 6: Strain through cheesecloth
Line a sieve or funnel with two or three layers of cheesecloth. Set it over a clean, dry jug or bowl. Pour the infused oil through slowly and let it drip for a few minutes. Gather the corners of the cloth and squeeze gently to press out the oil held in the herbs. Wear clean gloves or wash and dry your hands first, since damp hands add water. Discard the spent herbs. Removing all the plant material helps the oil keep, because loose bits can hold moisture and spoil. Let the strained oil stand for an hour. If a layer of sediment or fine particles settles, pour the clear oil off carefully and leave the dregs behind. Funnel the oil into clean, dry bottles. Dark glass protects it from light and slows rancidity.
Step 7: Label and store the oil
Label every bottle with the herb, the oil used and the date you made it. Add "craft use only, not for eating" to calendula or any skin oil. Extension guidance gives homemade oil made with dried herbs a storage life of up to about three months in a cool, dark place. Refrigerating it is safer still and slows rancidity. Throw away anything left after three months. Oil made with fresh herbs, fresh garlic or fresh peppers is a different product. It must go straight into the refrigerator and be used within 4 days, or be frozen for longer storage. Ice cube trays make handy portions for cooking. Never leave fresh-ingredient oil on the counter, even for a few hours.
Botulism warning: never store fresh garlic, fresh herbs or fresh peppers in oil at room temperature. Oil shuts out air, and the moisture in fresh ingredients lets botulism bacteria grow and make toxin. You cannot see, smell or taste it. Refrigerate such oil and use it within 4 days, or freeze it.
Common problems
The oil looks cloudy after refrigerating
Olive oil thickens and clouds when cold. This is normal and harmless. Let the bottle stand at room temperature for 15 to 30 minutes and it clears. If the oil stays cloudy once warm, treat it as spoiled.
Bubbles, a bulging lid or cloudiness at room temperature
These are signs that microbes are growing, usually because water got in. Do not taste the oil. Discard it without opening it near your face, and wash the bottle in hot, soapy water.
The oil smells sharp, stale or like old crayons
The oil has gone rancid from light, heat or age. Rancid oil tastes bitter and is not worth using. Throw it away. Next time, use dark bottles, store them cooler and make smaller batches.
Mould on herbs above the oil line
Herbs poking out of the oil are exposed to air and any moisture in the jar. Discard the whole batch. In future, keep herbs covered by at least 1 inch (2.5 cm) of oil and check that they are fully dry.
The flavour is weak
The herbs are probably old, or the infusion was too short. Use fresh, well-coloured dried herbs and extend the cold infusion by a week or two.
What to do next
Once your first bottle is labelled and stored, plan the next batch before it runs out. Cut back rosemary, thyme and oregano after flowering to encourage fresh growth for drying. Keep deadheading calendula through summer for a steady supply of petals. Your strained calendula oil is ready to melt with beeswax into a simple balm.