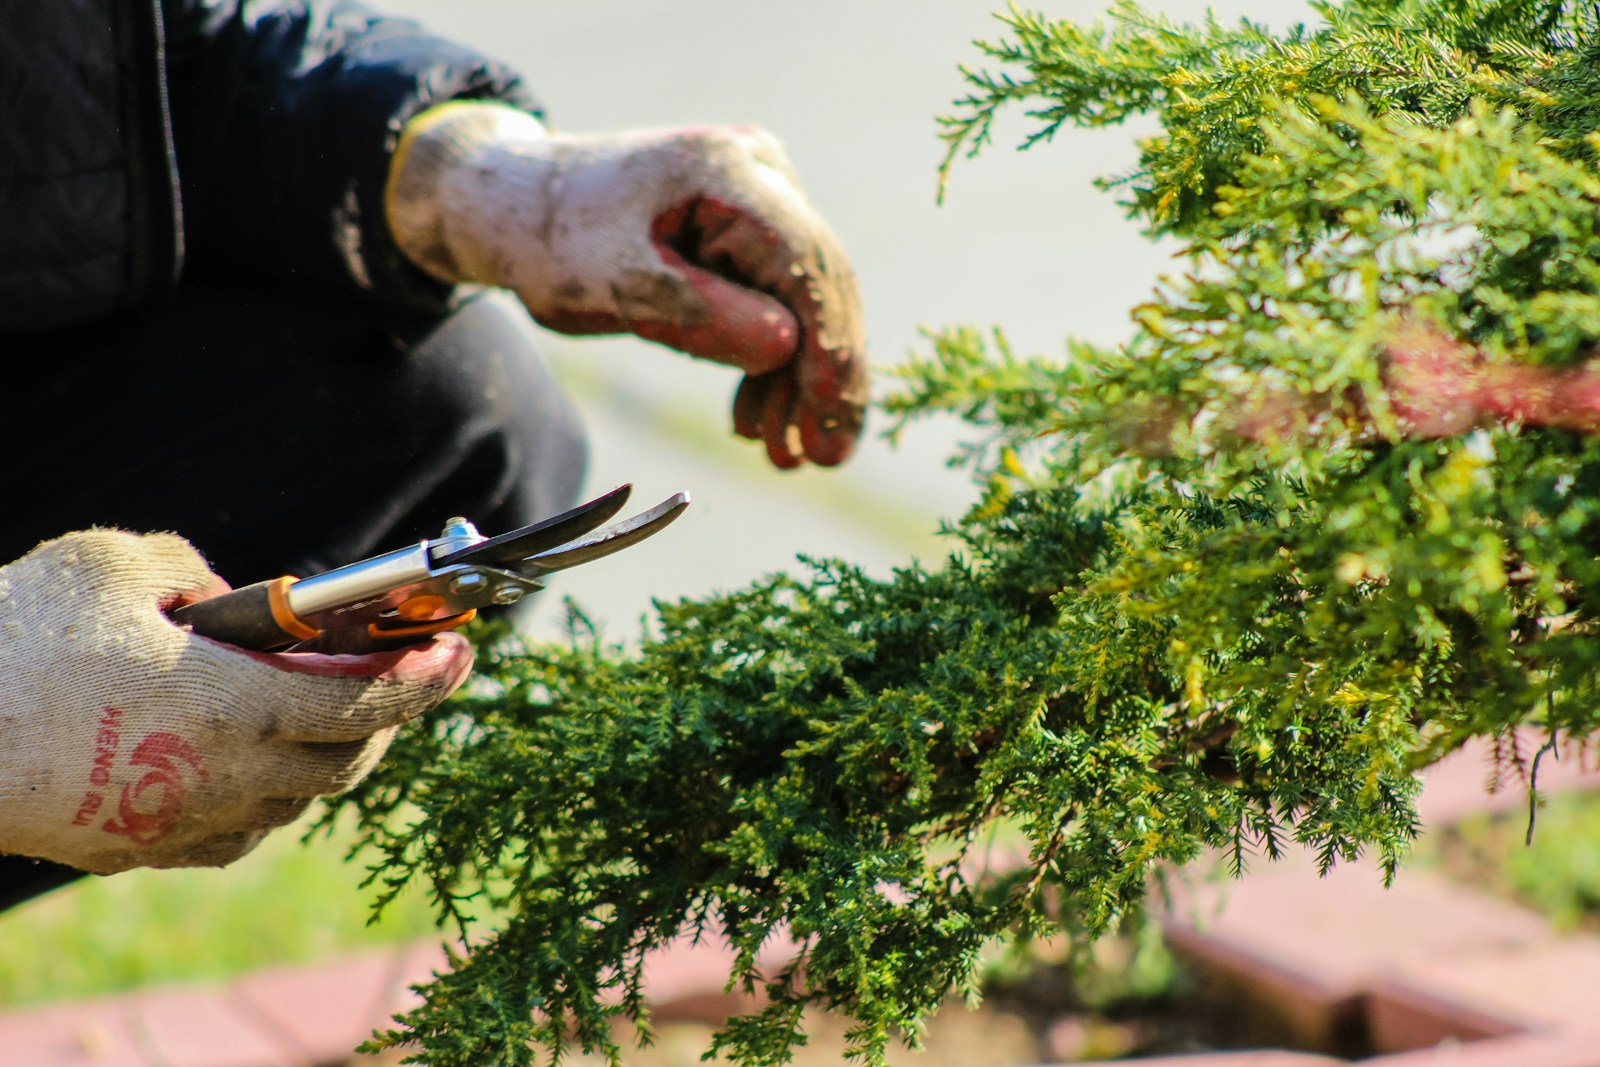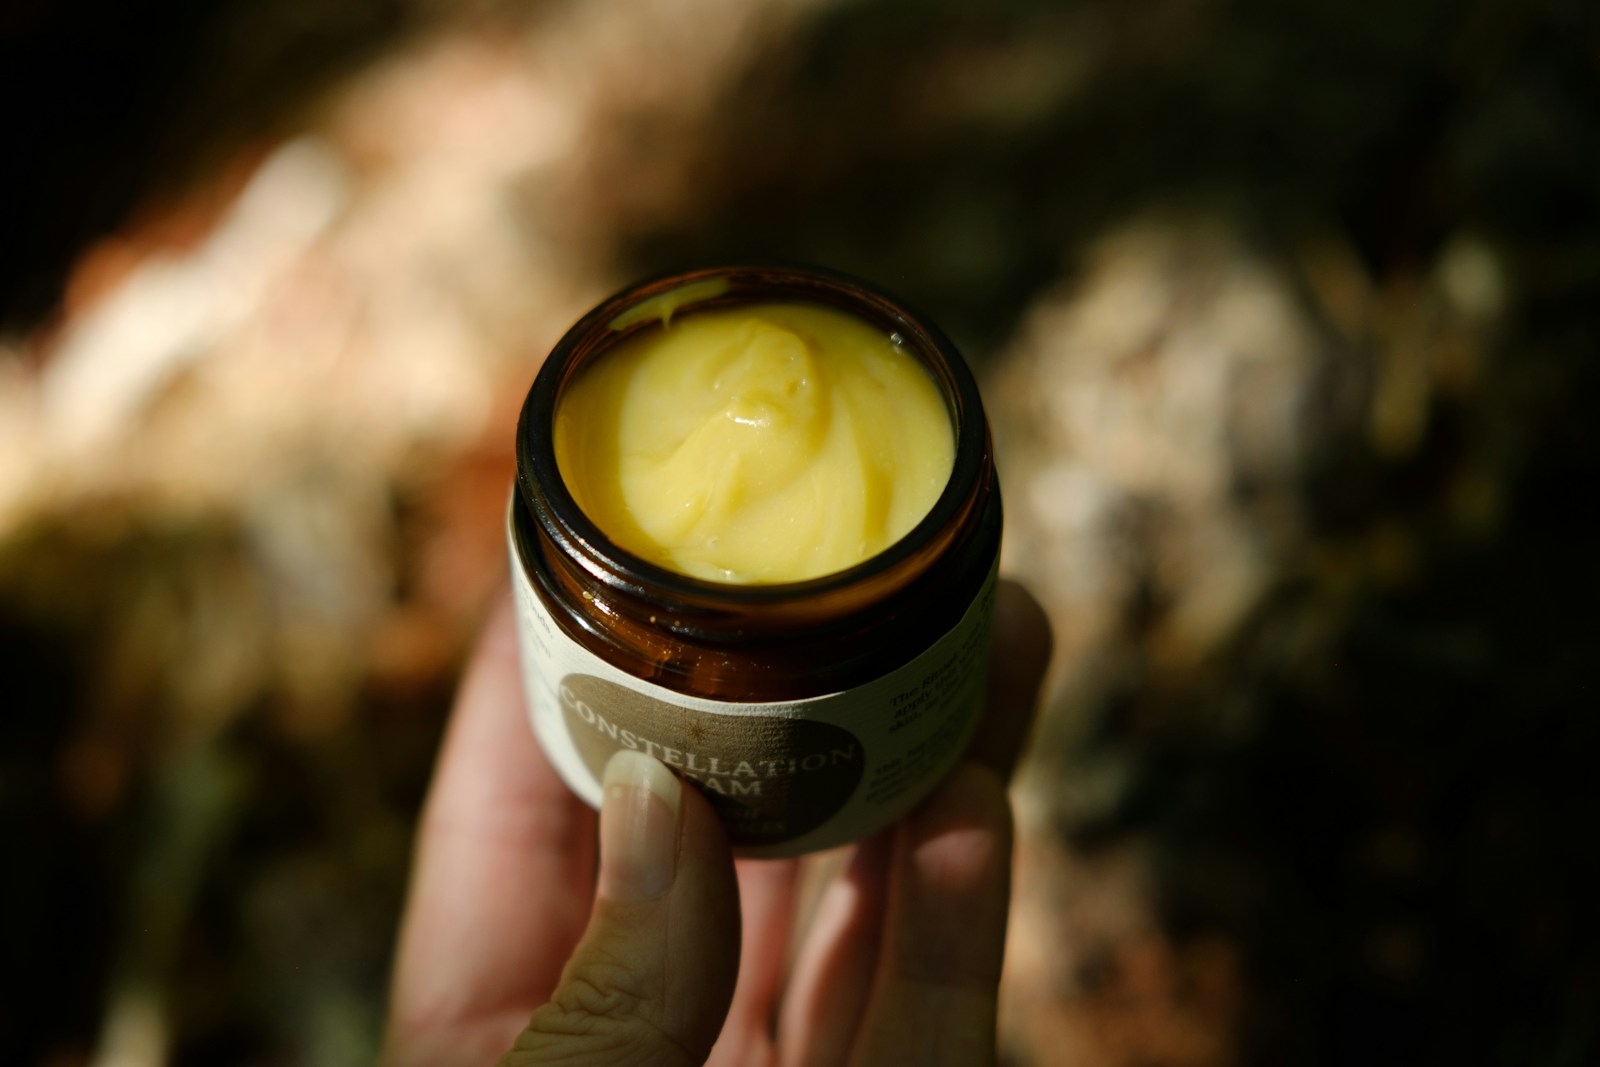
A good salve turns a jar of herb oil from your garden into a small tin of balm for dry, work-roughened hands. It takes under an hour and needs only two main ingredients. The one thing that matters most is gentle heat. Beeswax melts at a modest temperature, and slow warming keeps both you and the oil safe.
What you need
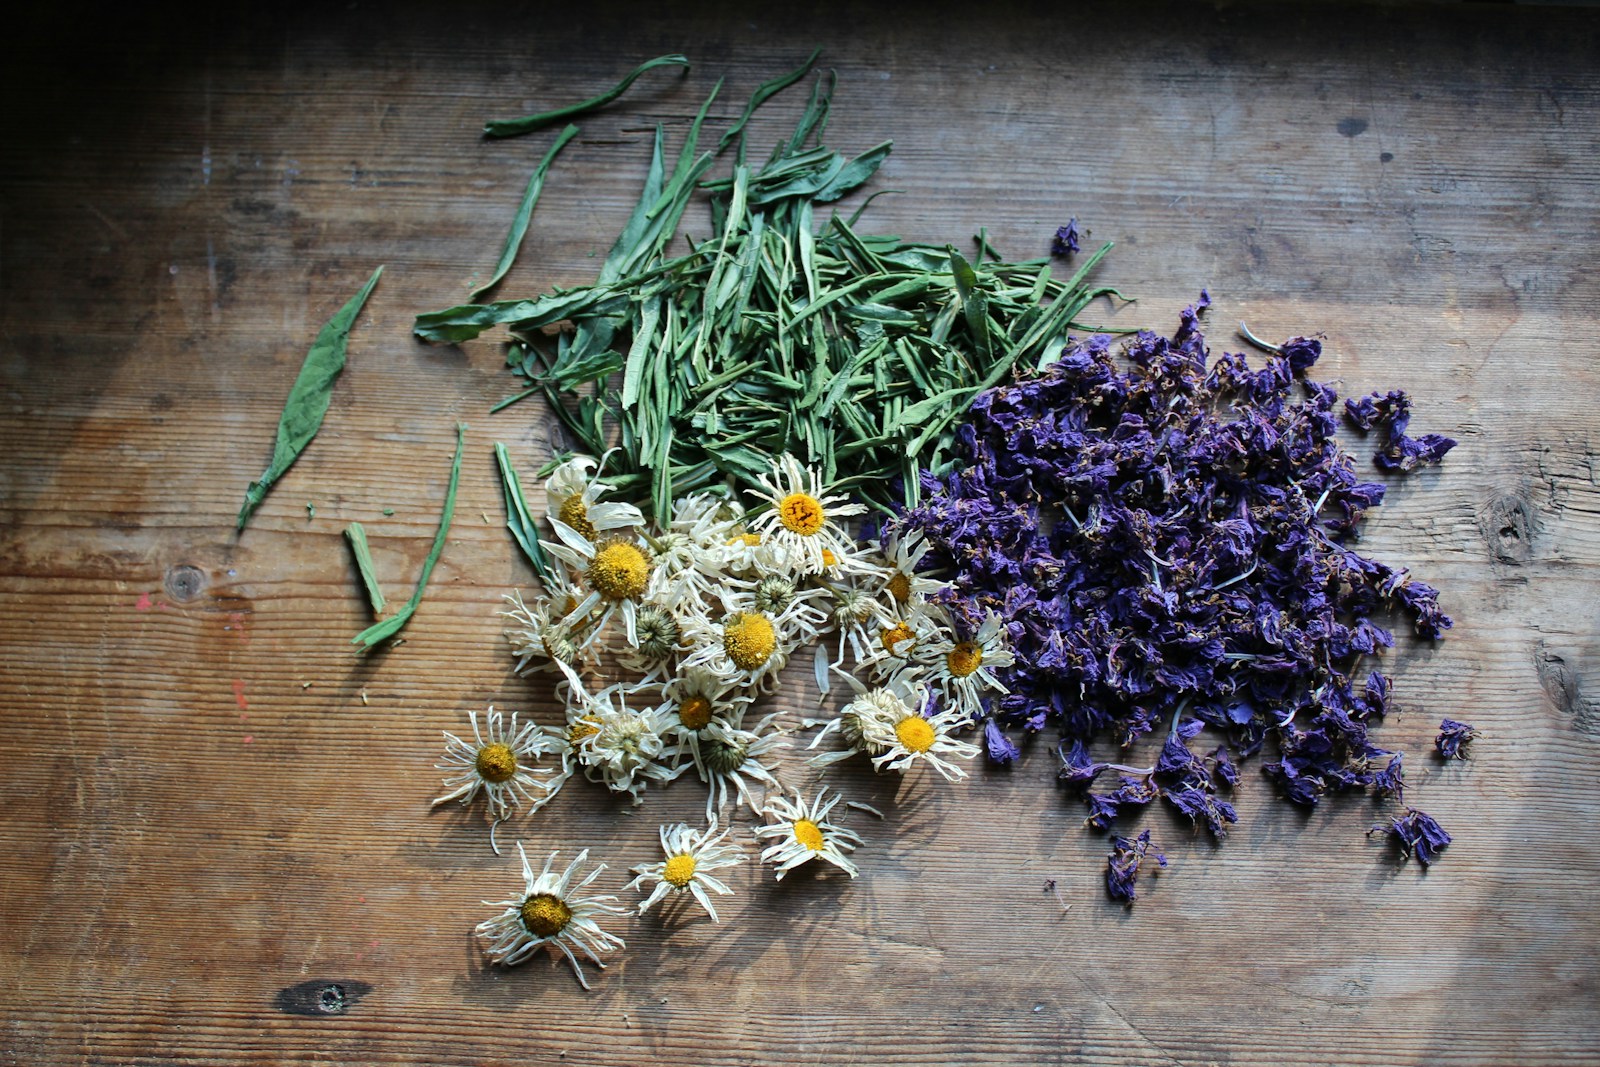
- Herb-infused oil, about 1 cup (240 ml), made from dried calendula, lavender or plantain
- Beeswax, about 1 ounce (28 g) by weight, in pellets or grated from a block
- A kitchen scale, or measuring spoons if you prefer volume
- A double boiler, or a heatproof glass jug in a pan of water
- A metal spoon kept in the freezer
- Clean, dry tins or small jars with lids
- A pan lid that fits your pot, and labels
- Vitamin E oil (optional)
When to make salve
You can make salve at any time of year, because the work happens indoors on the stove. Most gardeners make it in autumn or early winter. By then the herbs are dried, the oil has finished infusing, and hands are starting to crack from cold and outdoor work.
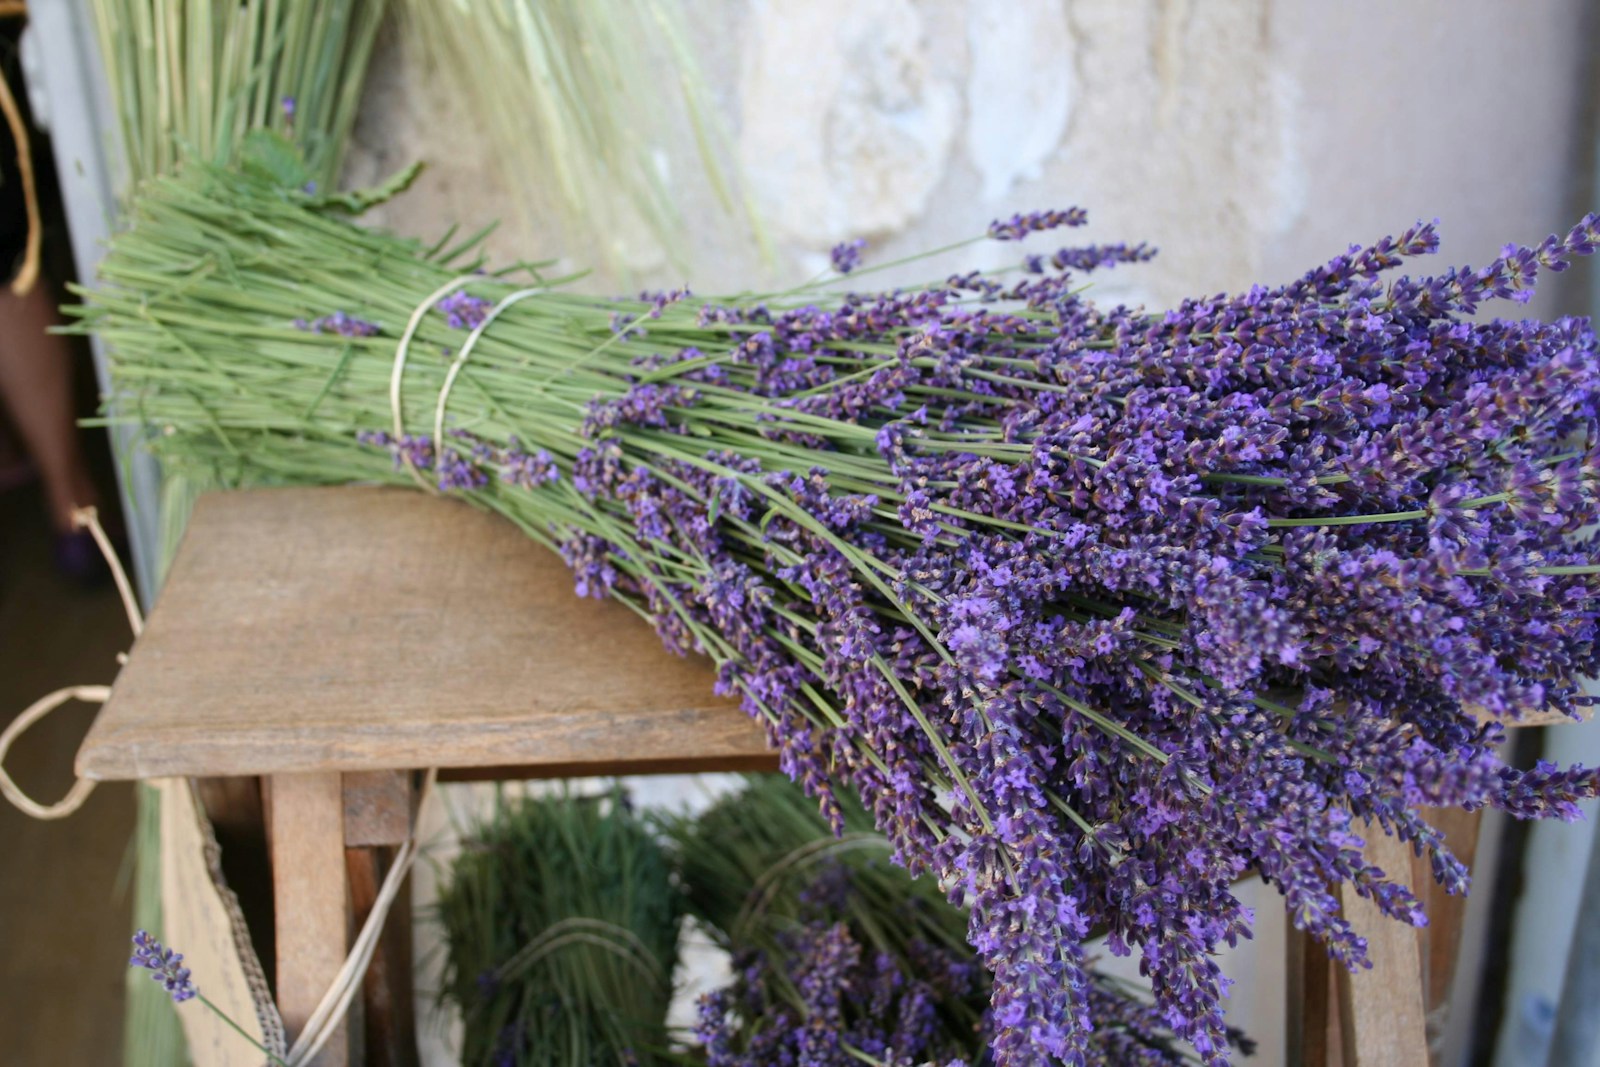
Plan ahead for the oil. Infused oil is a separate step. You steep dried herbs in a carrier oil, such as olive or sunflower oil, for several weeks, then strain it. Always start from dried herbs, since fresh leaves carry water that can spoil the oil.
Think about your climate too. In hot areas such as USDA zones 9 to 11, salve softens quickly in summer. There, a slightly firmer mix travels better in a pocket or a truck.
Step 1: Weigh the beeswax and oil
Measure your ingredients before you turn on any heat. A common starting point is about 1 part beeswax to 4 parts oil. That works out to roughly 1 ounce (28 g) of wax for every 4 ounces (113 g) of oil. Many makers use this ratio by weight, and it also works reasonably well by volume.
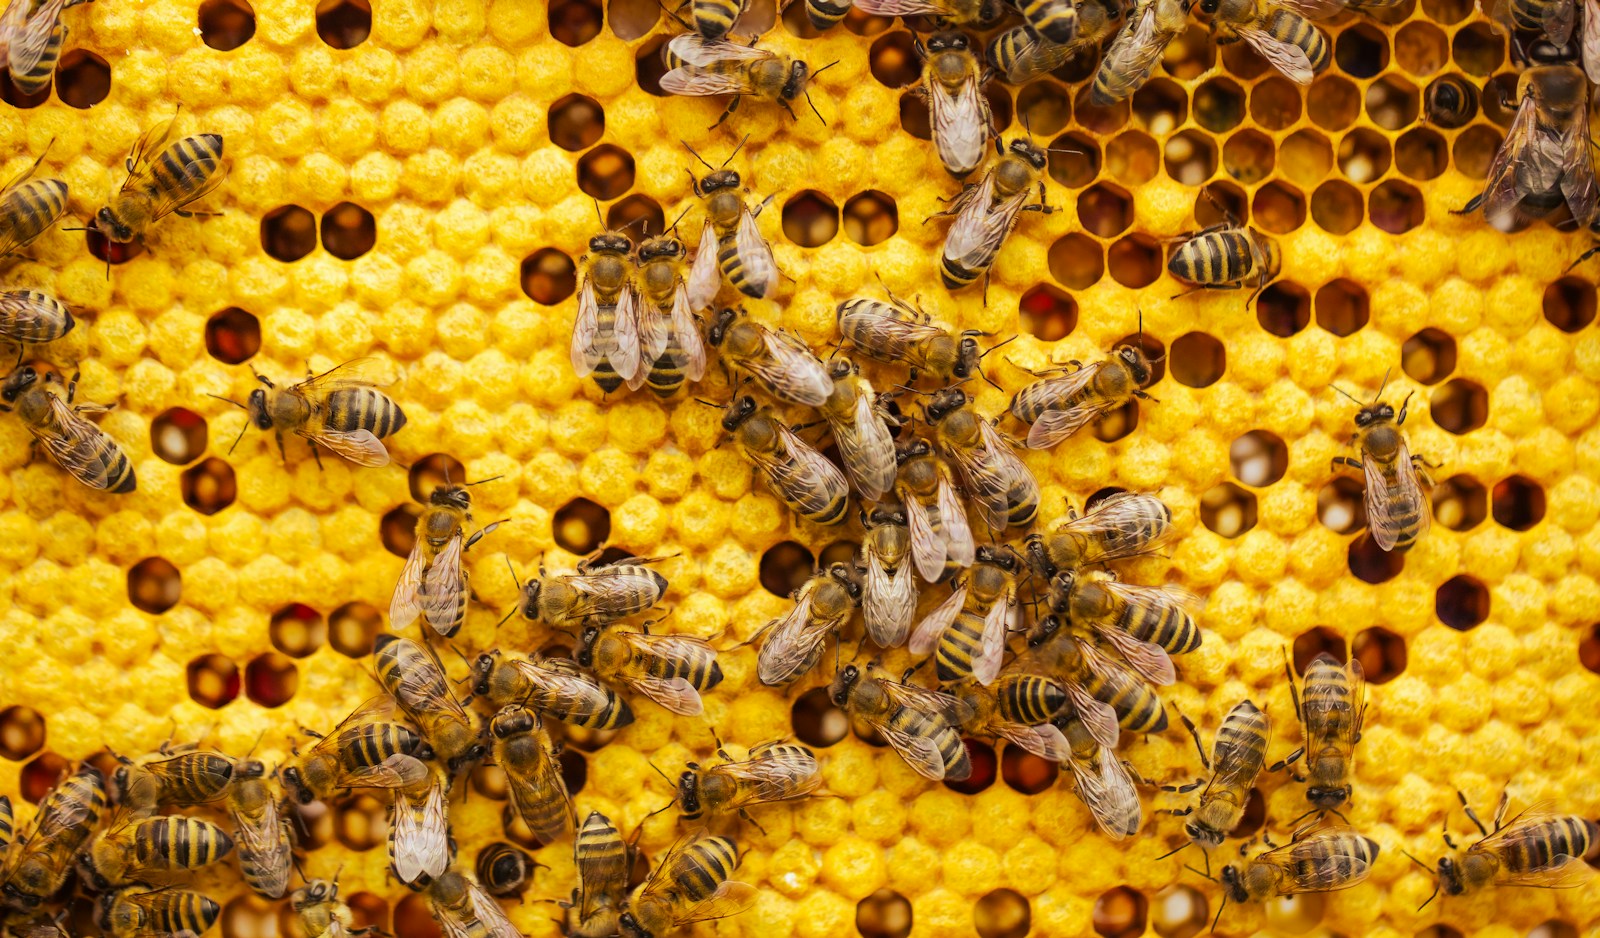
Treat this as a starting point, not a fixed rule. Different oils and different batches of wax set a little differently. Your first batch tells you what to change next time.
Weighing gives the most repeatable result. Pellets make weighing easy. If you use a block, grate it on a coarse grater kept for wax only. Wax is hard to scrub off kitchen tools, so an old grater or jug saves washing up.
Check your oil before you begin. It should smell of the herb and of fresh oil. If it smells sharp, stale or like old crayons, it has gone rancid (the fats have broken down). Start again with fresh oil.
Step 2: Melt the wax gently in a double boiler
Put a few inches of water in the bottom pan and bring it to a gentle simmer. Set the jug or top pan over it and add the beeswax first. Beeswax melts at roughly 144 to 149°F (62 to 65°C), well below the boiling point of water, so the simmering water is plenty. Once the wax has melted, stir in the herb oil. The cooler oil can make some wax firm up again, so keep stirring over the heat until the mix is clear. Heat safety: never heat wax in a pan over direct high heat, because hot wax can smoke and catch fire. Keep water out of the hot wax, since even a few drops make it spit and can scald you. Keep a pan lid within reach. If the wax ever flames, turn off the heat and slide the lid over it. Never throw water on burning wax. Stay with the pan the whole time, and keep children and pets away from the stove.
Keep the heat low for the herb oil as well. Long, hot heating dulls the scent of lavender and can darken the oil.
Step 3: Test the firmness with a cold spoon
Take your spoon from the freezer and dip the tip into the melted mix. Lift it out and wait about a minute. The thin layer sets fast on the cold metal and shows you how the finished salve will feel.
Rub the set salve between your fingers. It should feel firm in the spoon but melt easily on warm skin. Adjust now, while it is still liquid:
- Too hard or waxy: add a little more oil, about a tablespoon (15 ml) at a time.
- Too soft or greasy: add a little more beeswax, a few pellets at a time.
More wax gives a firmer balm. Less wax gives a softer, more spreadable one. Wipe the spoon, chill it again, and retest after each change. Write down what you added so your next batch is right first time.
Step 4: Add vitamin E and pour into tins
Take the pan off the heat. If you are using vitamin E oil, stir in a few drops now. It is an antioxidant (a substance that slows oils from going stale), so it can help the oil stay fresh a little longer. It does not stop mould, so it is no substitute for keeping water out.
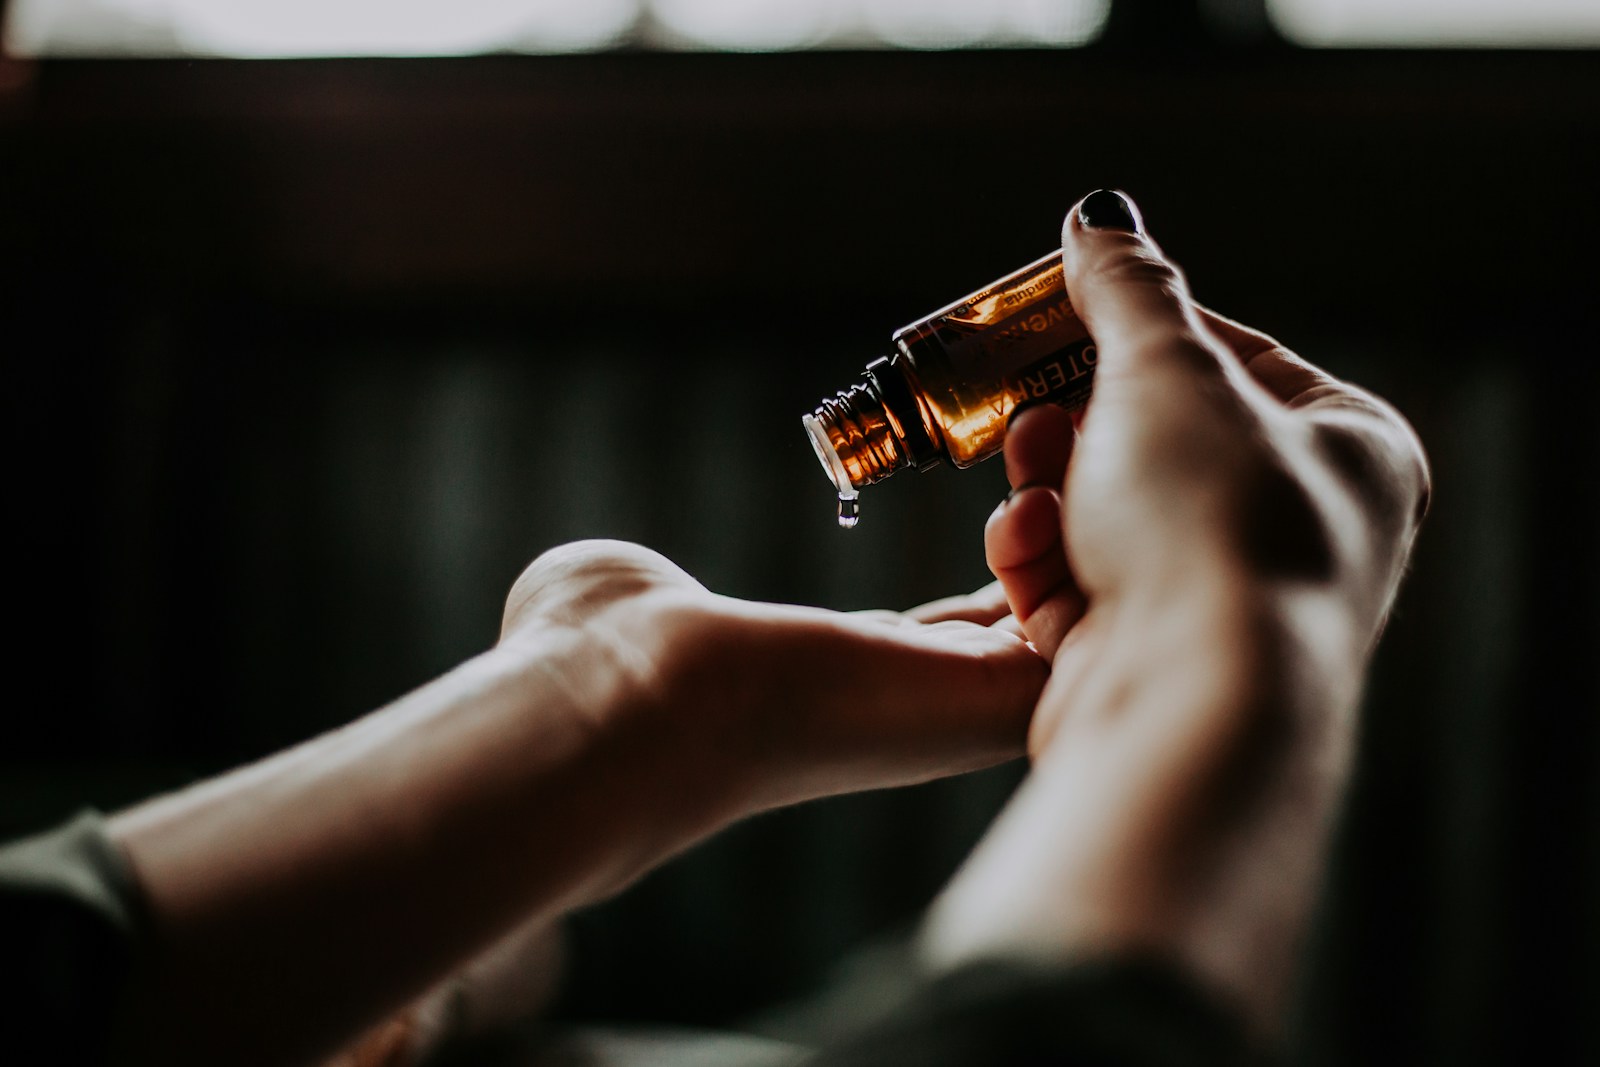
Pour the warm mix straight into clean, completely dry tins or jars. Work steadily, because the salve starts setting on the rim of the jug as it cools. A jug with a spout makes pouring easier. Hold a paper towel under the lip to catch drips.
Hot wax burns skin, so pour away from your body and keep your other hand clear. Stand the containers on a tray or folded towel, not on a cold stone counter. A very cold surface can make the salve set unevenly.
Step 5: Cool, label and store
Leave the containers open and still until the salve is fully set. This usually takes 30 minutes to an hour, depending on the size of the tin. Covering it too soon traps steam, and droplets of water under the lid can lead to mould.
Once set, put the lids on and label each tin. Write the herb, the oil and the beeswax on the label, plus the date you made it. That way anyone using it knows exactly what is inside.
Store the tins somewhere cool and dark, out of direct sun and away from the stove or a car dashboard. Heat softens the salve and speeds up rancidity. Most homemade beeswax salves keep for about 6 months to a year. The freshness of your oil sets the limit. If the salve smells stale or shows spots of mould, throw it away.
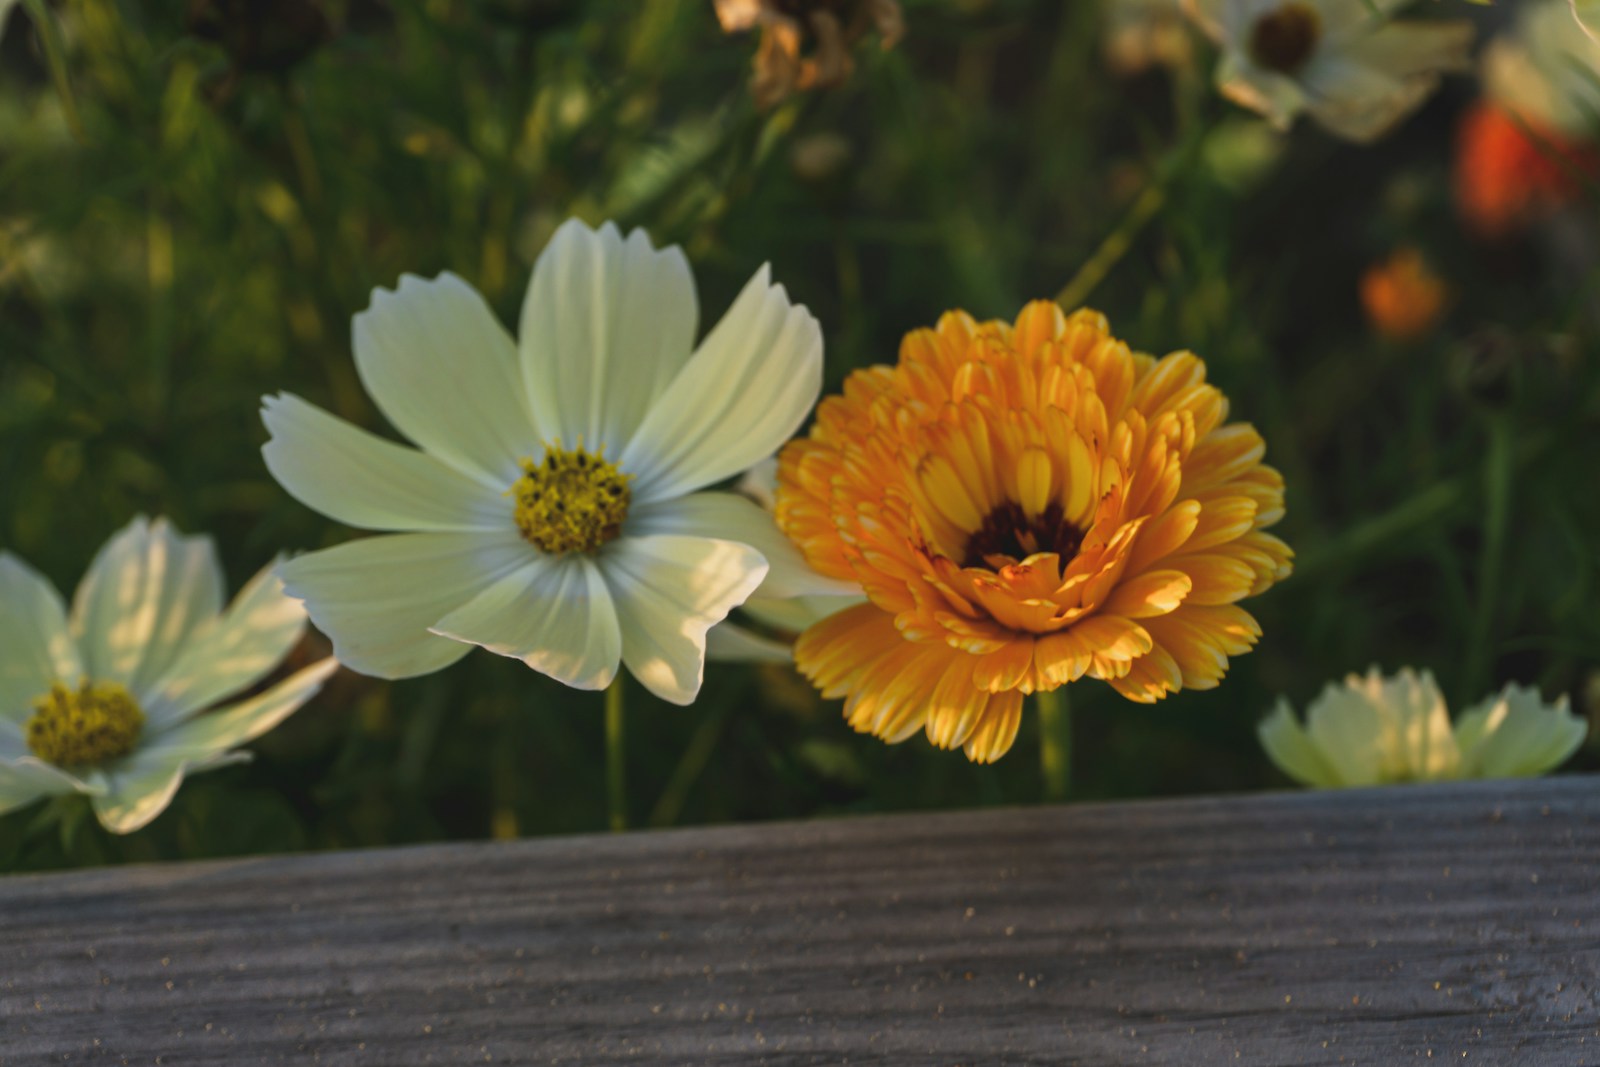
Before using any new salve, patch test it. Rub a small amount on the inside of your forearm and wait 24 to 48 hours. If you see redness, itching or a rash, wash it off and do not use it. Calendula belongs to the daisy family (Asteraceae). People allergic to ragweed, chamomile, marigolds or other daisy-family plants can react to it.
Always patch test a new salve before using it, and stop if your skin reacts. Never put homemade salve on deep wounds, burns or broken skin. See a doctor for those.
Common problems
Salve is too hard to spread
The mix has too much beeswax for your oil, or your room is cold. Scoop the salve back into the double boiler and melt it gently. Stir in a little more oil, check with the cold spoon, and pour again. A salve that is only stiff in winter often softens enough in a pocket for a few minutes.
Salve is soft, greasy or melts in the tin
There is not enough beeswax, or the tin is stored somewhere warm. Remelt it gently and add a few more pellets of wax. Retest on a cold spoon before you pour. Then move the tins to a cooler place, well away from sunny windowsills and vehicles.
Top cracks or sinks in the middle
This usually happens when salve cools unevenly, for example on a cold counter or in a draught. It does not harm the balm. To tidy it, stand the open tin in a pan of hot water until the top melts, then let it cool slowly in a warm room.
Salve smells stale or like crayons
The oil has gone rancid. This happens when the oil was old to start with, or the salve was stored somewhere hot or bright. Rancid salve is best thrown away. Next time, use fresh oil, add vitamin E, and store the tins in a cool cupboard.
Fuzzy spots or cloudy patches appear
Water got into the salve. It usually comes from fresh herbs in the oil, a damp tin, a drop from the double boiler, or lids closed too soon. Throw the batch away. Next time, use only dried herbs and dry every tin and tool thoroughly.
What to do next
Once you have a batch you like, start your next infused oil so it is ready when your tins run low. Try the same method with a different dried herb, or change the ratio slightly for a firmer pocket balm. Keep notes on each batch, including the ratio, the oil and the date.