A garden journal turns each season into a lesson you keep. You learn which varieties suit your soil and when your frosts really arrive. You also learn which pests come back every year. The one thing that matters most is writing things down on the day they happen. Memory blurs within weeks, and a short dated note beats a detailed guess.
What you need
- A notebook with sturdy pages, or a digital record on your phone or computer
- A pencil, which does not run when the page gets damp
- A phone or camera for photos
- A tape measure for mapping beds
- Absorbent paper, such as newsprint or blotting paper, and a stack of heavy books for pressing
- Plain card or heavy paper for mounting specimens
- A rain gauge and an outdoor thermometer (optional)
When to start a garden journal
Start now, whatever the season. In late winter you can map your beds and list the seed you plan to sow. In spring and summer you record sowing, germination (seeds sprouting) and growth. In autumn you note harvests and the first frost. Winter is for reading back and planning.
Timing in your journal should run by frost dates, not calendar dates. Your average last spring frost and first autumn frost depend on where you live. A garden in USDA zone 4 can have a growing season two months shorter than one in zone 8. Look up your average frost dates through your local extension service, then write down the frosts you actually get. Over a few years, your own records become more useful than any published average.
Step 1: Choose a paper notebook or a digital record
Pick the format you will actually use. A paper notebook needs no battery and works with muddy hands. It also holds sketches and pressed plants. A digital record is searchable, holds unlimited photos and is easy to back up.
Many gardeners use both. A small notebook lives in a pocket or shed for quick notes. Once a week, the notes move into a fuller record. GardenRuler lets you map your garden plots and beds and track your plants, so it can serve as that fuller record.
For paper, choose a bound notebook with at least a few hundred pages. A ring binder works well too, because you can add pages and move them around. Leave the first few pages blank for an index and your frost dates.
Whatever you choose, keep one format as the main record. Notes split across three apps and two notebooks rarely get read again.
Step 2: Draw a map of your beds
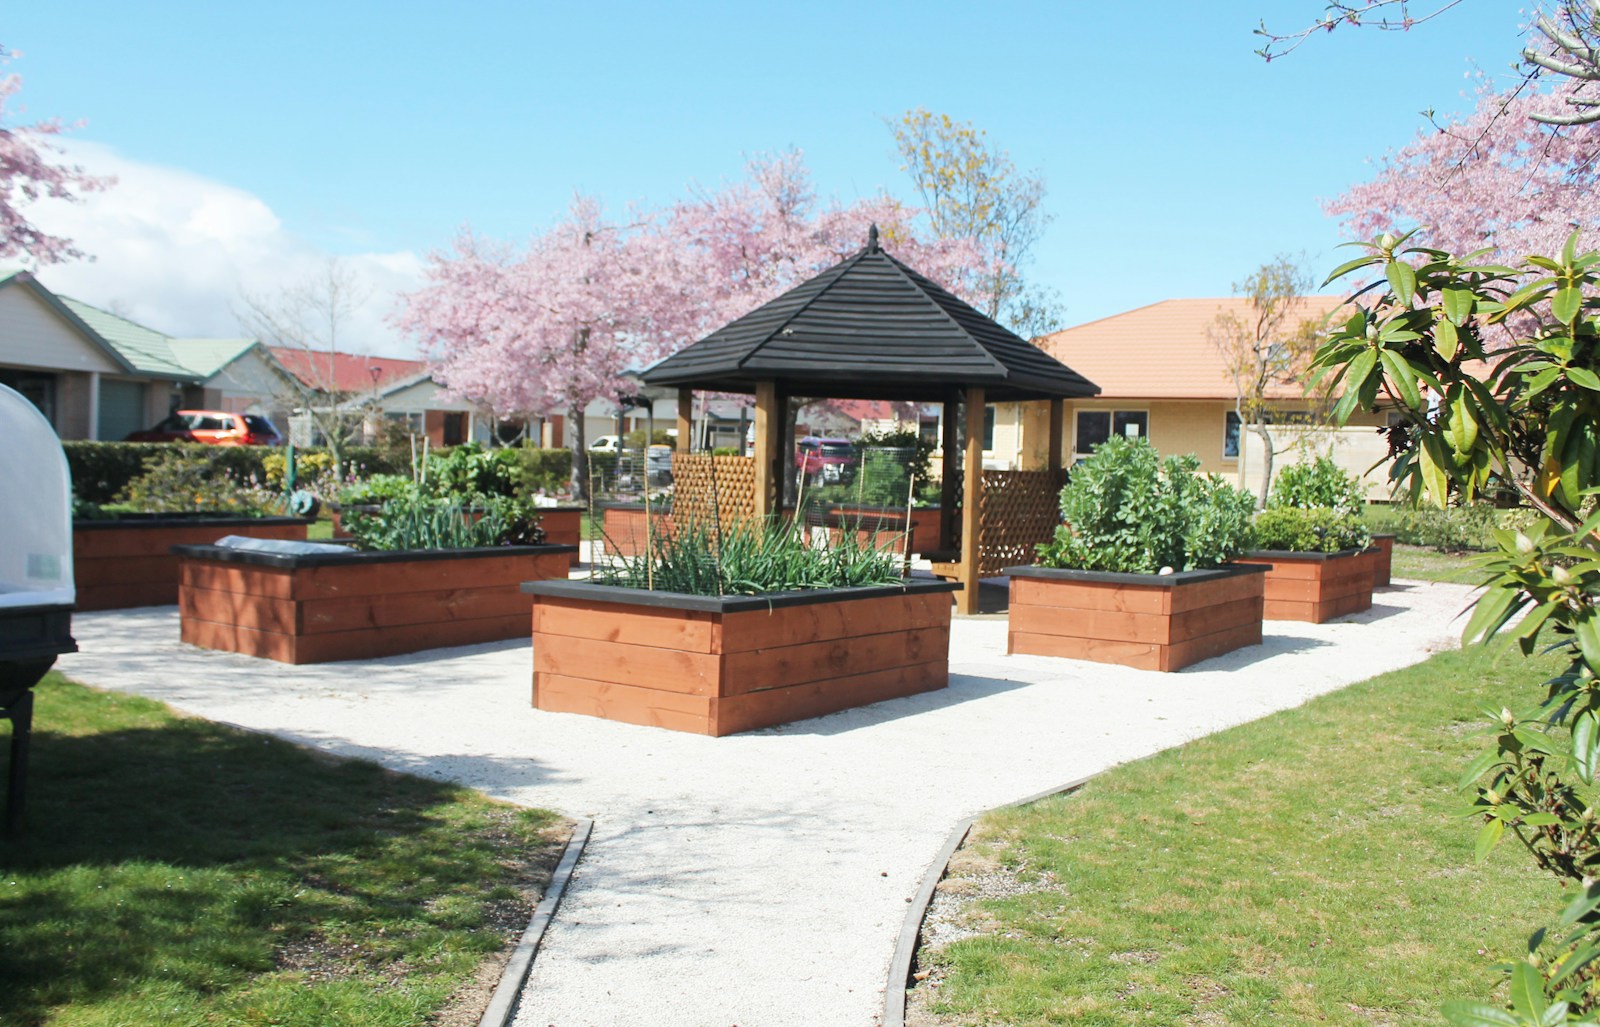
Measure each bed and draw it to rough scale. One square on graph paper can equal 1 foot (30 cm). Mark north, paths, fences, trees and water taps. Shade the areas that get less than six hours of direct sun.
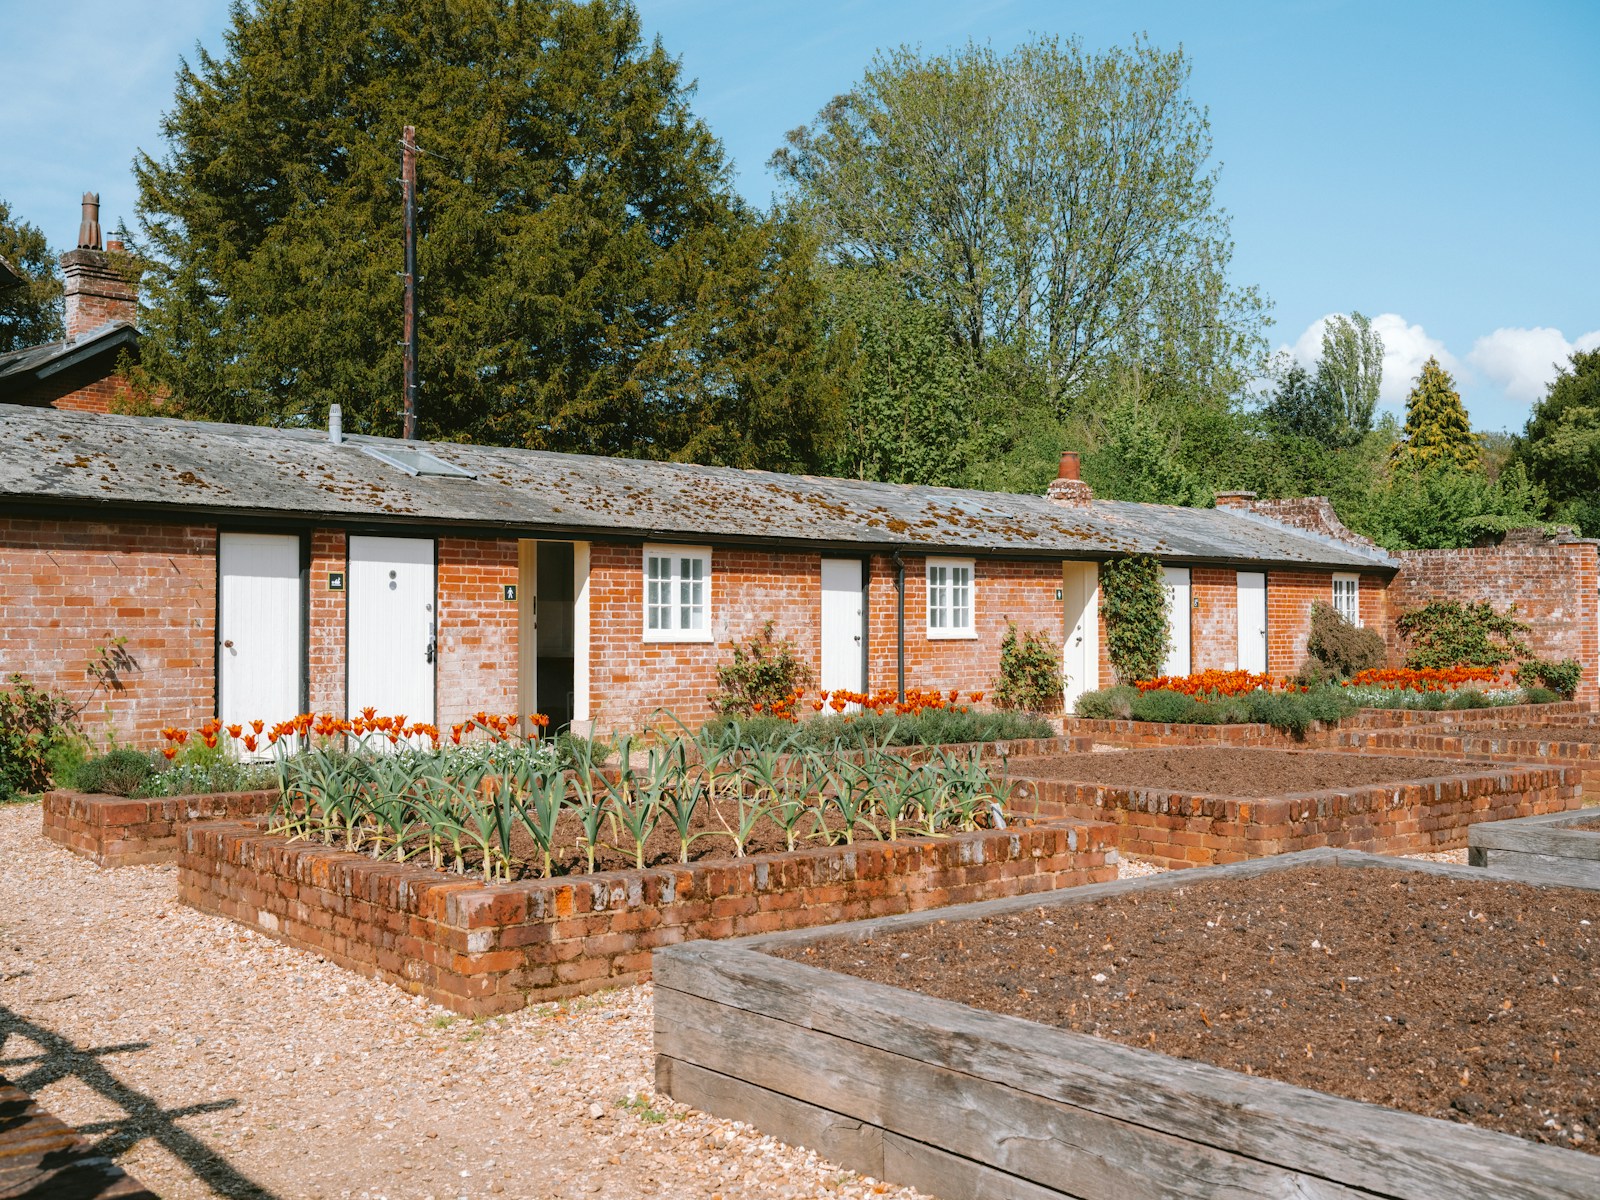
Give every bed a short name or number, such as "Bed 1" or "Back fence". Use that name in every later entry. Then you can look up exactly what grew where, year after year.
Draw a fresh copy of the map each season and fill in what you plant. Keep the old maps. They are the backbone of crop rotation later.
Step 3: Record varieties, seed sources and dates
For each crop, write down:
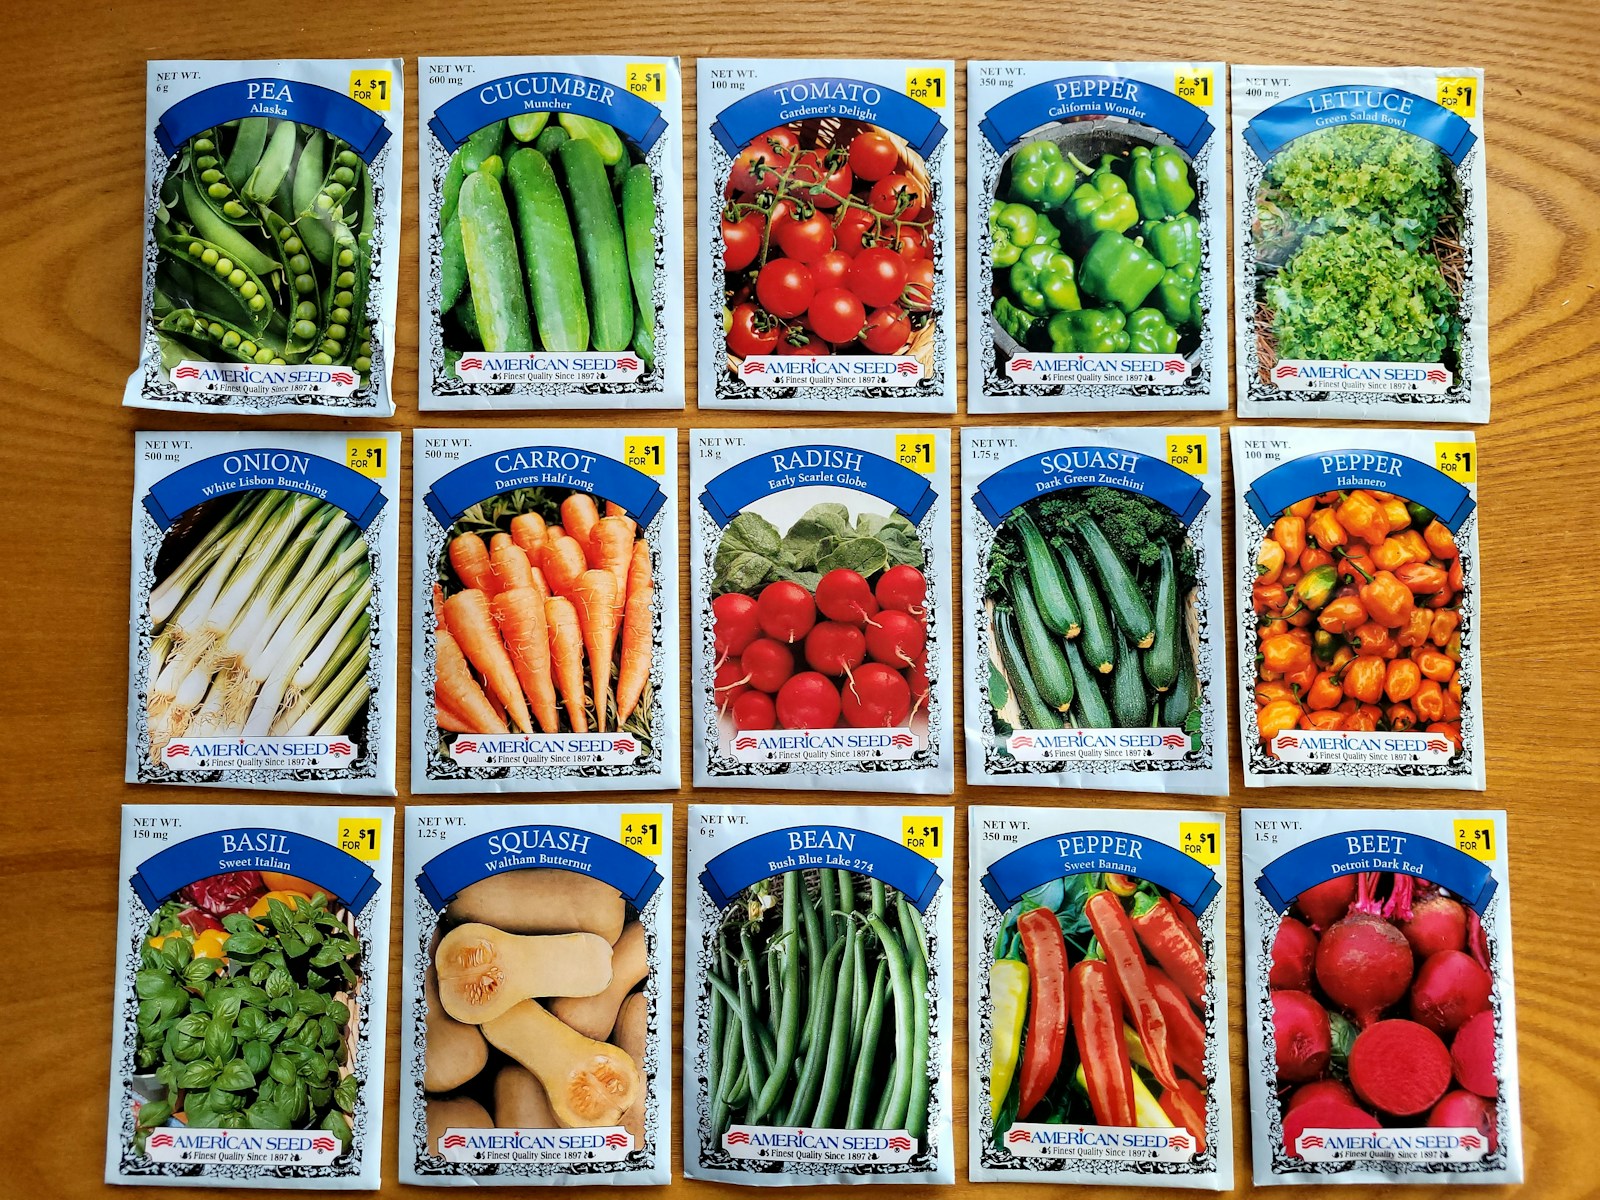
- The variety name, exactly as printed on the packet
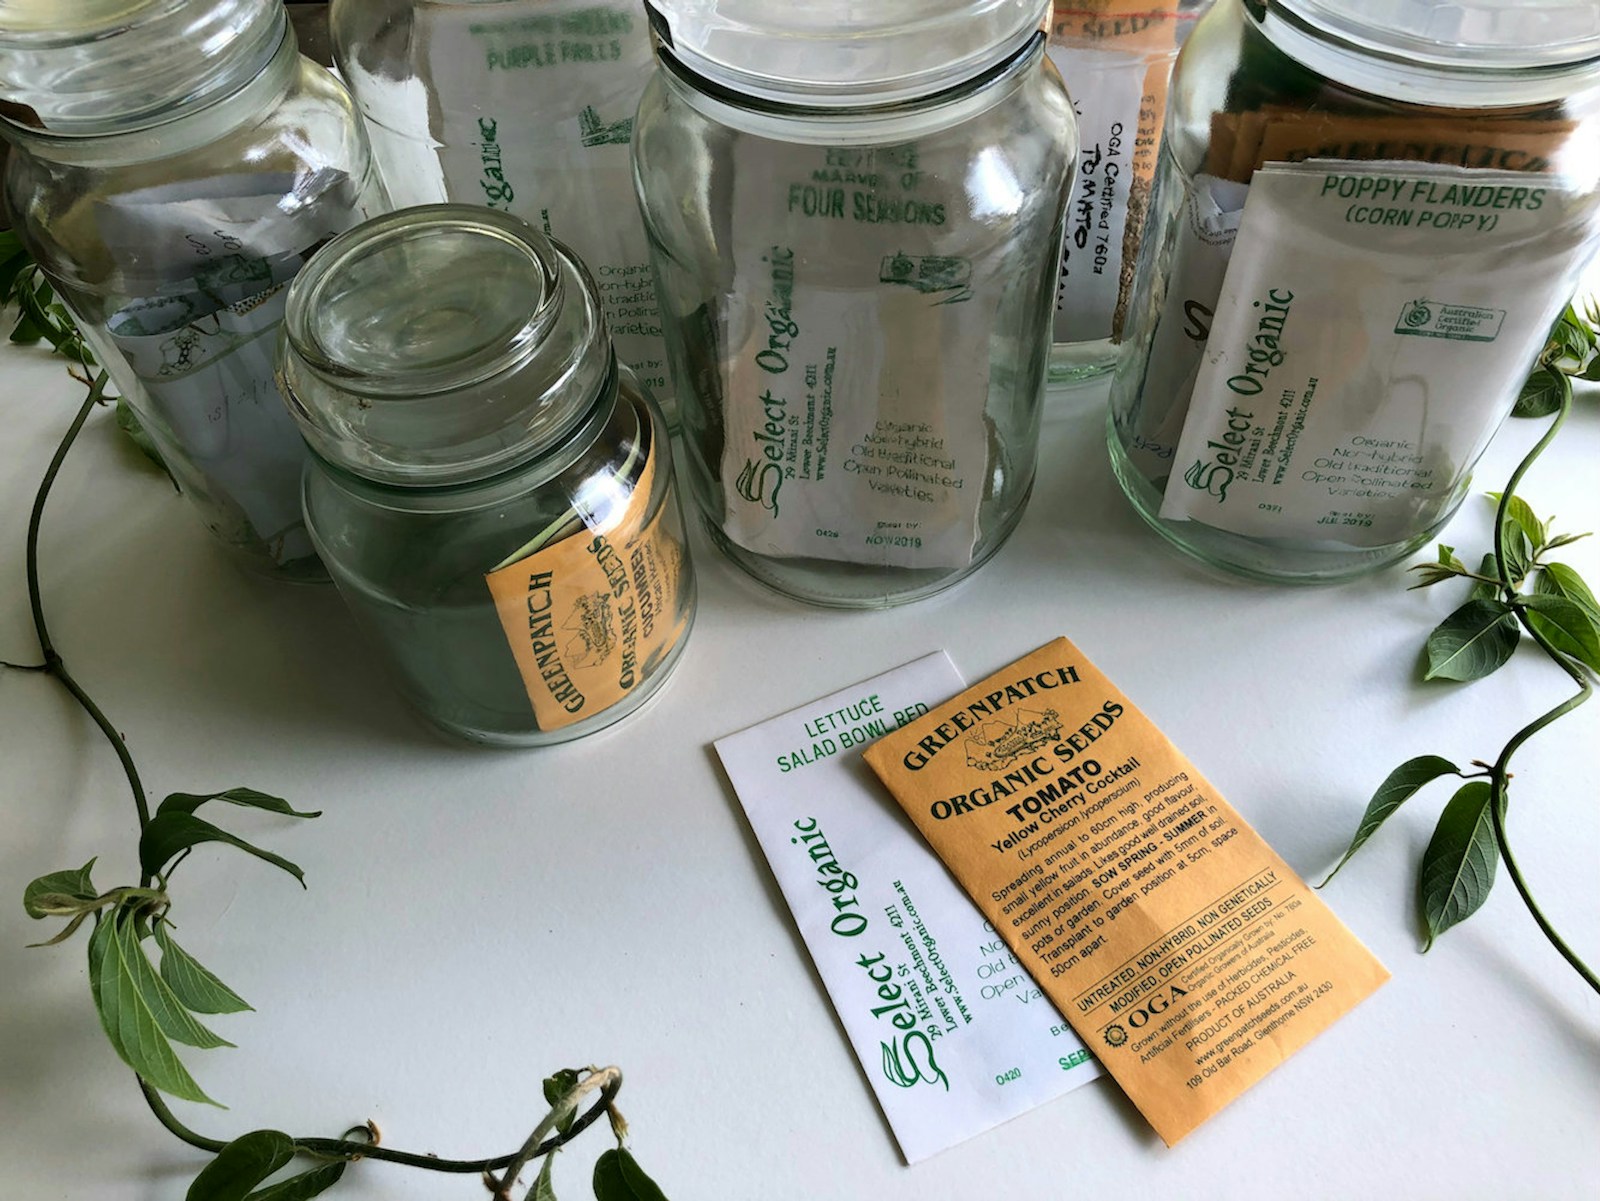
- Where the seed or plant came from, and the year it was packed
- The date you sowed it, and whether indoors or direct in the ground
- The date you planted it out, and which bed it went into
- Your average last and first frost dates, and the real ones you saw
Keep empty seed packets in an envelope or tape them into the journal. They carry spacing and days-to-maturity details you might want later.
Also note how many weeks before or after your last frost you sowed. "Sowed six weeks before last frost" transfers to next year. A bare date does not, because frost dates shift from year to year.
Step 4: Log weather, germination and harvests
Add a brief weather line to each entry. Note high and low temperatures, rainfall and anything unusual, such as hail, a heat wave or a late frost. A rain gauge lets you record rain in inches (mm).
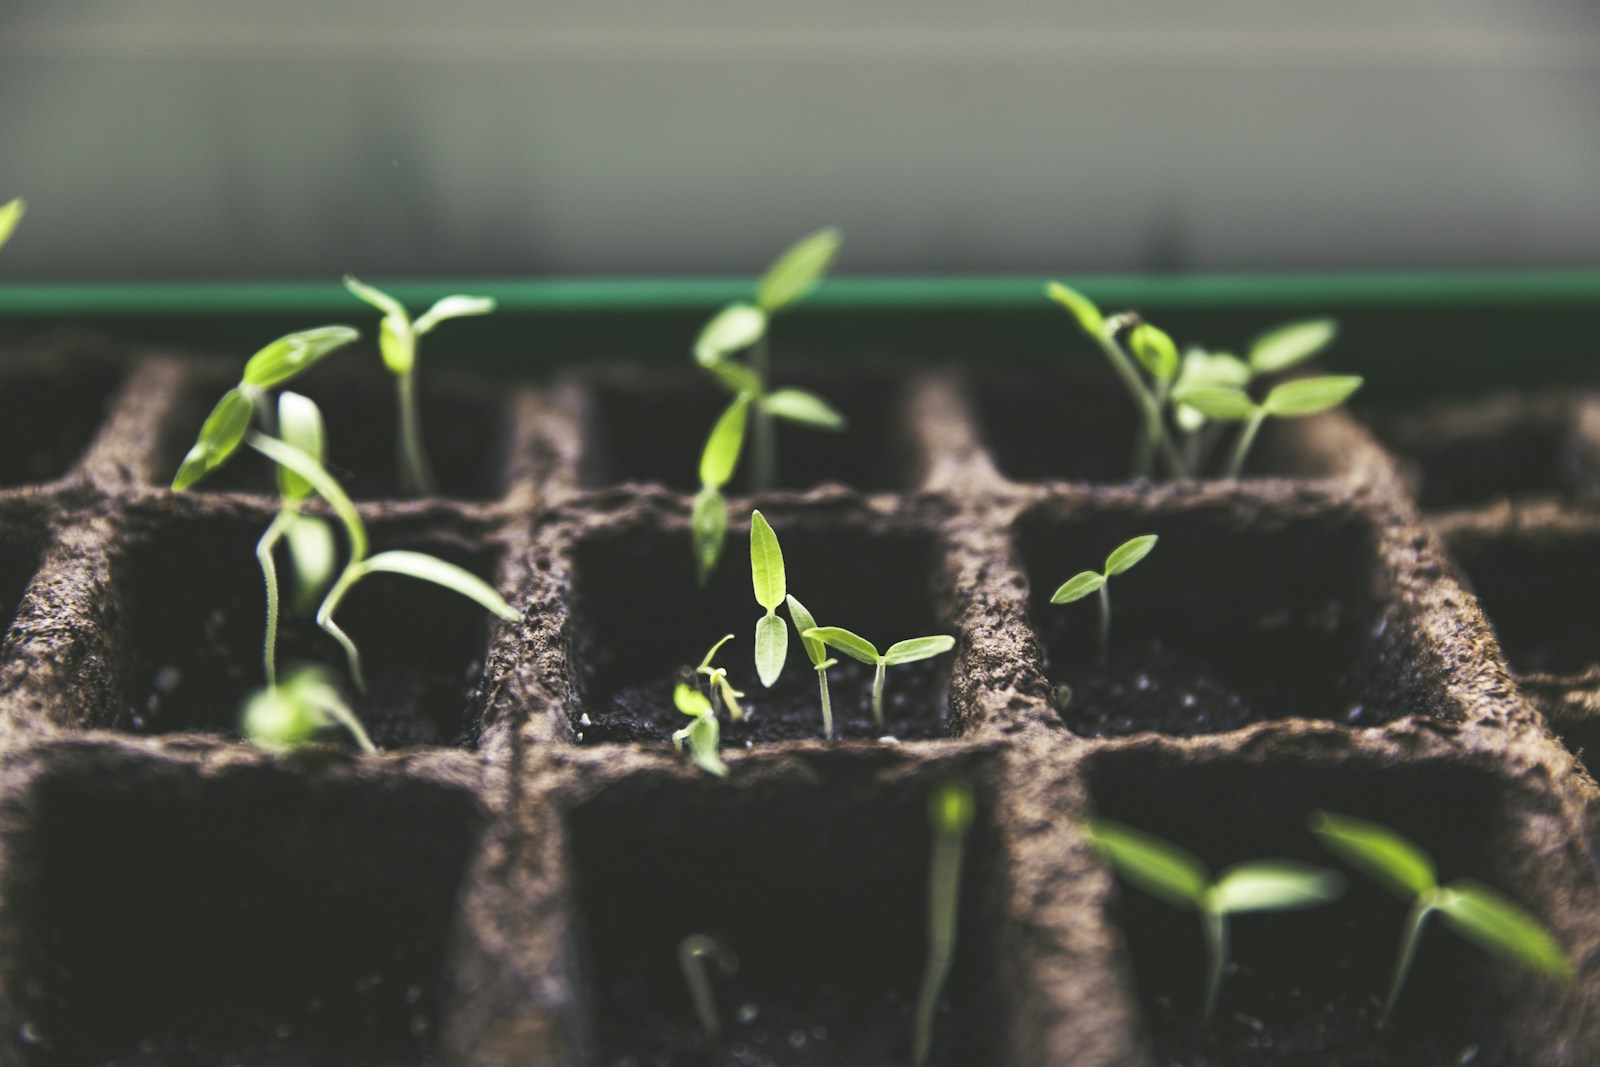
For germination, count the seeds you sow and the seedlings that come up. Twenty seeds sown and fifteen up gives a 75 percent germination rate. If the rate is low, write down the soil conditions and the age of the seed.
For harvests, record the date of the first and last pick, plus the amount. Weigh it in pounds (kg) or count it, whichever is easier. Add a quick note on flavor and quality. After a season, you know which varieties earn their space.
Step 5: Note pests, problems and fixes
When something goes wrong, write down four things. Record the date, the plant, what you saw and what you did. Then come back later and add whether the fix worked.
Describe damage exactly. "Holes in cabbage leaves, green caterpillars underneath" helps far more than "bugs on cabbage". If you are unsure what the pest is, take a photo and take it to your local extension service for identification.
If you use any spray, even an organic one, record the product name and the date. Follow the label directions, wear the protective gear the label lists, and store it out of reach of children and pets. Over several years, your notes show which problems return on a schedule. Then you can act before they arrive.
Step 6: Add pressed specimens, sketches and photos
Pressed leaves and flowers make identification notes far more useful. Collect only from your own garden, or with the owner's permission. Pick a dry, healthy piece with leaves and a flower if possible. Lay it flat between sheets of absorbent paper and stack heavy books on top. Change the paper after a few days to stop mold. Most specimens dry in one to three weeks. Wear gloves when handling plants with irritating sap, and wash your hands afterwards.
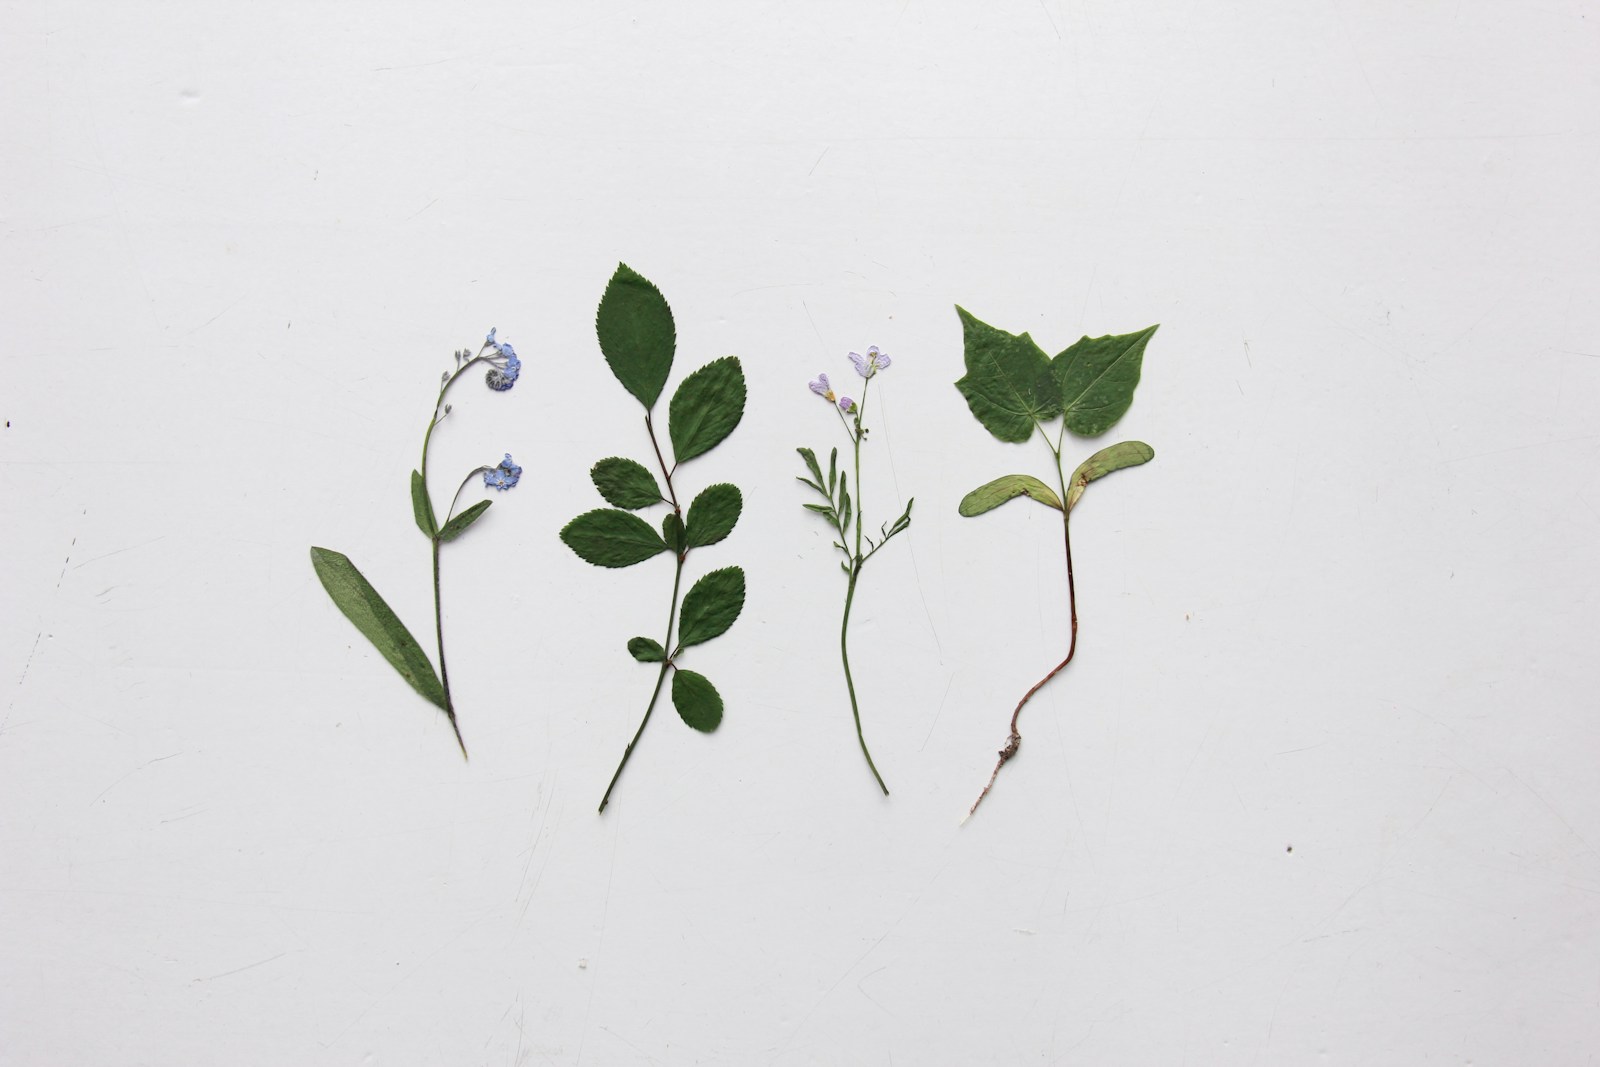
Never collect or press protected, rare or endangered plants, and never collect from wild places, parks or nature reserves without permission. Take a photo and make a sketch instead.
Mount each dry specimen on card with a label. Include the date, the place, the common name and the botanical name if you know it.
Sketches need no artistic skill. Draw the leaf shape, the edge of the leaf and how the leaves attach to the stem. These details often settle an identification.
Take photos of each bed from the same spot every few weeks. Include something for scale, such as a ruler or a hand. Photograph pest damage close up and name each file with the date and bed.
Step 7: Review the journal each winter
Once the garden goes quiet, read the whole year's journal. Mark what worked, what failed and what you want to change next year. Write a short "next year" list at the end of the season.
Use your bed maps to plan crop rotation (moving plant families to a different bed each year). This helps limit soil-borne pests and diseases. Group crops by family: tomatoes, peppers, potatoes and eggplant together; cabbage, broccoli and kale together; beans and peas together; onions and garlic together. Most gardeners wait three or four years before a family returns to the same bed.
Compare your germination and harvest notes by variety. Drop the poor performers and order more of the best.
Common problems
You stop writing by midsummer
The busiest part of the season is when entries dry up. Lower the bar. A single line with the date, the weather and one observation still counts. Keep the notebook or phone where you work, not in the house.
Entries are too vague to use later
Notes such as "tomatoes did well" teach you little. Always include the variety, the bed name and a number: a date, a count or a weight. Short and specific beats long and general.
Pressed specimens turn brown or moldy
The paper stayed damp too long, or the plant was wet when you pressed it. Collect on a dry day, after dew has gone. Change the paper after the first few days and keep the stack somewhere warm and dry.
You cannot match photos to beds
Photos pile up with no context. Name or tag each photo with the date and the bed, and move them into a folder for that season each week. Write a one-line note in the journal pointing to the photo.
Labels in the bed fade and plants get mixed up
Marker pen fades in sun. Write plant labels in pencil, which lasts longer outdoors, and record each variety on your bed map too. Then the map is your backup if a label goes missing.
What to do next
Before your next sowing season, draw a fresh bed map. Use last year's maps and your "next year" list to rotate crop families into new beds. Then order seed, write your average frost dates on the first page and start the new year's entries with your first sowing.