Learning to name a plant with confidence lets you forage, weed and gather flowers without guessing. You look at the whole plant, one feature at a time, then check your answer against good references and a local expert. The rule that matters most is simple. A match on one feature proves nothing, so you need several features to agree before you pick.
What you need
- A hand lens (a small folding magnifier), about 10x
- A notebook and pencil, or your phone's camera for close-up photos
- Two field guides written for your region, ideally one with photos and one with drawings
- Gardening gloves and long sleeves
- A small trowel, only for plants you have permission to dig
- A ruler or tape measure marked in inches and centimetres
When to identify plants
Identify plants across the whole growing season, not just on the day you want to pick. Many plants are hardest to name in early spring, when they are only a low clump of leaves. That is also when many edible and toxic greens look most alike.
Watch the same plant from its first leaves in spring through flowering in late spring or summer to its seeds in late summer or autumn. Flowers and fruit are often the surest clues, so a plant you first meet as leaves may need a return visit. The timing of each stage shifts with climate. A plant that flowers soon after your last frost in USDA zone 8 may flower several weeks later in zone 4. Use your own local frost dates and seasons, not a calendar from another region.
Step 1: Note the leaf arrangement
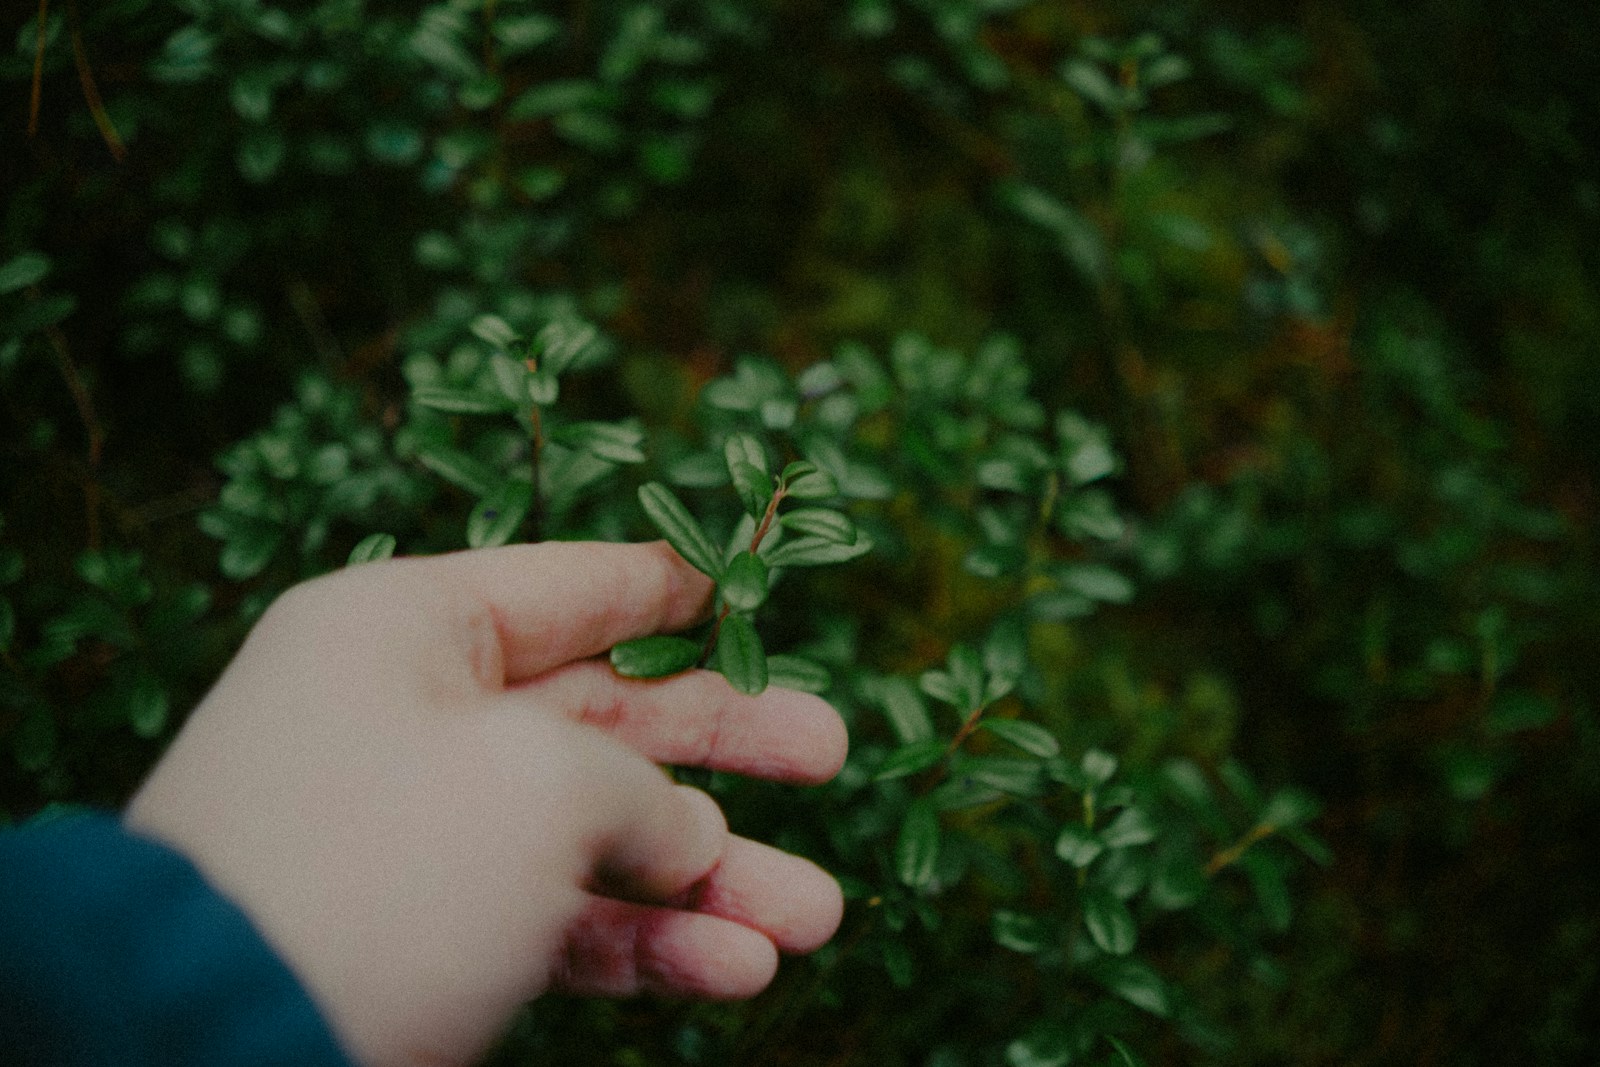
Look at where the leaves join the stem. This point is called the node. Count how many leaves grow from each node, and note how they sit.
- Alternate: one leaf per node, staggered up the stem.
- Opposite: two leaves per node, facing each other across the stem.
- Whorled: three or more leaves per node, circling the stem like spokes.
- Basal rosette: a flat circle of leaves at ground level, with little or no visible stem.
Many plants that live more than one year form a basal rosette in their first season, then send up a tall flowering stem later. A rosette gives you few clues. Dandelion, foxglove and several wild greens all start this way. Treat any rosette as unknown until it flowers. Write the arrangement in your notebook before you move on. It narrows your search in a field guide more than almost any other single feature.
Step 2: Examine the leaf itself
Decide first whether the leaf is simple or compound. A simple leaf has one blade on its stalk. A compound leaf is split into separate leaflets. The test is the bud. A bud sits where a whole leaf joins the stem, but never at the base of a single leaflet. Poison ivy, for example, has one compound leaf of three leaflets, not three separate leaves.
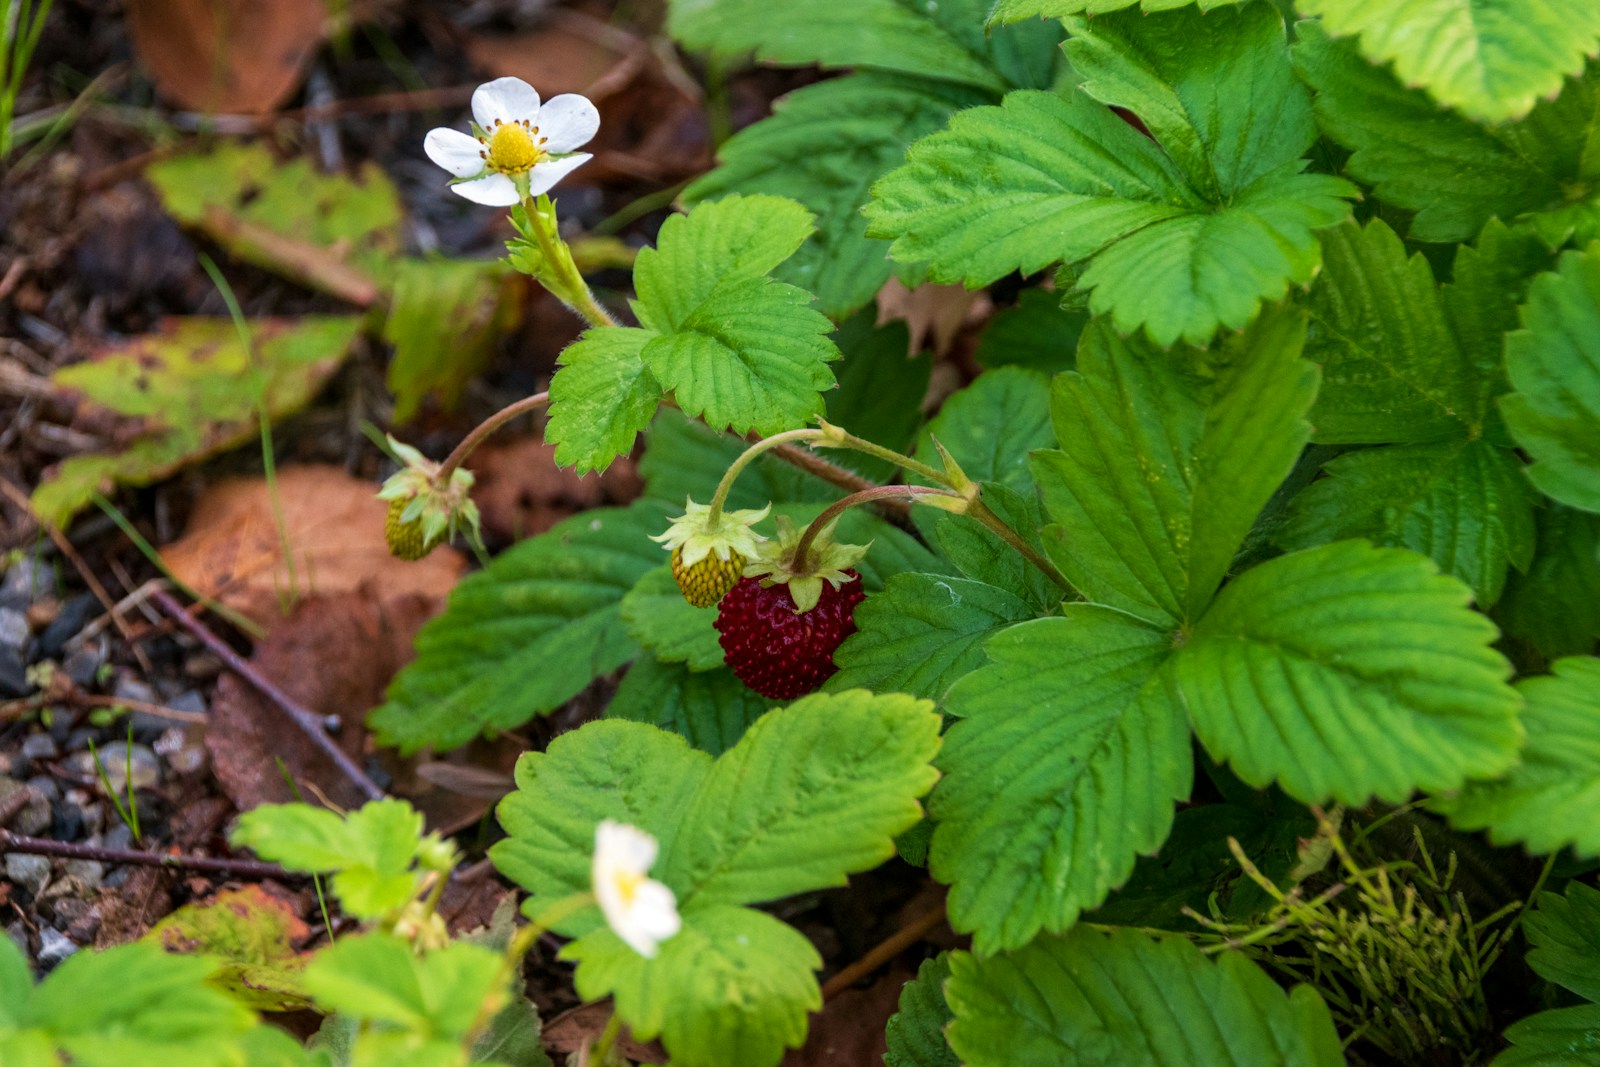
Next, record the shape. Common shapes include oval, lance-shaped (long and narrow, widest near the base), heart-shaped and deeply lobed. Then check the edges, called the margin. They may be smooth, toothed like a saw, wavy or lobed. Use your hand lens to see fine teeth or hairs. Note the leaf size in inches and centimetres, the colour of both sides, and any veins that stand out. Carrot family plants often have finely divided, feathery or fern-like leaves. That is a warning sign, not a confirmation.
Step 3: Check the stem
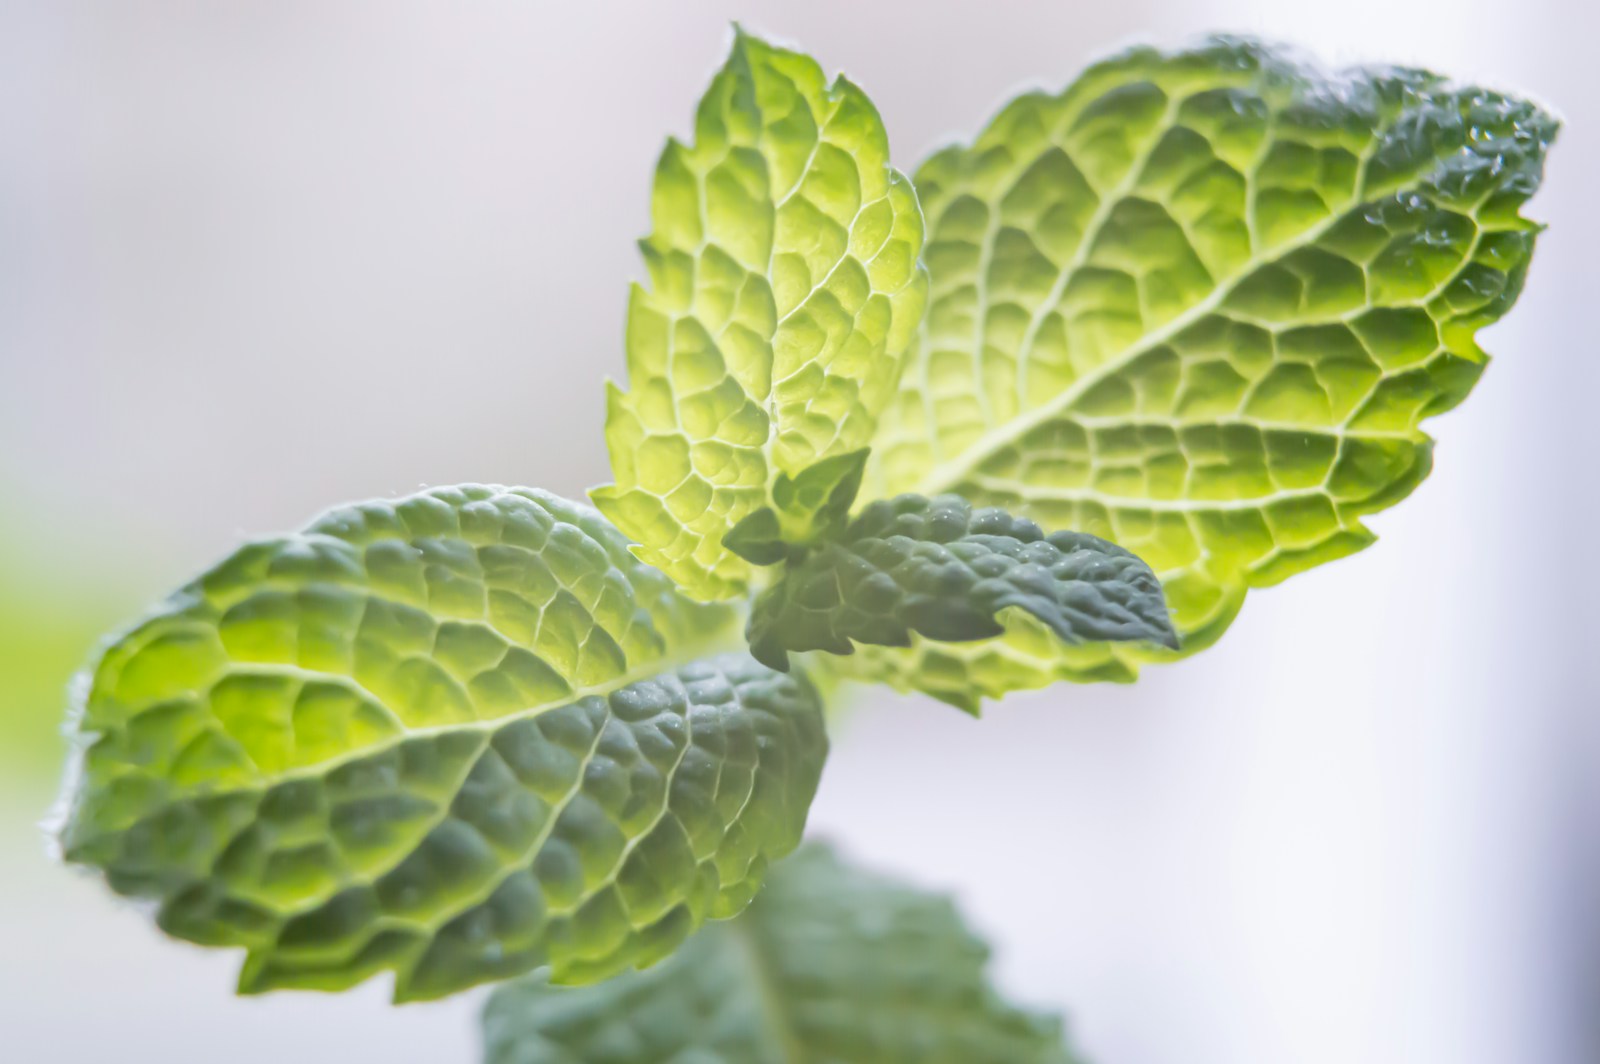
Roll the stem gently between your gloved finger and thumb. A square stem, with four distinct corners, is typical of the mint family. Mint family plants usually pair square stems with opposite leaves and a strong scent when crushed. Some other plants also have square stems, so treat this as one clue among several.
Look at whether the stem is round, ridged or grooved. Note whether it is smooth or hairy, and whether the hairs are soft, stiff or sticky. Look for spots, streaks or blotches of colour. Poison hemlock, for example, has a smooth stem with purple blotches. Some stems are hollow, a feature common in the carrot family, but you only learn this by cutting. Cut only plants you are allowed to handle, and keep the blade moving away from your hand.
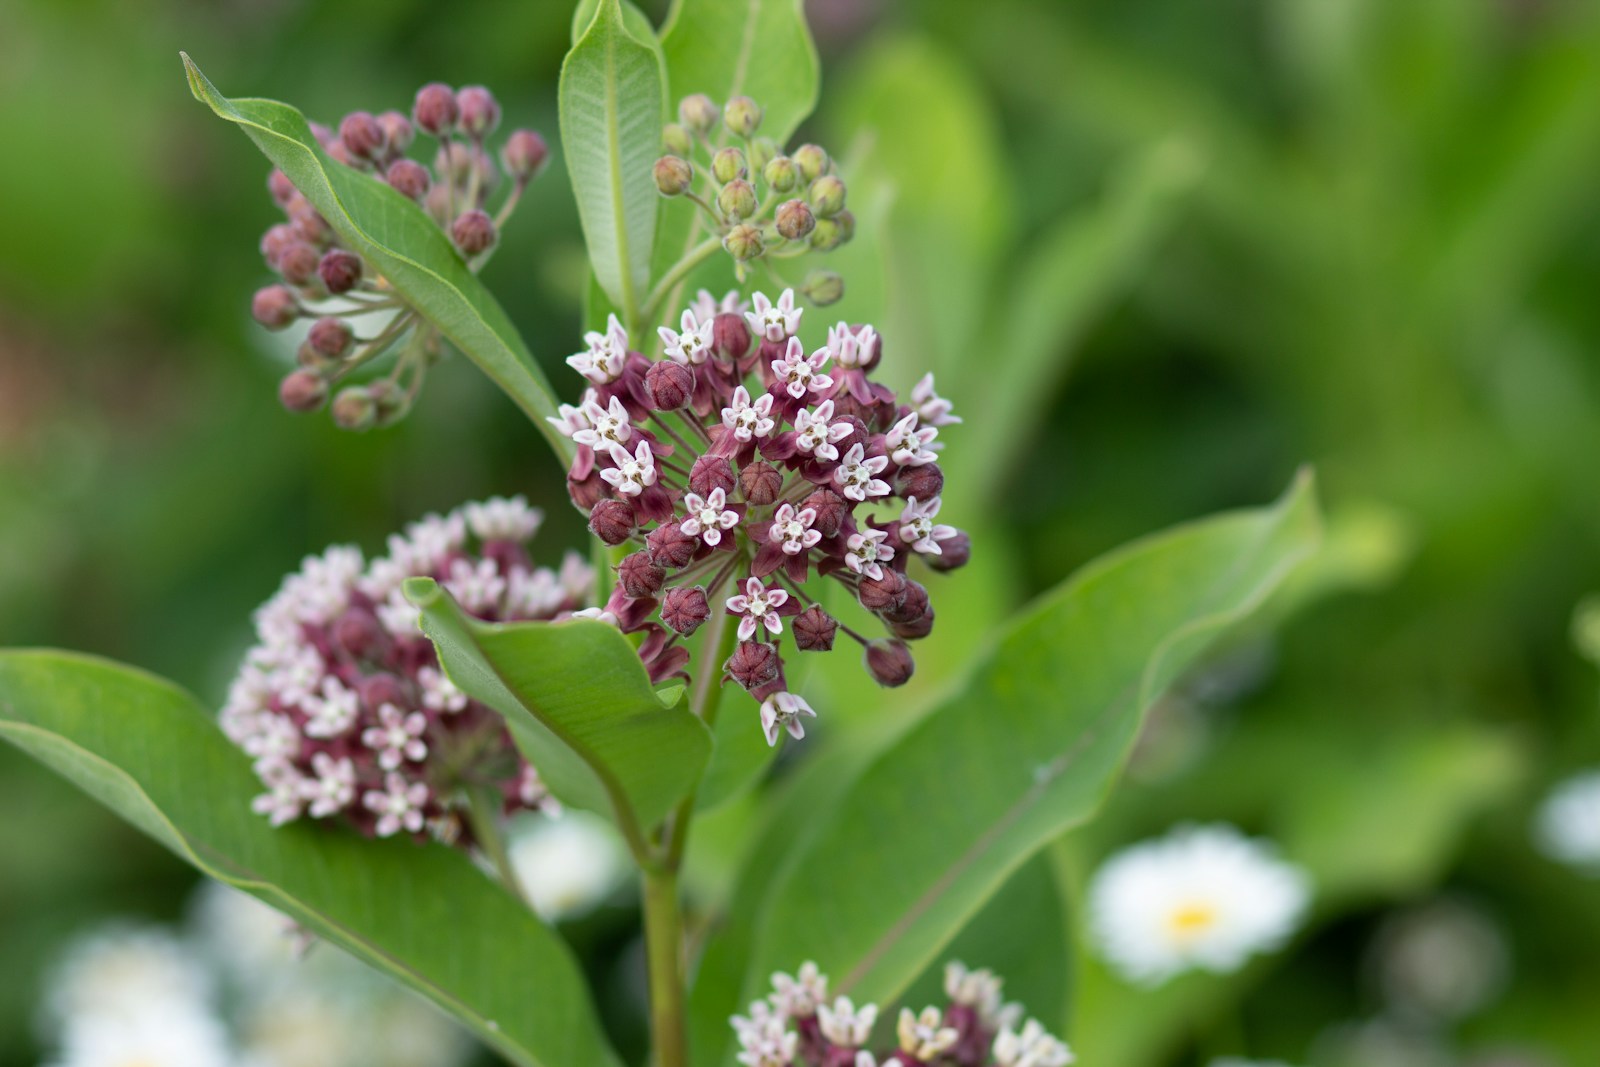
Watch for milky sap where a leaf or stem breaks. Milkweeds, spurges, dandelions and wild lettuces all bleed white sap. Some saps irritate skin or eyes. Wear gloves and keep your hands away from your face. Wild parsnip and giant hogweed have sap that causes serious burns when the skin is then exposed to sunlight.
Step 4: Study the flowers and their clusters
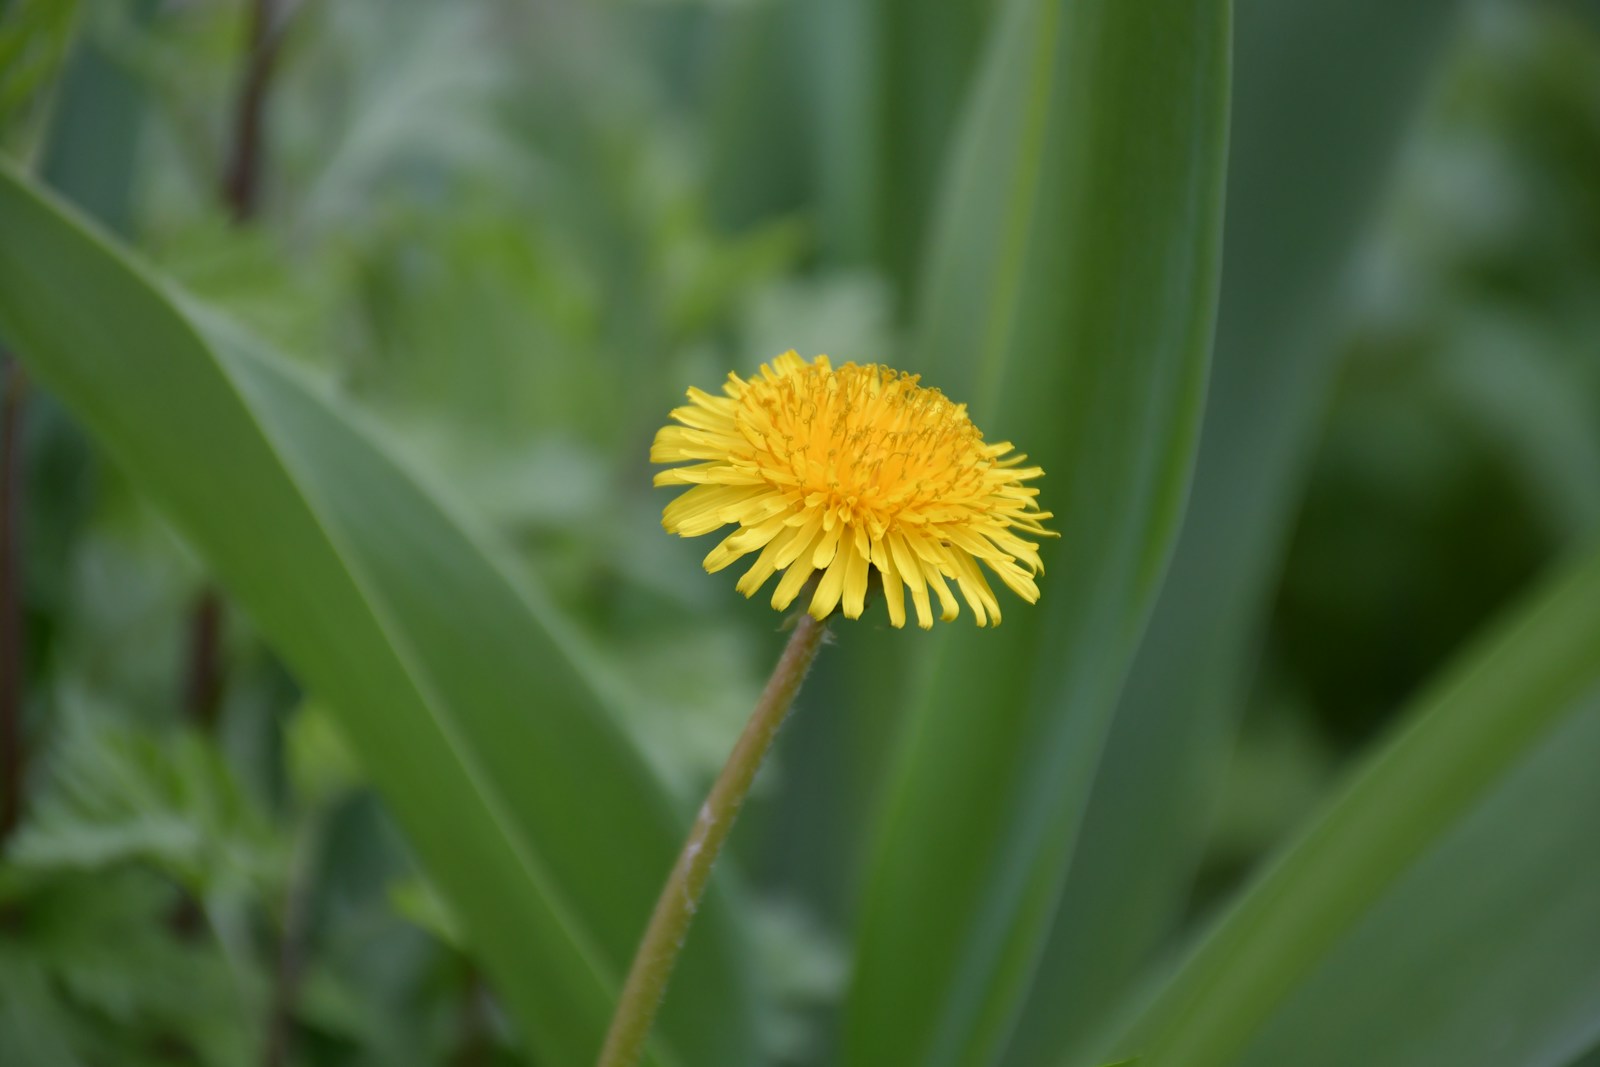
Flowers are often the most reliable feature, so examine them closely with your hand lens. Count the petals. Note whether they are separate or joined into a tube, bell or lipped shape. Record the colour, the number of stamens (the pollen-bearing parts) and the size in inches and centimetres.
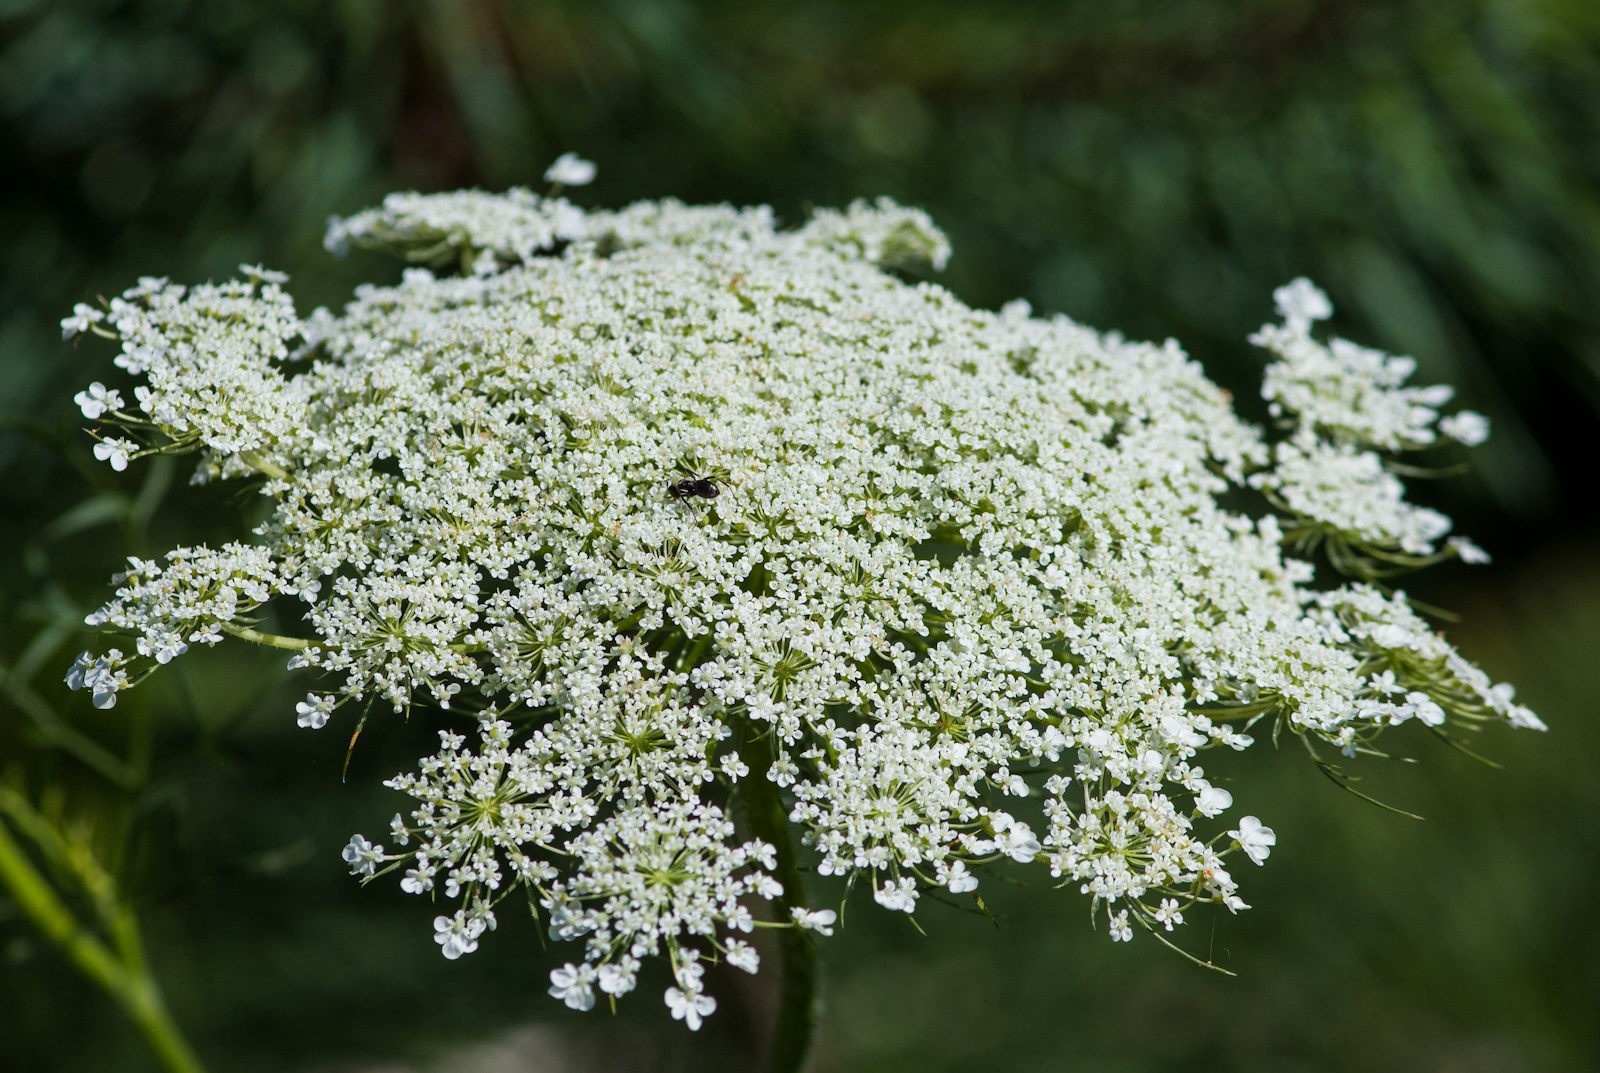
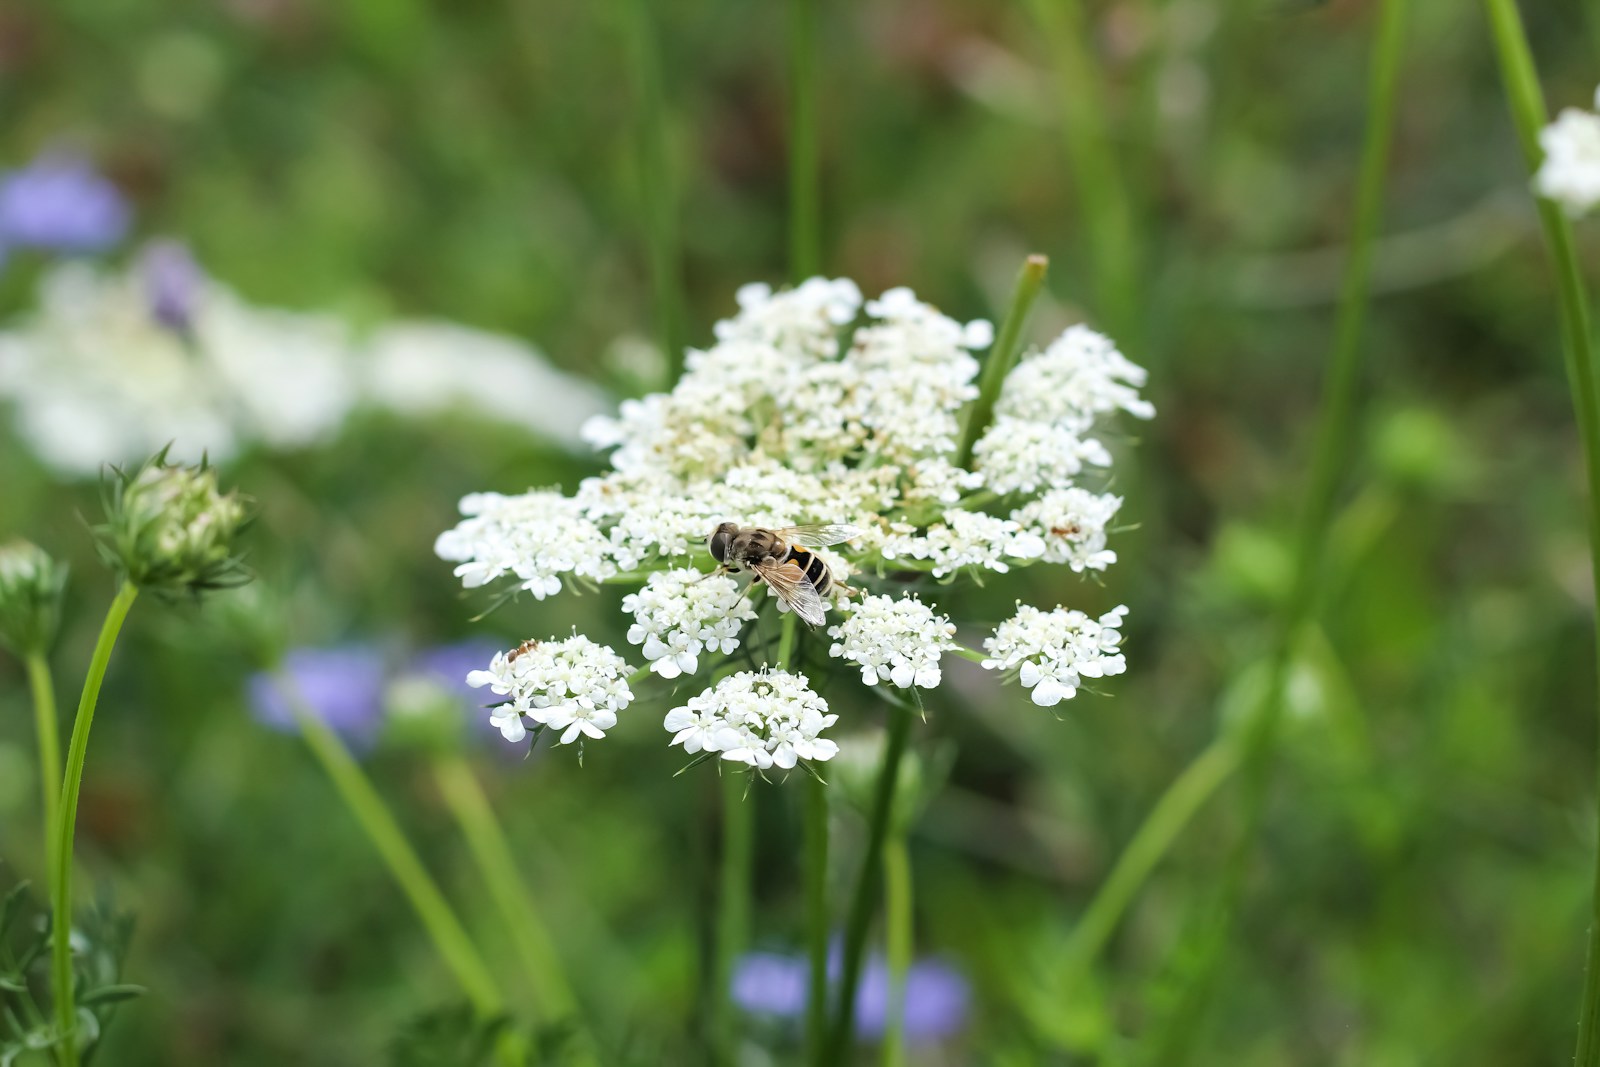
Then look at how the flowers are grouped. Some grow singly. Others form spikes, loose sprays, or dense heads like a daisy. An umbel is a cluster whose flower stalks all spring from one point, like the ribs of an umbrella. Umbels are the hallmark of the carrot family. That family includes carrot, parsley, dill and fennel. It also includes poison hemlock and water hemlock, which are among the most poisonous plants in North America. Wild carrot and poison hemlock can look very alike to a beginner.
Treat every wild plant with umbels as dangerous unless an expert confirms it. Many experienced foragers leave this family alone entirely. Follow the flowers into fruit and seed too, as these often separate close lookalikes.
Step 5: Check the roots, smell, habitat and season
Look at the roots only where you have the landowner's permission to dig. Note whether you find a taproot (one thick main root), fibrous roots, a bulb, or runners spreading sideways. Dig with a trowel held away from your body and wear gloves.
Crush a small piece of leaf and smell it. Mint family plants are often aromatic. Wild onions and garlic smell of onion, while some toxic lookalikes do not. Smell alone is not proof. The scent lingers on your gloves and fingers, so the next plant you test may seem to smell the same. Some toxic plants also smell pleasant or faintly familiar.
Finally, record where and when the plant grows. Note the sun or shade, whether the soil is wet or dry, and the neighbouring plants. Water hemlock, for example, usually grows in wet ground beside water. Write down the season and stage: leaves only, in flower, or in seed. A plant growing in the wrong habitat or season for your guess is a strong sign your guess is wrong.
Step 6: Match several features against two field guides
Bring your notes to two field guides written for your region. A guide from another continent or climate may show a different species under the same common name. Use the book's key if it has one. A key is a series of paired choices, such as "leaves opposite" or "leaves alternate", that leads you to a name.
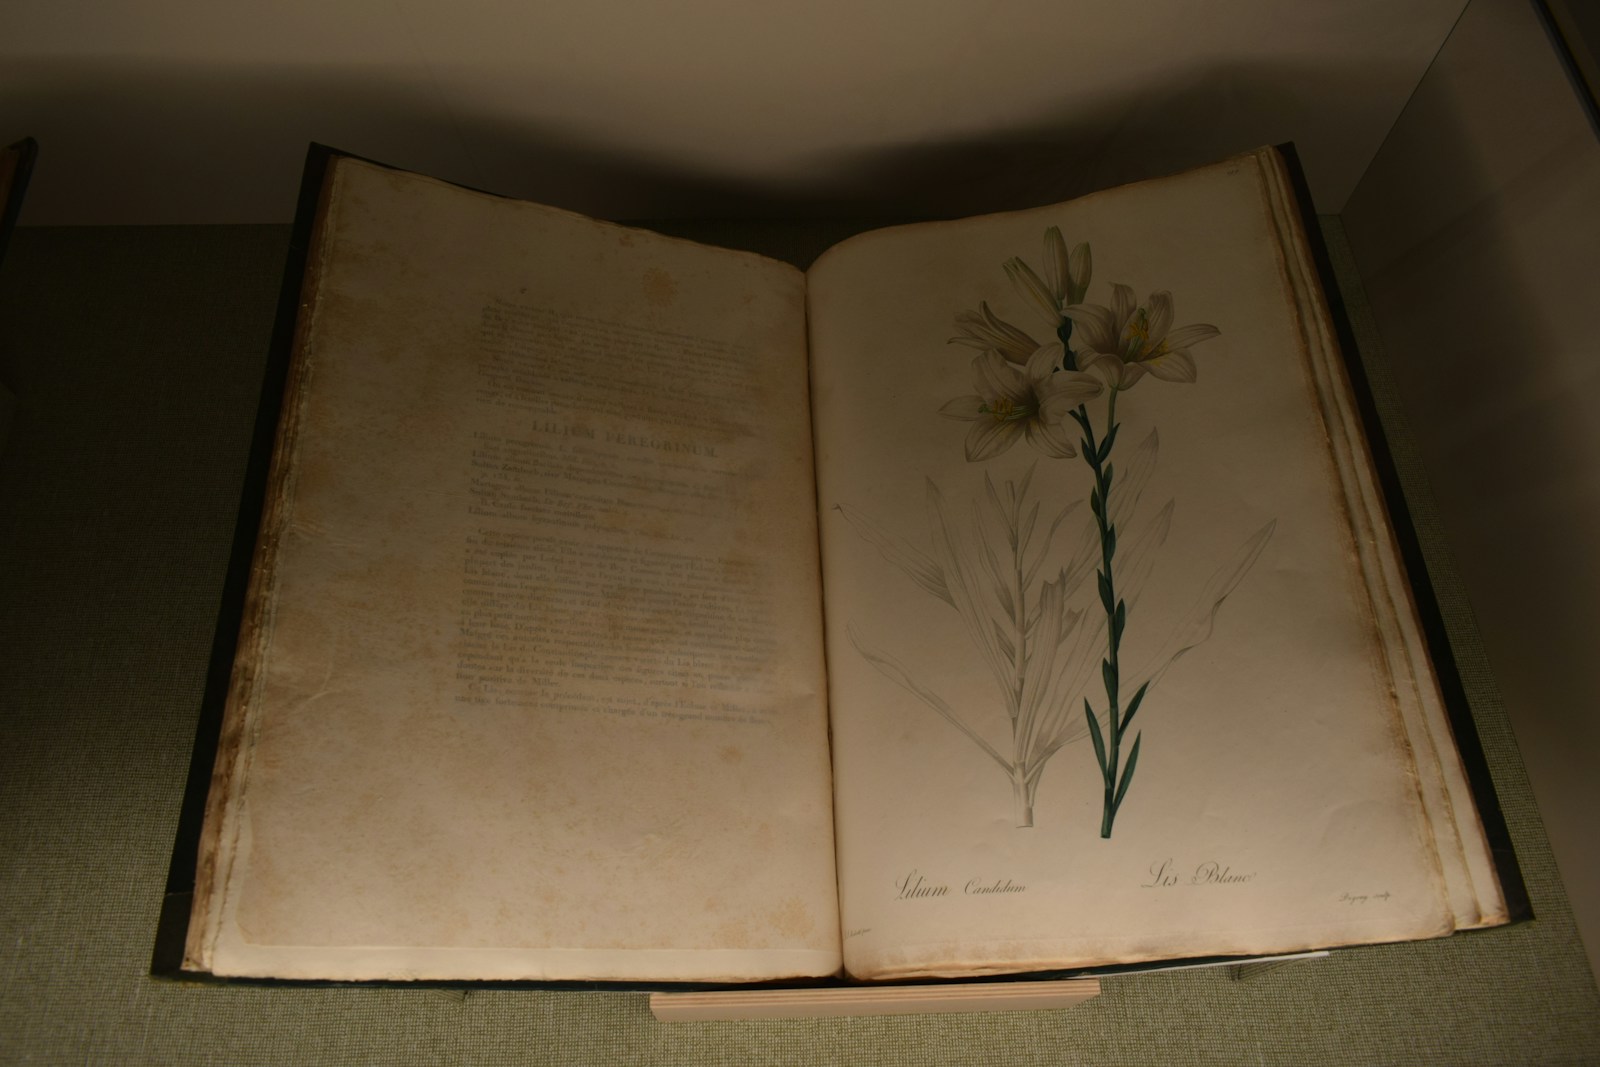
When you reach a likely name, check every feature you recorded against the description. Leaf arrangement, leaf shape, stem, flowers, roots, smell, habitat and season should all match. Then read the section on lookalikes and rule each one out by name. If one feature does not fit, the name is probably wrong. Check the botanical name in italics too. Common names vary from place to place, while the botanical name, such as Conium maculatum for poison hemlock, stays the same. Your second guide should agree with the first. If the two disagree, stop and seek help.
Step 7: Confirm with a local expert
Take your notes, photos and, if allowed, a sample to a local expert. Your county extension office often helps identify plants. So do native plant societies, botanical gardens and some university herbaria (collections of pressed, labelled plants). Bag any sample and label it with the place and date you found it. Carry it in gloves and wash your hands afterwards.

Phone identification apps are useful as a starting point. They can suggest a name to look up in your field guides. They can also be confidently wrong, especially with rosettes, seedlings and close lookalikes. Use the app's suggestion as a lead to check, never as your answer.
Identification apps and a single matching feature are not proof. Some deadly plants look very like edible ones. If you are unsure, do not pick it, and never eat any part of a plant you have not identified with certainty.
Common problems
Two field guides give different answers
Your plant may be a close lookalike of both suggestions, or one guide may cover a different region. Go back through your notes and look for a feature that decides between them, often the flowers, fruit or stem. If you still cannot decide, ask a local expert and leave the plant alone.
The plant has no flowers yet
A plant in leaf alone, or in a basal rosette, gives too few clues. Mark its spot, photograph it, and return when it flowers and sets seed. Record its leaves and stems now so you can compare stages later.
The app gives a confident name that does not match your guide
Apps work from photos and can miss features you can only see or feel in person. Trust your field guides and your careful notes over the app. Check the app's suggestion against every feature, and treat any clash as a sign the name is wrong.
Everything matches except one feature
A single mismatch usually means a different species. Do not explain it away. Look up the lookalikes listed in your guide, and check whether one of them fits the odd feature. Until an expert confirms it, treat the plant as unknown.
Your skin itches or blisters after handling a plant
Sap or hairs from some plants irritate the skin, and some saps cause burns in sunlight. Wash the area with soap and cool water straight away and keep it out of the sun. Seek medical help for a severe reaction, or one near your eyes. Wear gloves and long sleeves next time.
What to do next
Start a plant journal for one local patch. Visit it through a full growing season, from the first spring leaves to seed in autumn. Record each plant's features and stage every few weeks. Take any uncertain plants to your extension office or a native plant society walk. Learn the deadly plants of your region first, especially in the carrot family, before you gather anything wild.