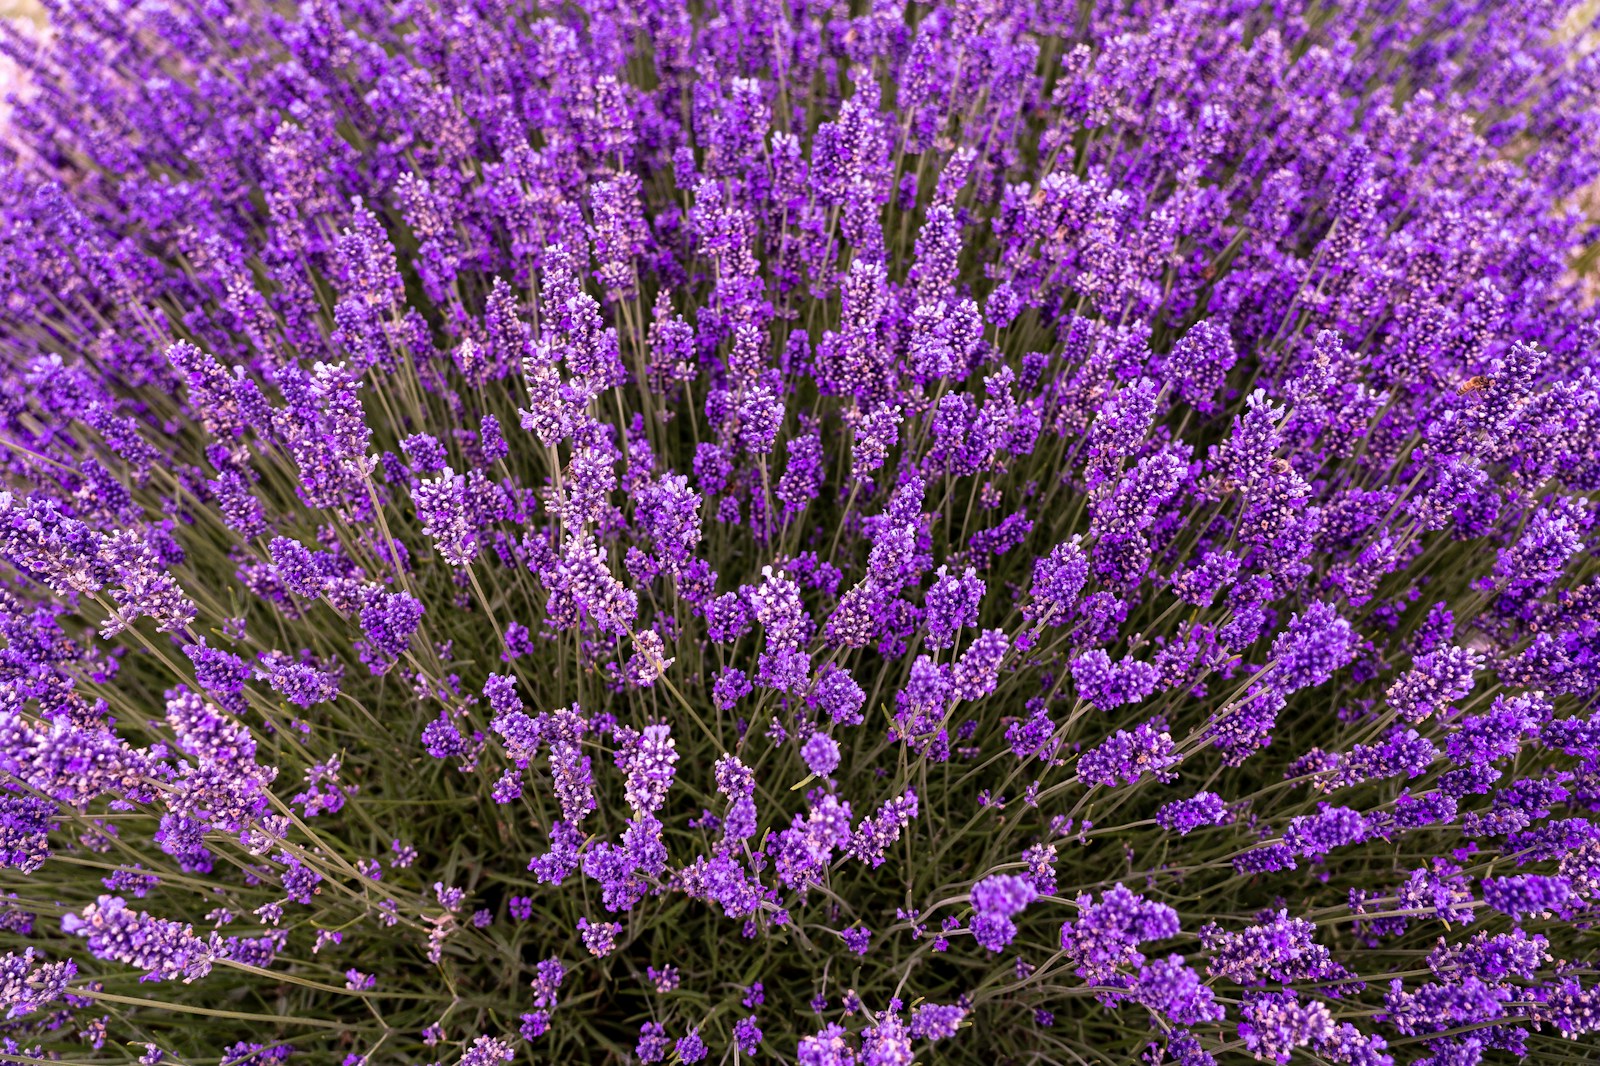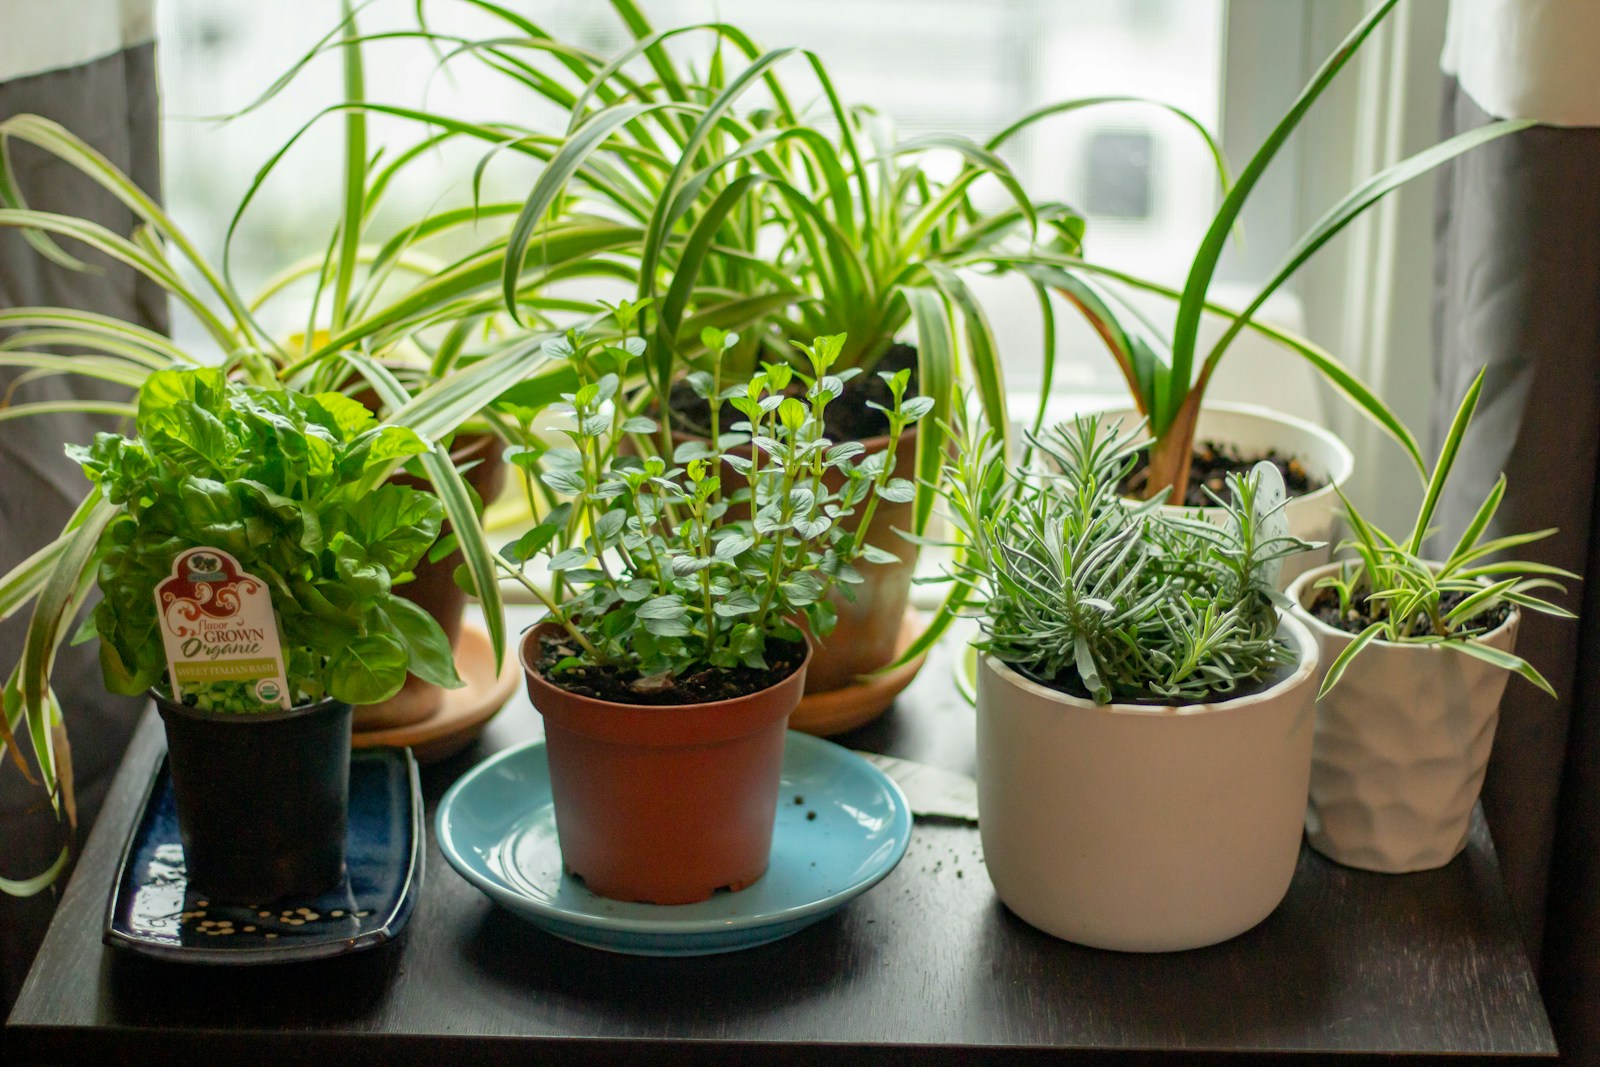
A few hours of spring work sets your herbs up for a full season of cutting. You tidy the beds, prune the woody plants, split the crowded clumps and sow fresh annuals. Timing matters most. Almost every spring mistake with herbs comes from doing the right job a few weeks too early.
What you need
- Sharp bypass pruners and small snips
- A hand fork, a border fork and a spade
- A stiff brush, a bucket of soapy water and rubbing alcohol
- A sharpening file or whetstone and work gloves
- Finished compost or well-rotted manure
- A soil test kit, or a sample bag for a lab test
- Seed of hardy annual herbs such as calendula, dill, cilantro and chamomile
- Plant labels and a watering can with a fine rose
When to start spring prep
Start once the worst frosts are behind you and the soil is workable. Workable means it crumbles rather than smears. Use the squeeze test to check. Take a handful of soil from a few inches down and squeeze it into a ball. If it drips or stays in a sticky lump, it is too wet, so wait a week. If the ball breaks apart when you poke it, you can start.
Your last frost date sets the rest of the timetable. In cold areas, roughly USDA zones 3 to 5, that can be well into spring. In mild areas, zones 8 and warmer, you may start in late winter. Local frost dates vary, so check the average for your own area and treat it as a guide, not a promise.
Step 1: Clean and sharpen your tools
Clean tools before you touch a plant. Scrub off old soil with a stiff brush and soapy water, then dry each tool fully. Wipe pruner and snip blades with rubbing alcohol to remove sap and reduce the chance of spreading disease between plants. Wear gloves, work somewhere well ventilated, and keep alcohol away from any flame or heater.
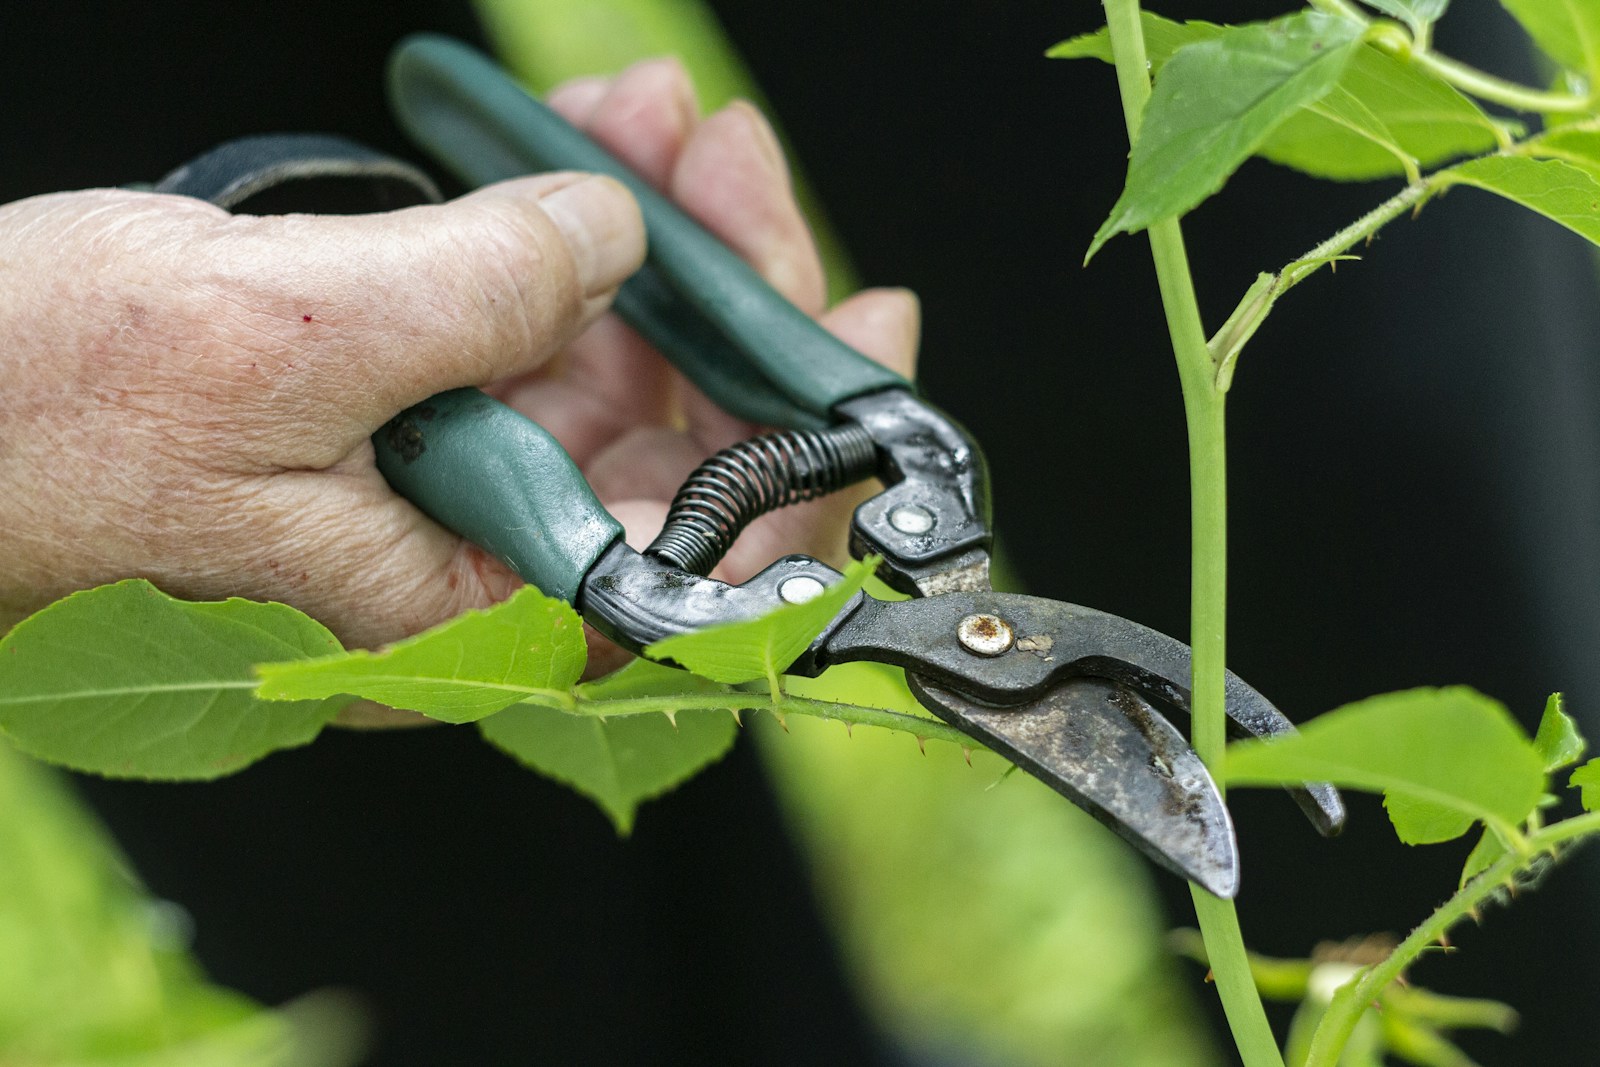
Next, sharpen the cutting edges. Clamp the pruners or hold them firmly on a bench, and draw the file along the bevel away from your body. Follow the angle the maker ground into the blade, and never sharpen the flat side. Keep your gloves on, since a freshly sharpened blade cuts skin easily. A sharp blade makes a clean cut that heals fast. A blunt one crushes stems and leaves ragged ends that can let rot in.
Finish with a drop of light oil on the pivot, and wipe off any excess.
Step 2: Clear dead growth and winter mulch gradually
Remove winter debris a little at a time rather than all at once. Old stems and mulch (a protective layer spread over the soil) shelter crowns from late cold snaps. Stripping everything off on the first mild day leaves new shoots exposed.
Start by raking fallen leaves and flattened stems off the bed. Cut the dead stalks of herbaceous herbs, the soft-stemmed kinds that die back each winter, down to just above the new shoots at the base. Chives, lemon balm, mint and fennel all fall into this group.
Pull winter mulch back from around each plant's crown first, leaving a thin layer on the rest of the bed. Over the next week or two, remove the rest as the weather settles. If a hard frost is forecast, pull some mulch back over the crowns for a night or two.
As you clear, look for winter losses. A living woody herb shows green under the bark when you scratch a stem gently with a thumbnail. Brown, dry tissue all the way to the base usually means the plant has died. Note gaps to fill later.
Step 3: Cut back woody herbs once new growth shows
Wait until you see fresh leaves along the stems of sage, lavender and thyme before you prune. Those buds show you where the live wood is. Pruning earlier risks cutting off the only growth that survived, and it can encourage soft shoots that a late frost then kills.
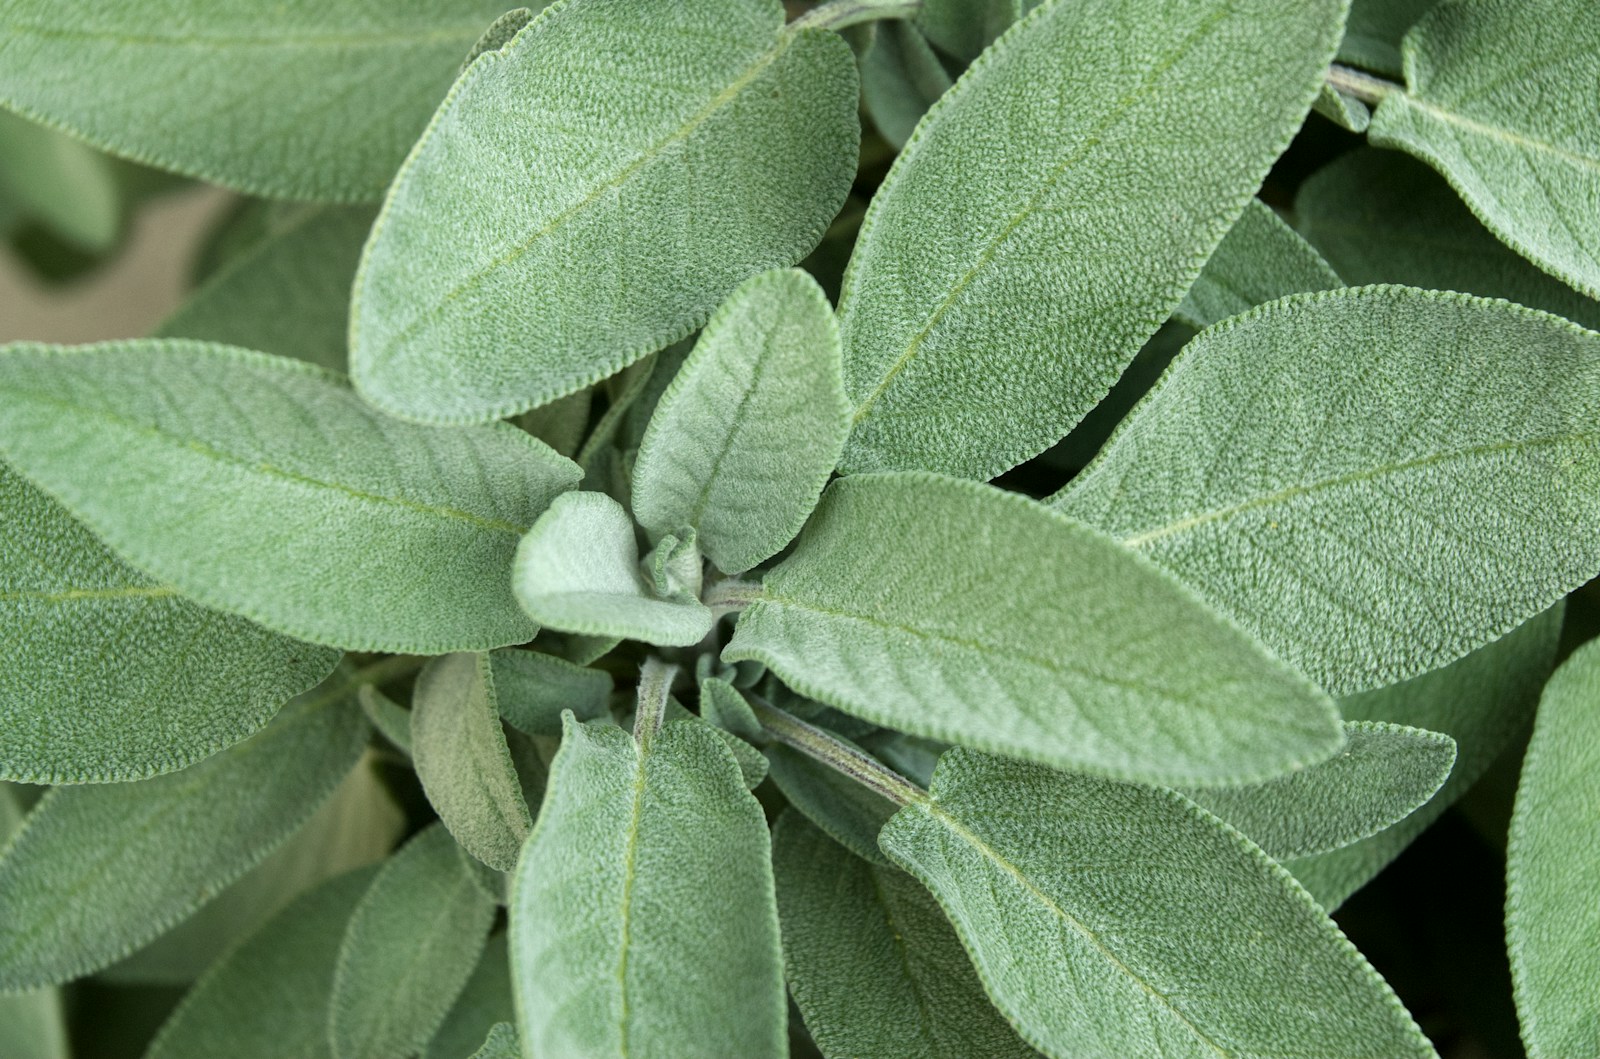
For sage, cut each stem back to just above a pair of healthy new shoots. Removing up to about a third of the plant keeps it bushy.
For thyme, trim lightly over the whole plant, keeping to the leafy parts. Old, bare thyme stems often fail to regrow.
For lavender, trim the stems back by a few inches, always cutting above leafy green growth. Leave at least a few sets of leaves on every stem.
Never cut lavender into old, bare, woody stems. Lavender rarely sprouts from leafless old wood, so a hard cut can leave permanent bare patches or kill the plant. Always leave green, leafy growth below every cut.
Step 4: Divide clump herbs and contain the spreaders
Lift and split clump-forming herbs once they become crowded or die out in the middle. Chives, oregano, lemon balm and mint all respond well. Every three or four years is typical for chives and oregano.
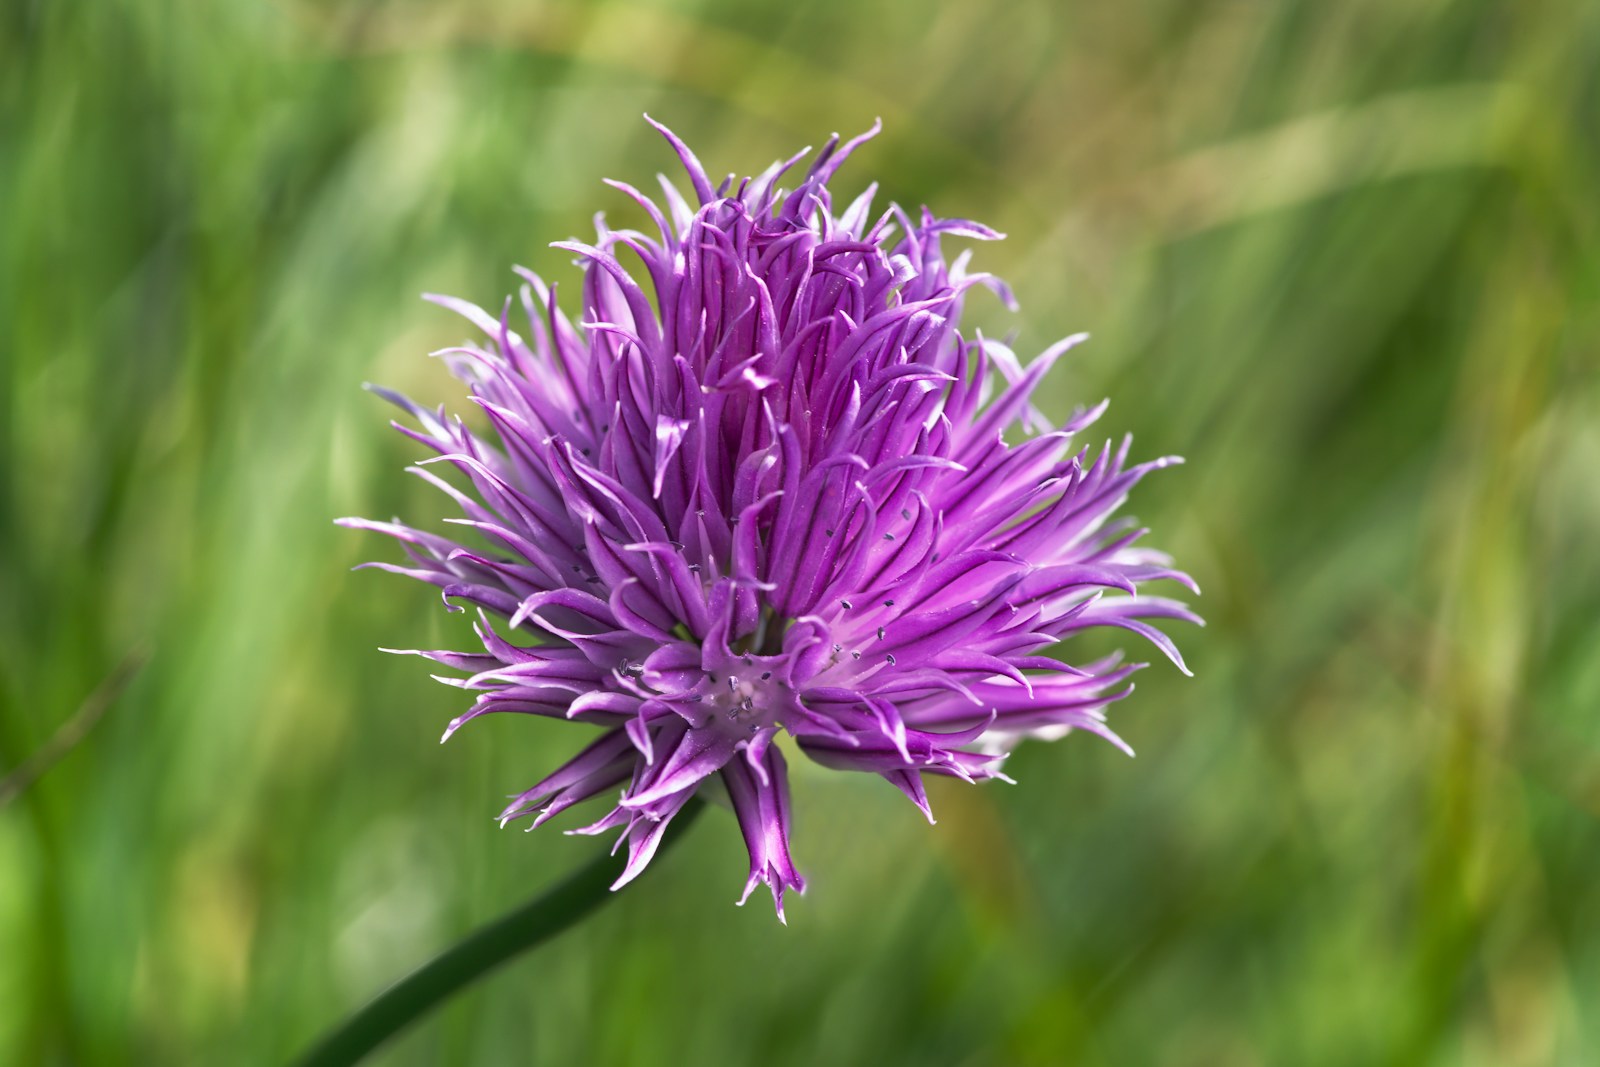
Water the plant the day before. Dig around the clump with a spade or fork and lift it out whole. Pull it apart by hand, or cut it into fist-sized pieces with a clean spade. Keep healthy young shoots and roots on each piece, and discard the woody, dead centre. Replant the pieces at the same depth they grew before, and water them in well.
Mint and lemon balm spread fast, mint through underground runners and lemon balm mainly by seed. To keep mint in its place, plant it in a bottomless bucket or a large pot sunk into the ground. Leave the rim 1 to 2 inches (2.5 to 5 cm) above the soil so runners cannot creep over it. Cut lemon balm back after flowering to stop it seeding across the bed.
Step 5: Test the soil and add compost, not heavy fertiliser
Test the soil before adding anything. A home kit gives a rough pH (a measure of how acid or alkaline soil is). Your local extension service or a soil lab gives fuller results. Most culinary herbs grow well in soil that is close to neutral.
Add organic matter rather than strong feed. Spread a layer of compost about 1 to 2 inches (2.5 to 5 cm) deep over the bed and work it lightly into the top few inches. Avoid disturbing roots close to established plants.
Go easy with fertiliser. Mediterranean herbs, including thyme, sage, oregano, rosemary and lavender, prefer lean, well-drained soil. Rich feeding produces soft, leafy growth with weaker flavour and a greater risk of winter rot. If your soil is heavy clay, dig in grit or plant these herbs in a raised bed. Leafy herbs such as basil, parsley and chives appreciate a little more compost than the Mediterranean group.
Step 6: Sow hardy annual herbs around the last frost
Sow hardy annuals directly into the bed around your last frost date. Calendula, dill, cilantro and chamomile all tolerate cool weather. Cilantro and dill dislike being moved, so sowing them where they will grow works best.
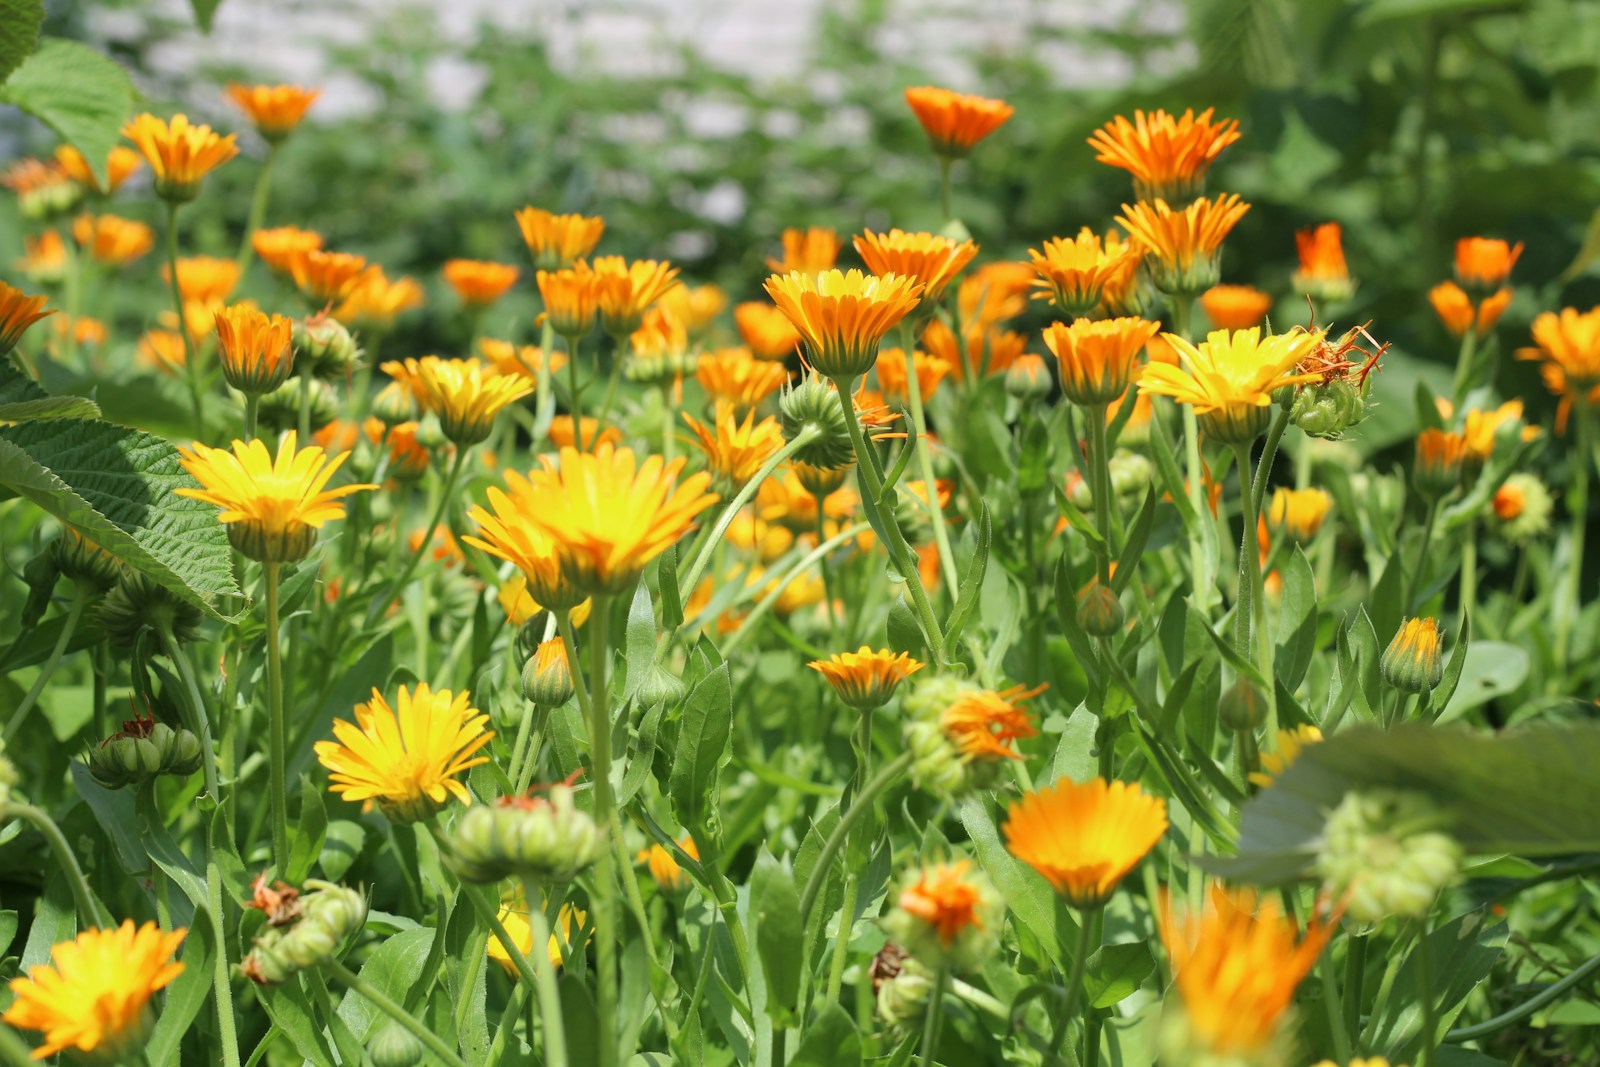
Rake the soil to a fine, crumbly surface first. Sow dill and cilantro about 1/4 inch (6 mm) deep. Sow calendula about 1/2 inch (1 cm) deep. Press chamomile seed onto the surface without covering it, because it needs light to germinate. Water with a fine rose so the seed does not wash away, and keep the surface moist until seedlings appear.
Cilantro runs to flower quickly once the weather turns hot. Sowing small batches every few weeks through the cool part of spring keeps a steady supply of leaves coming.
Step 7: Harden off seedlings and plant tender herbs after the frost
Harden off (get seedlings used to outdoor conditions) any herbs raised indoors before you plant them out. Start about one to two weeks before planting. Set the pots outside in a sheltered, lightly shaded spot for an hour or two, then bring them in. Each day, leave them out longer and give them more sun. By the end, they should stay out overnight.
Plant tender herbs such as basil only after your last frost has passed. Basil also sulks in cold soil and cold nights. Wait until nights stay above about 50°F (10°C). Plant on a cloudy day or in the evening, water well, and keep a sheet of garden fleece handy in case of a surprise cold night.
Common problems
Crowns sit above the soil after winter
This is frost heave. Repeated freezing and thawing pushes shallow-rooted plants such as thyme and young perennials out of the ground. Exposed roots dry out fast. Press the crown gently back down with your hands, cover bare roots with soil or compost, and water it in.
Lavender has bare, leafless stems at the base
This usually follows hard pruning into old wood, or years without any pruning. The bare wood rarely regrows. Trim the leafy tips lightly each year to slow the problem. If the plant is mostly bare, replacing it is usually the better choice.
A woody herb shows no new growth
Some herbs leaf out late, especially after a cold winter. Give it until well after your last frost before deciding. Scratch a few stems for green tissue. If every stem is brown and brittle, the plant has died, often from cold or wet soil around the roots.
Seedlings go pale or shrivel after planting out
This is usually shock from sun, wind or cold after skipping hardening off. Shade the plants for a few days and keep them watered. Next time, harden them off more slowly.
What to do next
Once new growth fills out, start harvesting little and often. Regular picking keeps basil, sage and other leafy herbs bushy. Pinch the flower buds off basil as they form. Mulch around perennial herbs with gravel or a thin layer of compost once the soil warms. After flowering, give lavender and thyme a light trim to keep them compact.