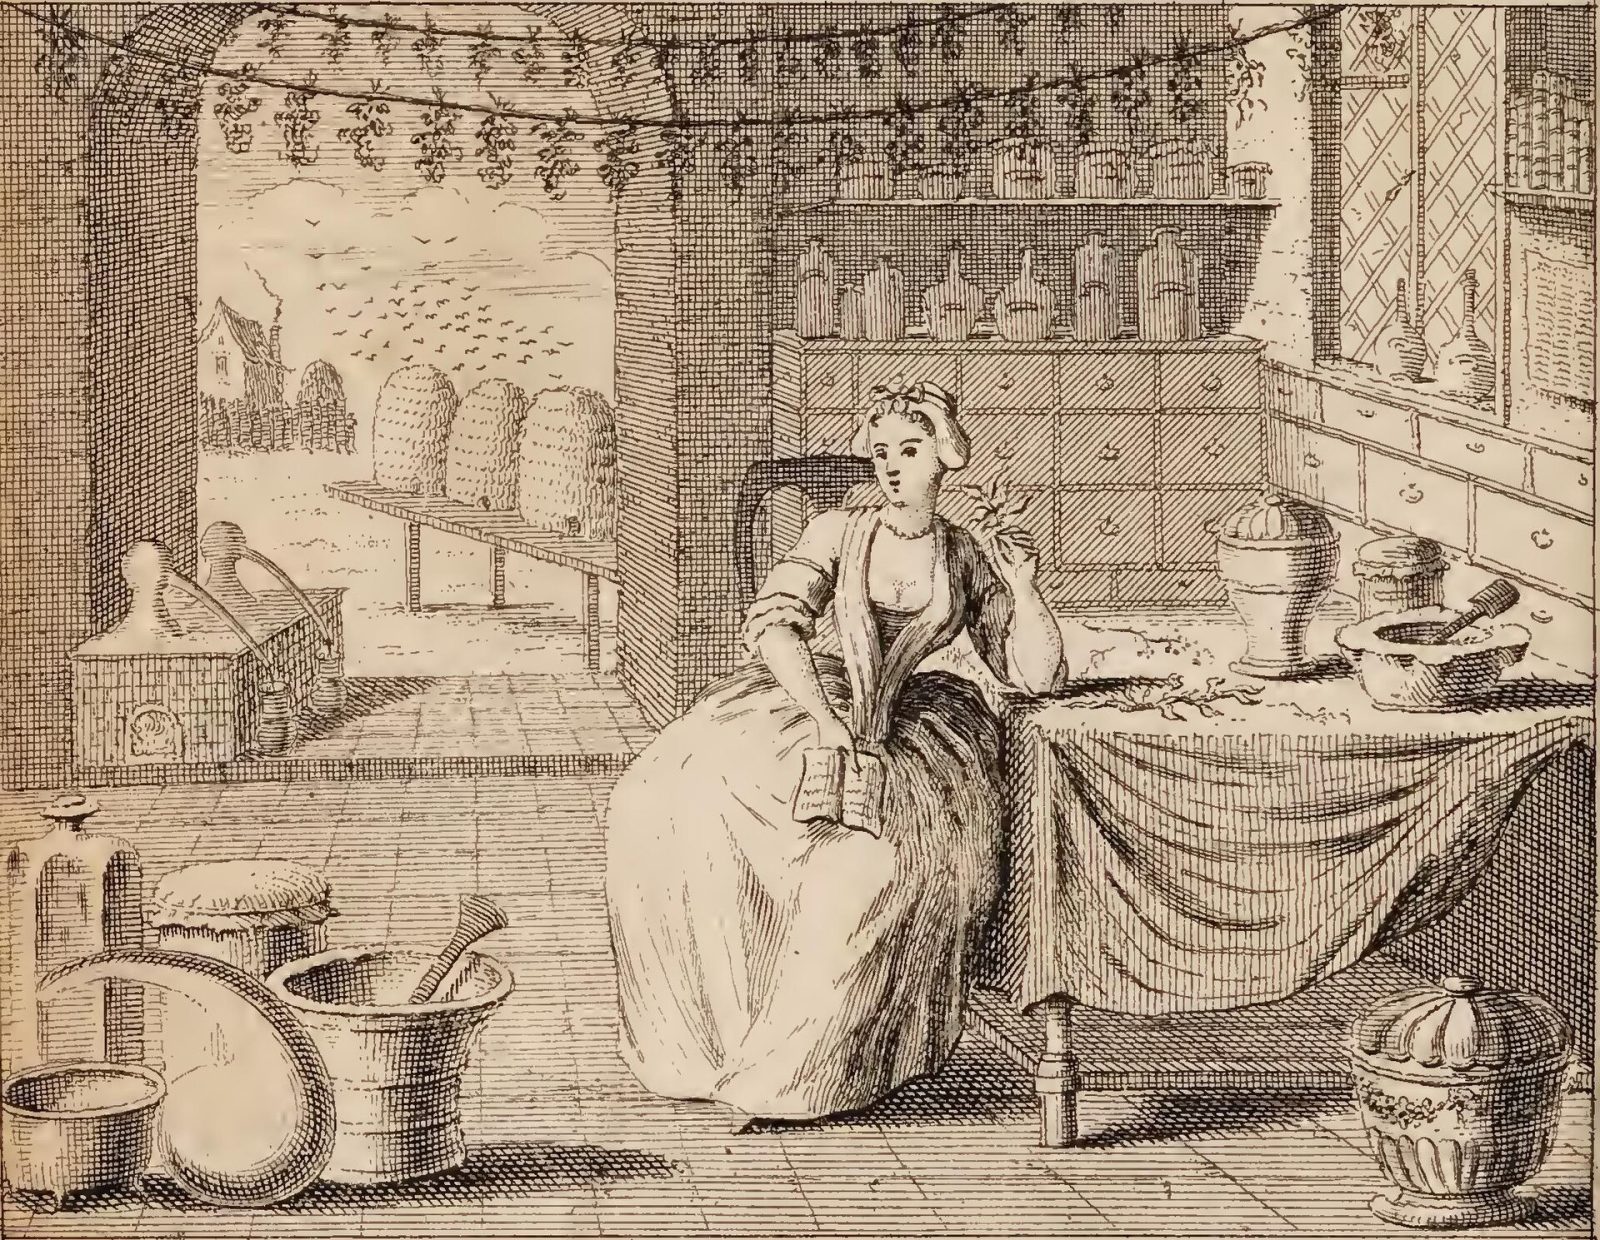
A few jars of home-dried mint, sage or catnip carry the garden through winter. The same simple method works for leaves, flowers, seeds and roots. You need no special equipment to start. Speed and darkness matter most. Herbs that dry quickly, out of the sun, keep their colour and scent. Herbs that dry slowly in damp air turn brown or go mouldy.
What you need
- Clean, sharp scissors or pruners
- A basket or open tray for gathering
- Rubber bands or string for bundles
- Paper bags for seed heads
- Drying screens, such as old window screens or mesh racks
- A warm, dark, airy room, attic, shed or large cupboard
- A food dehydrator with a low heat setting (optional)
- A garden fork, scrubbing brush and sharp knife for roots
- Airtight glass jars, labels and a pen
When to harvest herbs
The right moment depends on which part of the plant you want.
- Leaves: cut just before the plant flowers. Mint, sage, catnip and most other leaf herbs hold the most scent at this stage. Once flowers open, the leaves often turn coarse or bitter.
- Flowers: pick when they have just opened fully. Chamomile, calendula and lavender all fade fast after that.
- Seeds: wait until the seed heads turn brown and dry but have not yet shattered. Dill, fennel and coriander are ready at this point.
- Roots: dig in autumn, after the top growth dies back. The plant has stored its reserves below ground by then.
Whatever the part, pick on a dry morning. Wait until the dew has dried but go out before the midday heat. Wet plants mould in the bundle, and hot sun drives off scent. In a short-season climate you usually get one or two leaf harvests. In a long, mild season you can often take three or more. Stop cutting perennial herbs hard four to six weeks before your first expected frost. The plants need time to toughen up for winter.
Step 1: Cut leafy stems after the dew dries
Choose healthy, clean growth. Cut whole stems rather than stripping single leaves. Make each cut just above a pair of leaves, so the plant branches again from that point.
Take no more than about a third of a perennial plant at one time. Sage, thyme and other woody herbs recover slowly from harder cutting. Mint and catnip are more forgiving, and you can cut them back by half. Annual herbs such as basil can be cut hard at the end of their season.
Lay the stems loosely in a basket. Do not pile them deep or pack them into a plastic bag. Bruised, sweaty leaves turn black as they dry. Keep each kind of herb separate, because dried leaves are hard to tell apart later.
Step 2: Shake and sort the harvest
Work in the shade as soon as you come in. Shake each stem to knock off insects and dust. Pick off yellow, spotted or chewed leaves and discard them.
Wash only if the herbs are truly dirty. Rinse them briefly in cool water and shake them hard. Then pat them dry with a clean towel and let the surface water evaporate. Any water left on the leaves slows drying and invites mould.
Strip the lowest leaves from each stem, where the bundle tie will sit. Large leaves, such as those of big sage plants, can come off the stem and dry flat on a screen.
Dry and store only plants you have identified with complete certainty. Some garden and woodland plants are toxic, and dried leaves and roots of different plants look much alike. If you are not sure what a plant is, do not harvest it.
Step 3: Hang leafy herbs in small bundles
Gather 5 to 10 stems into a bundle. Keep bundles small, no thicker than about 1 inch (2.5 cm) at the tie. Air cannot reach the middle of a fat bundle, and that is where mould starts.
Fasten the stems with a rubber band. Stems shrink as they dry, and a rubber band tightens with them. String works, but you need to retie it. Hang the bundles upside down with space between them.
Choose a place that is warm, dark and airy. An attic, a spare room with the curtains drawn, or a dry shed all work. Avoid kitchens and bathrooms, which are steamy. Avoid sunny windows, which bleach the leaves. Most leaf herbs dry in one to two weeks. Mint, sage and catnip all dry well this way.
This is an old practice. In Folk Medicine in Southern Appalachia, Anthony Cavender describes mountain households that gathered plants from garden and woods. They kept them dried for the year ahead, and some families sold dried roots and herbs to dealers for cash. That is history only. This guide covers drying as a garden skill and is not medical advice.
Step 4: Spread flowers and loose leaves on screens
Flowers and loose leaves dry best lying flat. Spread them in a single layer on a mesh screen. Nothing should overlap. Prop the screen on blocks so air moves underneath as well as above.
Dry small flowers such as chamomile whole. Pull the petals from large flowers such as calendula, because the thick centre dries slowly. Keep the screens in the same warm, dark, airy place as the bundles.
Turn the material gently every day or two. Flowers usually take one to two weeks. They are ready when the petals feel papery and the centres are hard.
Step 5: Catch seeds in a paper bag
Cut seed heads with a length of stem once they turn brown. Do it on a dry day, and handle them gently. Ripe seed drops easily.
Put the heads upside down in a paper bag and tie the bag around the stems. Hang it in your drying place. As the heads finish drying, the seeds fall into the bag. After about two weeks, shake the bag well.
Pour the contents onto a tray and pick out stems and chaff. Let the cleaned seed sit on the tray for a few more days. Never use plastic bags for this job. They trap moisture, and the seed moulds.
Step 6: Wash, slice and dry roots
Dig roots in autumn with a garden fork. Start well out from the crown, to avoid spearing them. Lift the clump and shake off the soil. With perennials, you can replant a piece of the crown to keep the plant going.
Roots are the one part that always needs washing. Scrub them under cool running water with a brush. Trim off the fine hair roots and any soft or damaged parts.
Slice thick roots into pieces about 1/4 inch (6 mm) thick. Even slices dry at the same rate. Whole thick roots dry so slowly that they often rot in the middle. Spread the slices on screens in a single layer. Roots take longer than leaves, often two weeks or more in air. A dehydrator is a real help here.
Step 7: Use a dehydrator in damp weather
In humid weather, air-drying is slow and mould is likely. A dehydrator solves that. Set it low, at about 95 to 115°F (35 to 46°C). Higher heat drives off the oils that give herbs their scent and flavour.
Lay the herbs in a single layer on the trays. Leaves usually take one to four hours. Flowers take a little longer. Sliced roots can take most of a day. Check often, and remove each tray as it finishes.
An oven is a poor substitute. Most ovens cannot hold a temperature this low, and they cook the herbs rather than dry them.
Common problems
Bundles turn mouldy or smell musty
The bundles were too big, the herbs were wet, or the room was too damp. Discard mouldy herbs. Do not try to save them. Next time, make smaller bundles and space them wider. Move them to a drier room, or use a dehydrator.
Leaves turn brown or black
Bruising at harvest, slow drying, or too much heat all cause this. Handle the stems lightly and dry them the same day you cut them. Keep dehydrator heat within the low range given above.
Dried herbs have faded colour and little scent
Light and heat are the usual causes. The herbs dried in sun, or the jars sit on a bright shelf. Leaves cut after flowering also have less scent to begin with. Dry in the dark and store in a cupboard.
Moisture beads inside the jar
The herbs were not fully dry. Check new jars daily for the first week. If you see any condensation, tip the herbs out and dry them again straight away. If they already smell musty, discard them.
Small insects appear in stored herbs
Insects or their eggs came in on the harvest, or the lid does not seal. Discard the affected jar. Shake and sort more carefully next time, and use jars with tight lids.
What to do next
Test before you store. Leaves should crumble between your fingers, stems should snap, and root slices should break rather than bend. Strip the leaves from the stems and keep them as whole as you can. Crush them only when you use them. Pack each herb into an airtight jar. Label it with the plant name and the date. Keep the jars in a cool, dark cupboard and use them within about a year.