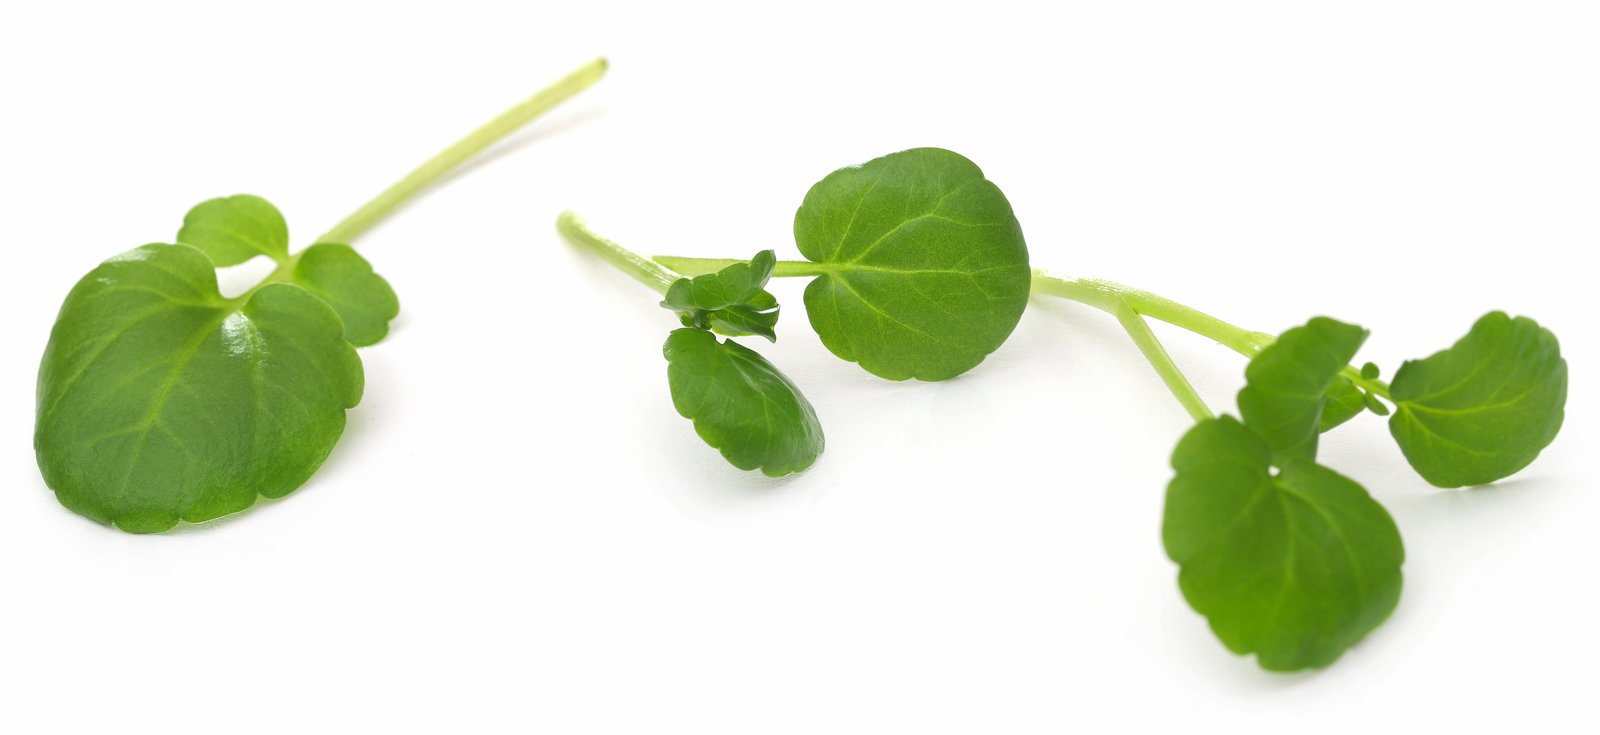
Watercress has a reputation as a plant of clear running streams, but it does not need one. A pot, a tray of water and a cool corner are enough. Within a few weeks you have peppery leaves for salads, soups and sandwiches. The one thing that matters most is the water. Keep it fresh and the roots always wet, and watercress is an easy crop.
What you need
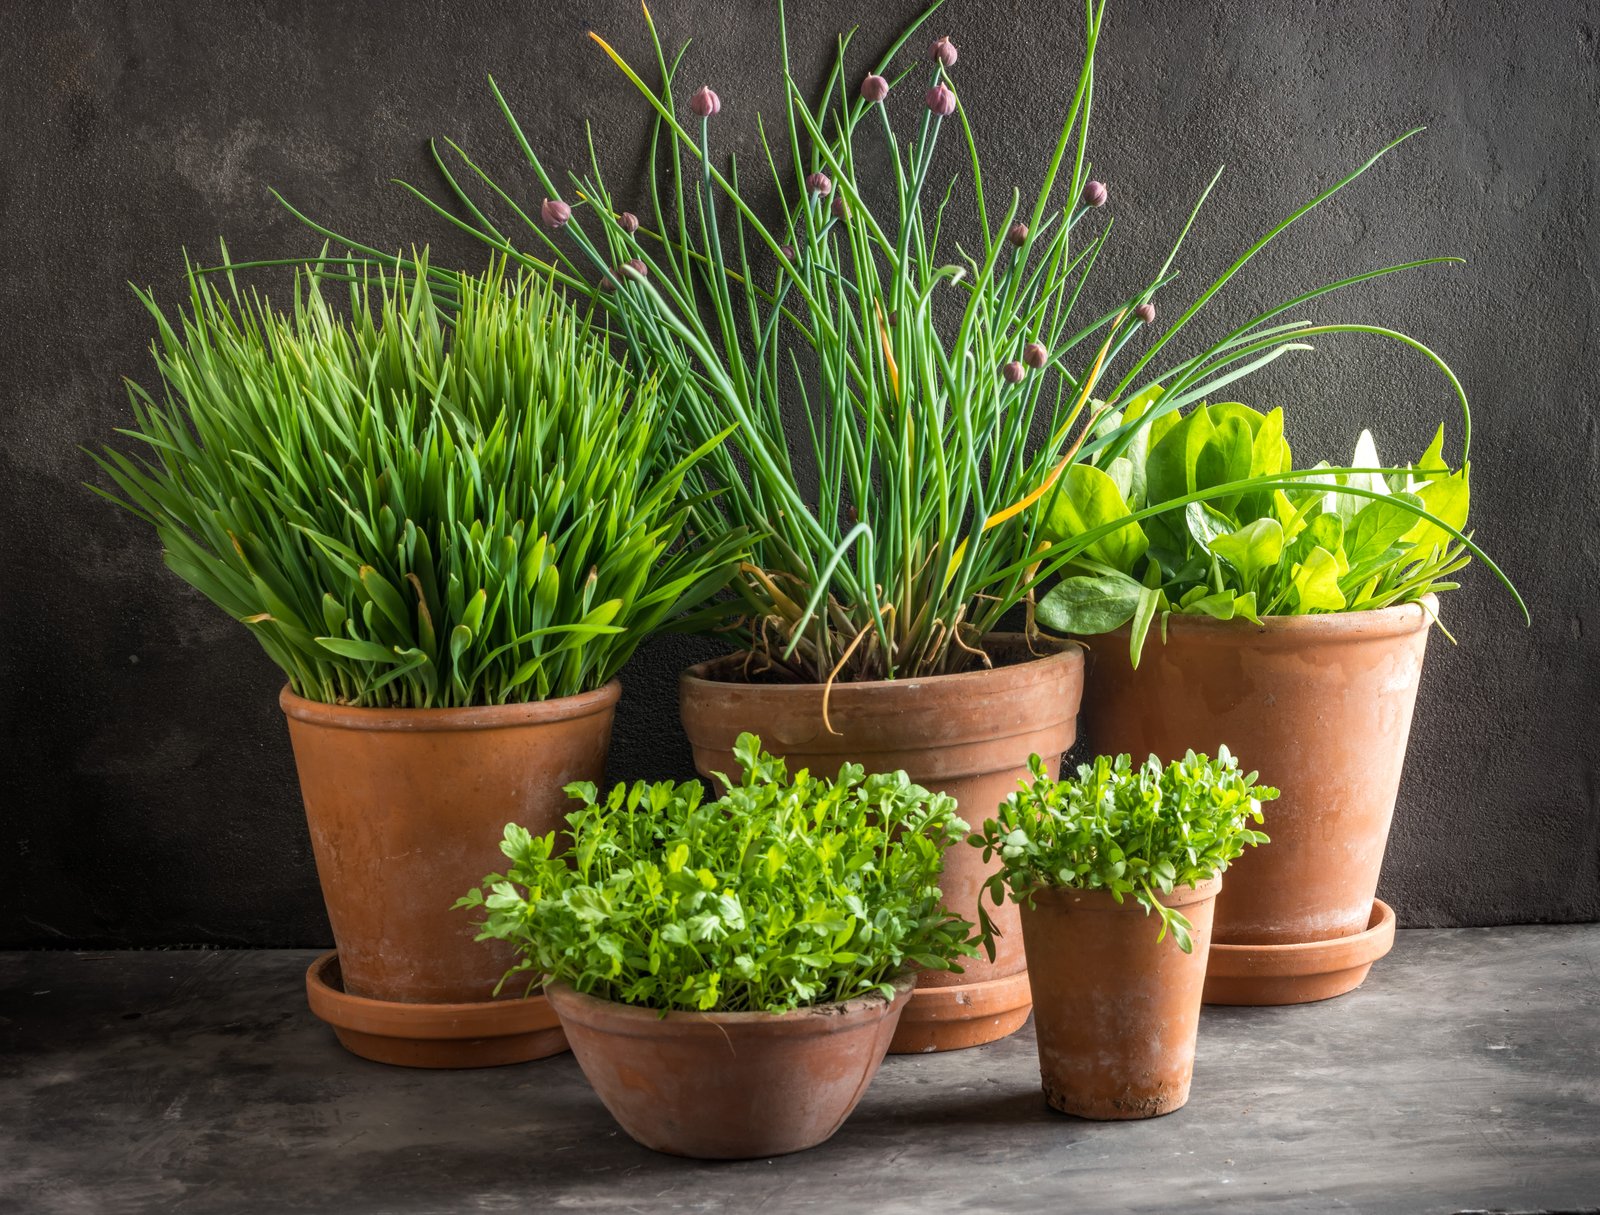
- Watercress seed (Nasturtium officinale), or a bunch of fresh watercress from a grocery store
- A pot 8 to 12 inches (20 to 30 cm) wide, with drainage holes
- A deep saucer, tray or tub, 2 to 4 inches (5 to 10 cm) deep, that the pot can stand in
- Potting mix, ideally blended with some finished compost
- A small handful of garden lime, if your mix is acidic
- A glass or jar of water, for rooting shop-bought stems
- Clean water for topping up and changing
- Scissors
- A spot with gentle morning sun and afternoon shade
- Fine insect mesh or row cover, optional
When to start watercress
Watercress is a cool-season crop. It grows best between about 50 and 70°F (10 and 21°C). It tolerates light frost but dislikes heat. Plan your sowing around that.
Start in early spring, from about four weeks before your last frost. Seedlings raised indoors can go outside once hard freezes are over. Start again in late summer or early fall, as nights begin to cool. This second crop often does best, because it matures into cold weather rather than heat.
In USDA zones 8 and warmer, treat watercress as a fall, winter and spring crop and rest through summer. In colder zones, grow it in spring and fall. It is a perennial and often survives winter in a sheltered spot, but a pot standing in water can freeze solid. Most gardeners simply start fresh each season. Indoors on a cool, bright windowsill, you can grow it at any time.
Step 1: Set up the pot and saucer
Fill the pot with damp potting mix to within 1 inch (2.5 cm) of the rim. Watercress prefers neutral to slightly alkaline conditions. If your mix is peat-based and acidic, stir in a small handful of garden lime. Wear gloves and avoid breathing the dust.
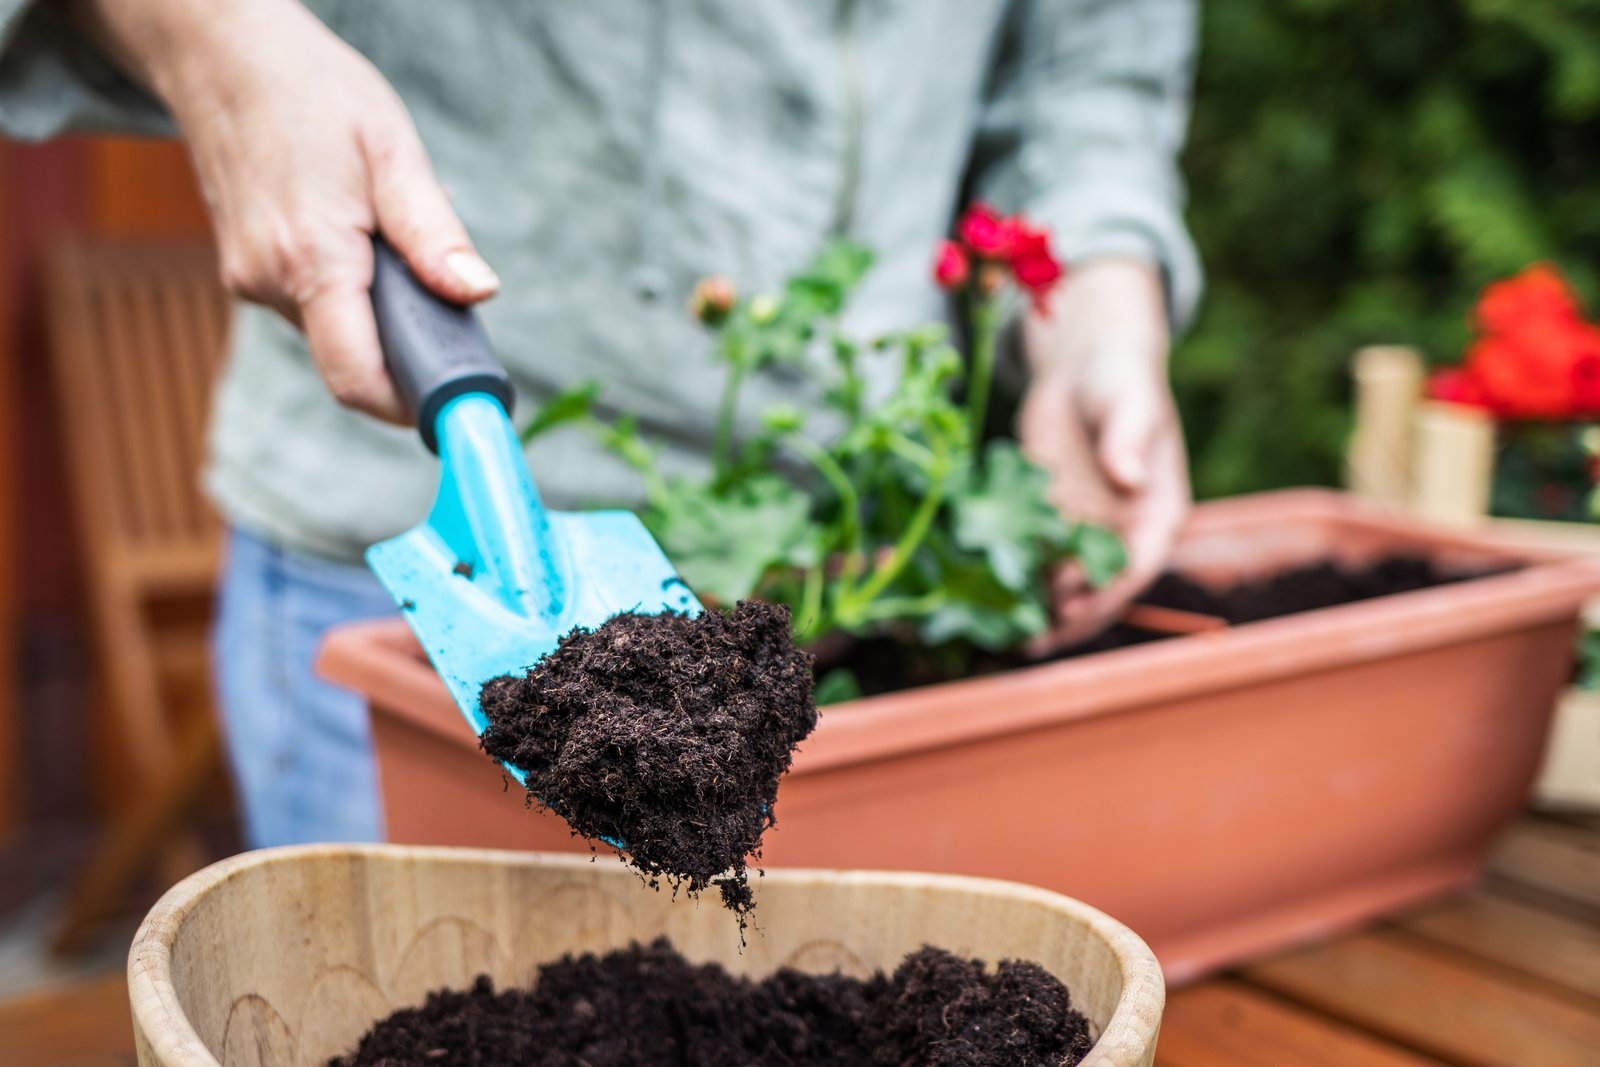
If the drainage holes are large, line the base with a piece of cloth or mesh first. This stops the mix washing out into the water.
Stand the pot in its saucer or tub. Pour in clean water until it reaches 2 to 3 inches (5 to 8 cm) up the side of the pot. The mix draws water up from below and stays wet all the way through. This standing reservoir replaces the stream. A light-colored saucer keeps the water cooler than a dark one in sunshine.
Step 2: Start from seed or rooted stems
You have two ways to begin. Both work well.
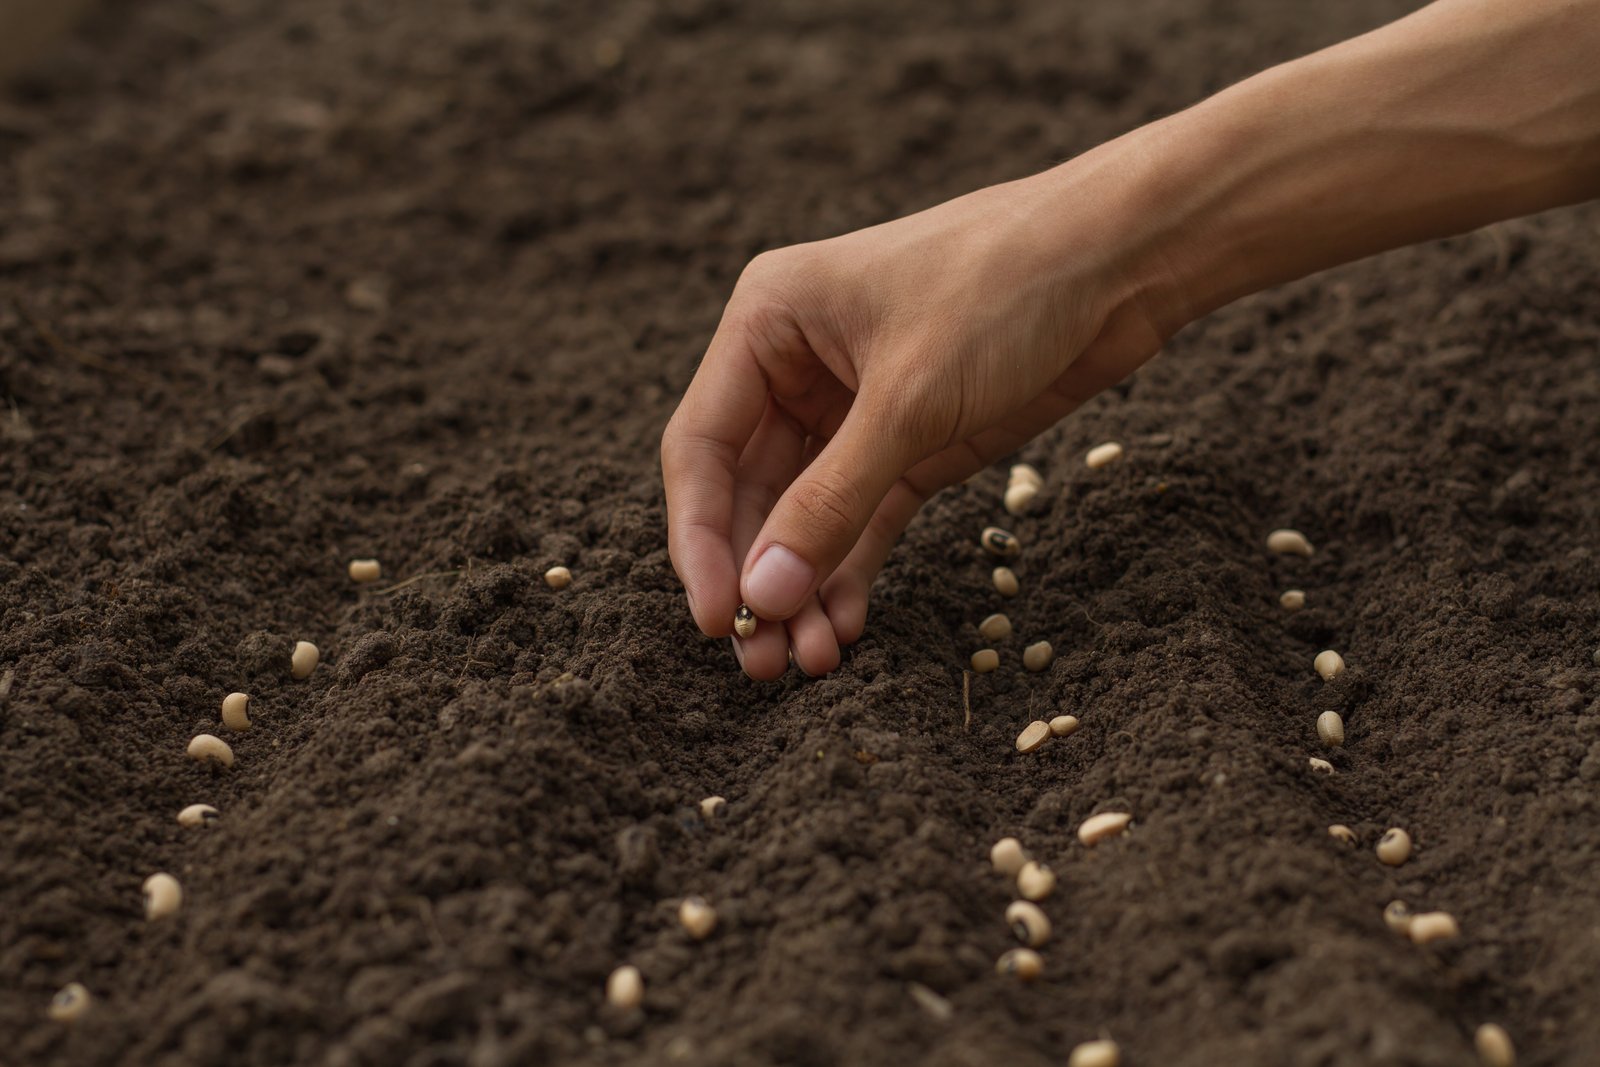
From seed. Watercress seed is tiny. Scatter it thinly over the wet surface and press it down gently. Cover with the barest dusting of mix, or not at all. Keep the pot at about 50 to 65°F (10 to 18°C). Seedlings usually appear in one to two weeks. The surface must never dry out during this time, so check the saucer every day. Thin seedlings to about 2 inches (5 cm) apart when they are large enough to handle. Eat the thinnings.
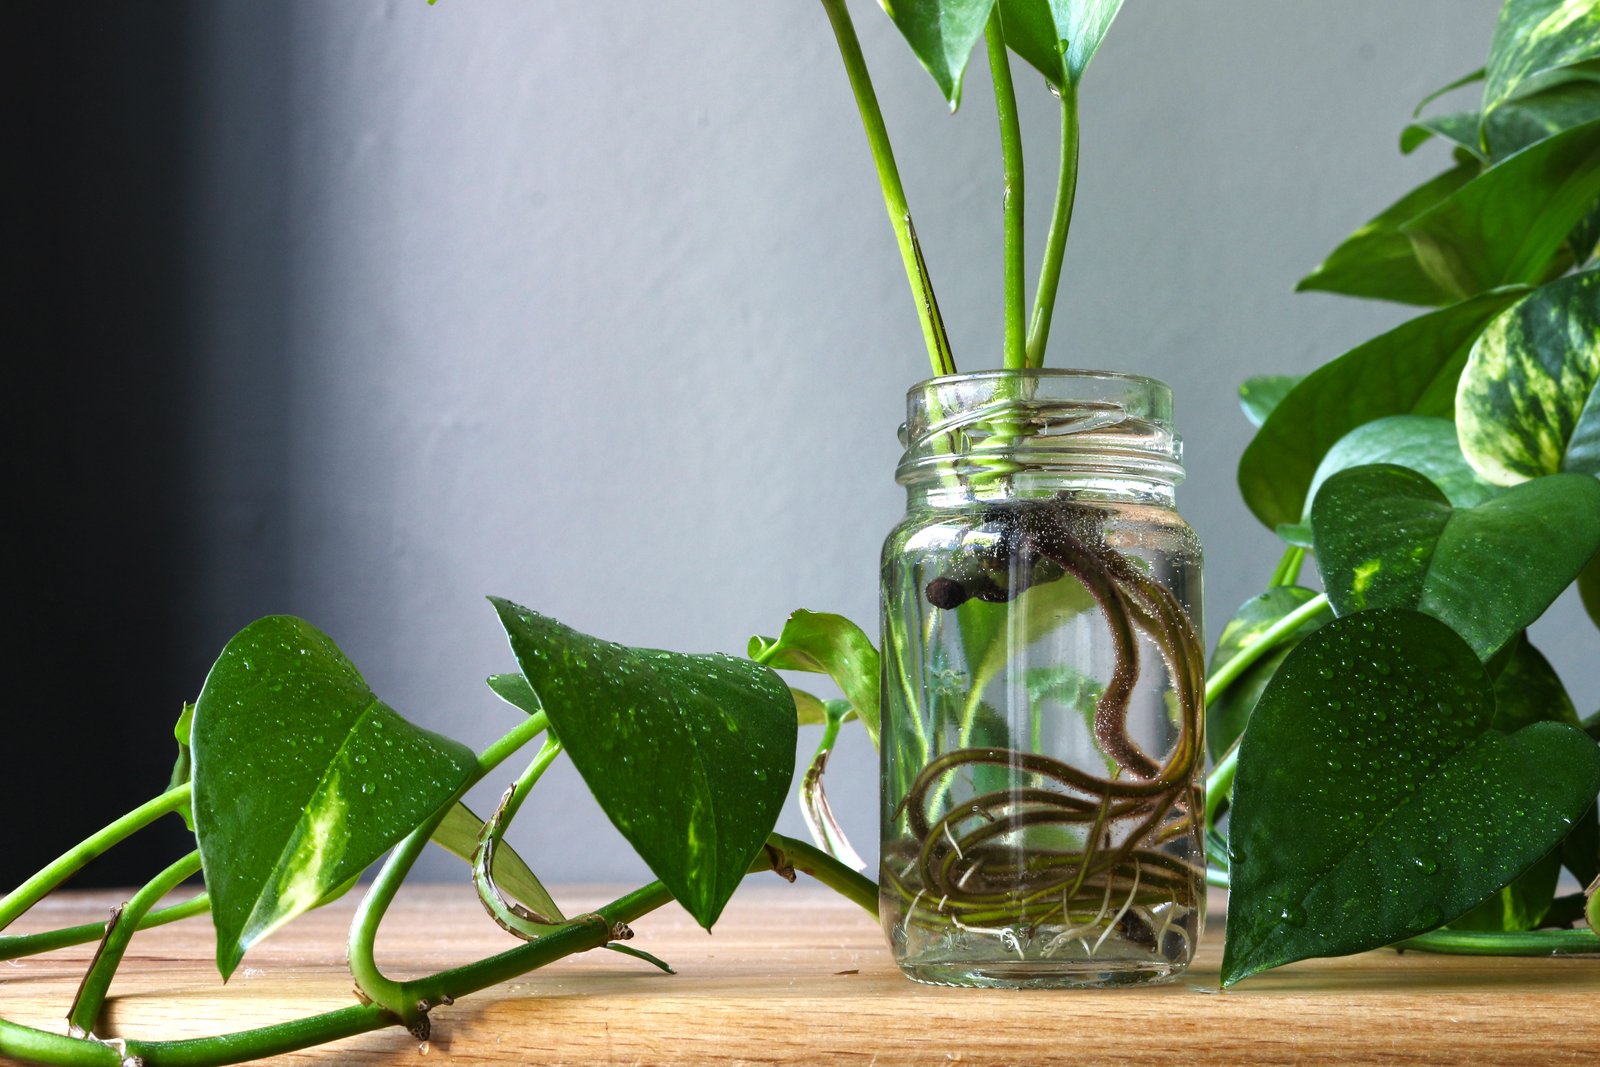
From shop-bought stems. Choose a fresh, green bunch with firm stems. Many stems already carry fine white roots at the leaf joints. Strip the leaves from the lower half of each stem. Stand the stems in a glass of water on a bright windowsill, out of hot sun. Change the water every day or two. Within about a week, new roots are 1 inch (2.5 cm) long or more. Plant the rooted stems 2 to 3 inches (5 to 8 cm) apart. Bury the rooted section and firm the mix around it.
Stems give you a harvest sooner. Seed is cheaper and gives you more plants.
Step 3: Stand the pot in the right light
Watercress wants good light but cool roots. In cool spring and fall weather, it grows well in full sun. As days warm, move the pot to part shade. Morning sun with shade from midday onward is ideal. The north or east side of a building, or the dappled shade of a tree, suits it well.
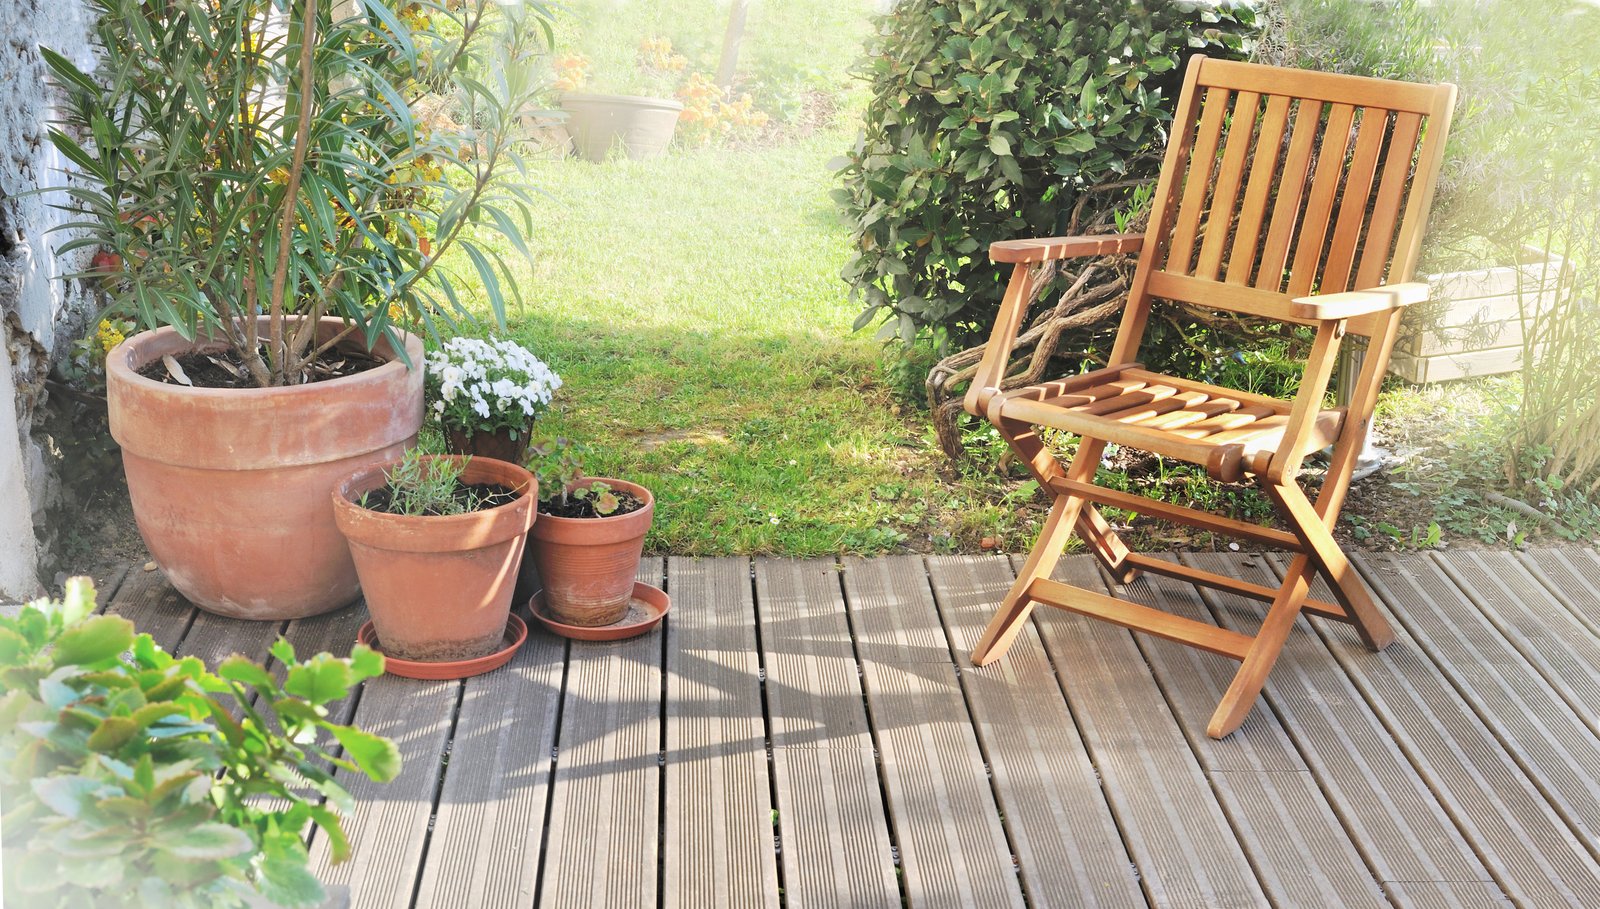
This is the advantage of a pot over a stream bank. You can move the crop as the season changes. In hot weather, shade matters more than any other care you give. Water in a shallow saucer heats quickly in direct sun, and warm water is what watercress tolerates least.
Indoors, a bright but cool windowsill works through winter. Keep the pot away from heating vents and radiators.
Step 4: Change the water often
Still water turns stale. It loses oxygen, grows algae and starts to smell. Stale water is the main reason potted watercress fails, so make changing it a habit.
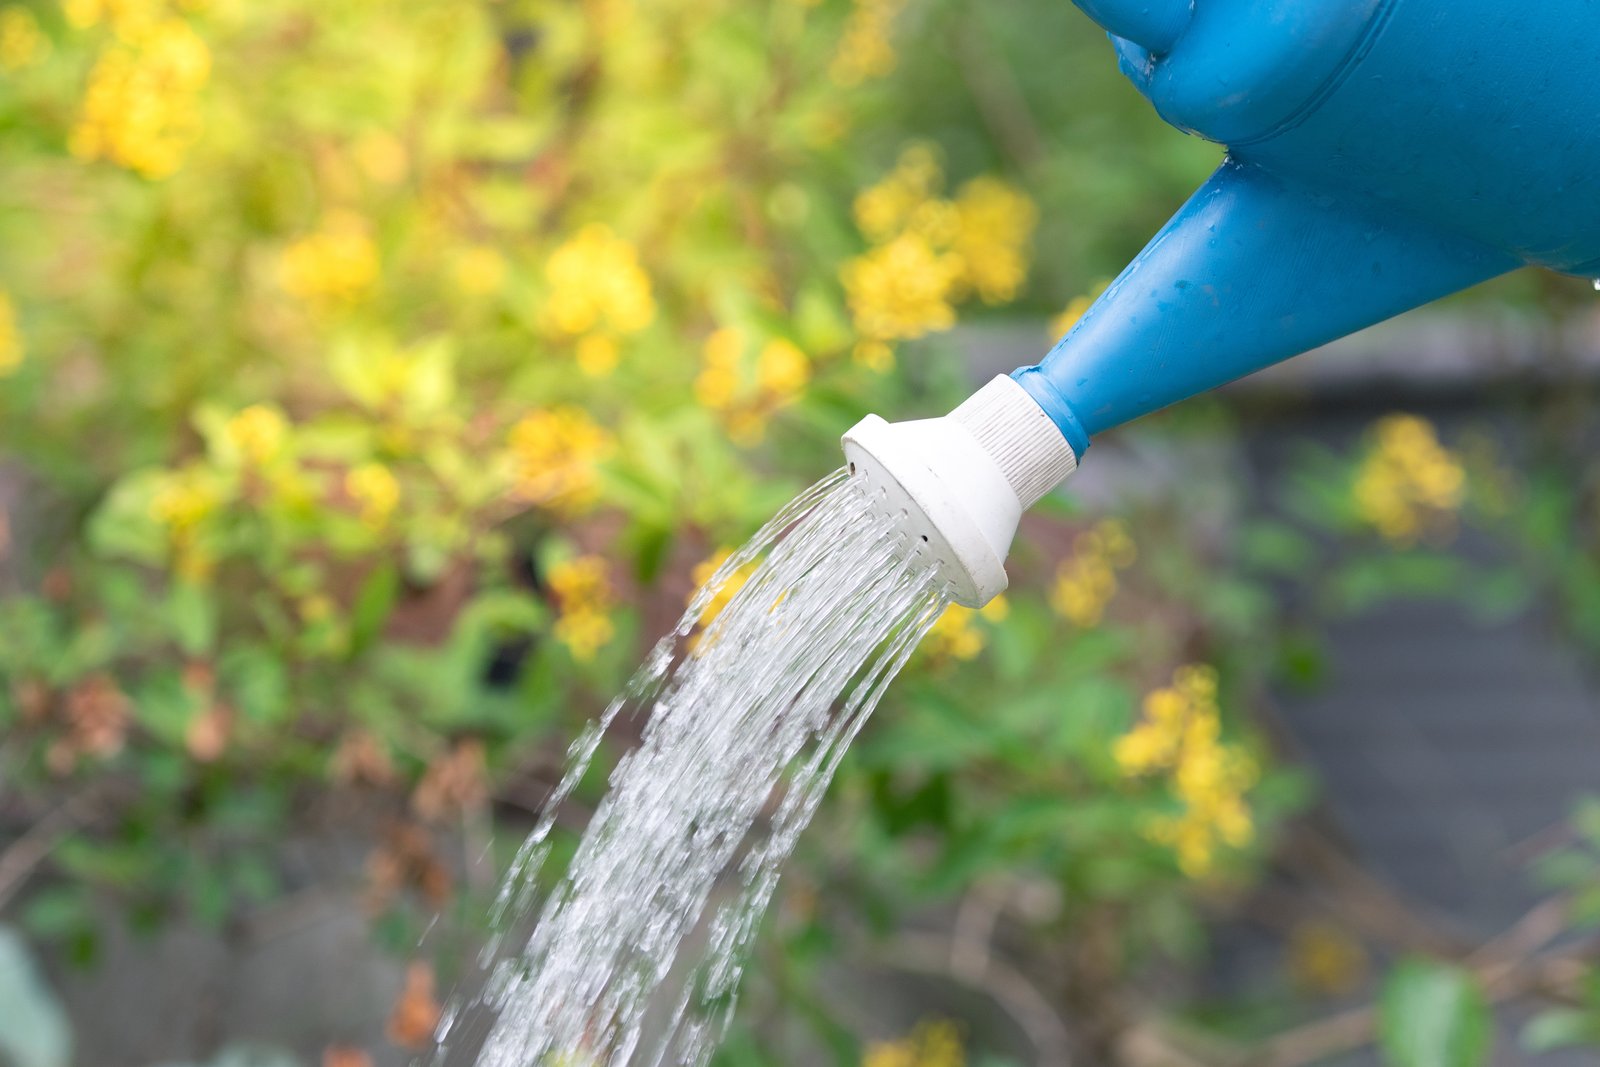
Tip out the saucer and refill it with fresh water at least twice a week. In warm weather, do it every day or two. Once a week, water the pot heavily from above as well. Let the water run through and empty the saucer afterwards. This flushes the mix and carries fresh oxygen to the roots. Then refill.
Tap water is fine. Collected rainwater is fine too, if your barrel is clean. Scrub the saucer whenever a green film forms. Standing water also attracts mosquitoes, which lay eggs on still surfaces. Changing the water every few days breaks their breeding cycle.
Never let the saucer run dry. A single dry, hot afternoon can wilt the crop beyond recovery.
Step 5: Feed lightly and keep plants bushy
Frequent flushing washes nutrients out of the pot. Once plants are growing strongly, feed every two to three weeks with a balanced liquid fertilizer at half the label strength. Pour it onto the mix, not over the leaves. Rinse your hands afterwards, and rinse the leaves before you eat them.
When stems reach about 6 inches (15 cm), pinch out the growing tips. Each pinched stem branches into two or more, so the pot fills out quickly. Remove any yellow leaves and any stems that flop into the saucer and start to rot. Pinch off flower buds as soon as you see them. This delays bolting (running to flower and seed) for a little while.
Step 6: Harvest cut-and-come-again
Begin harvesting when stems are about 6 inches (15 cm) long. From seed, that is usually four to seven weeks after sowing. From rooted stems, it is often sooner.
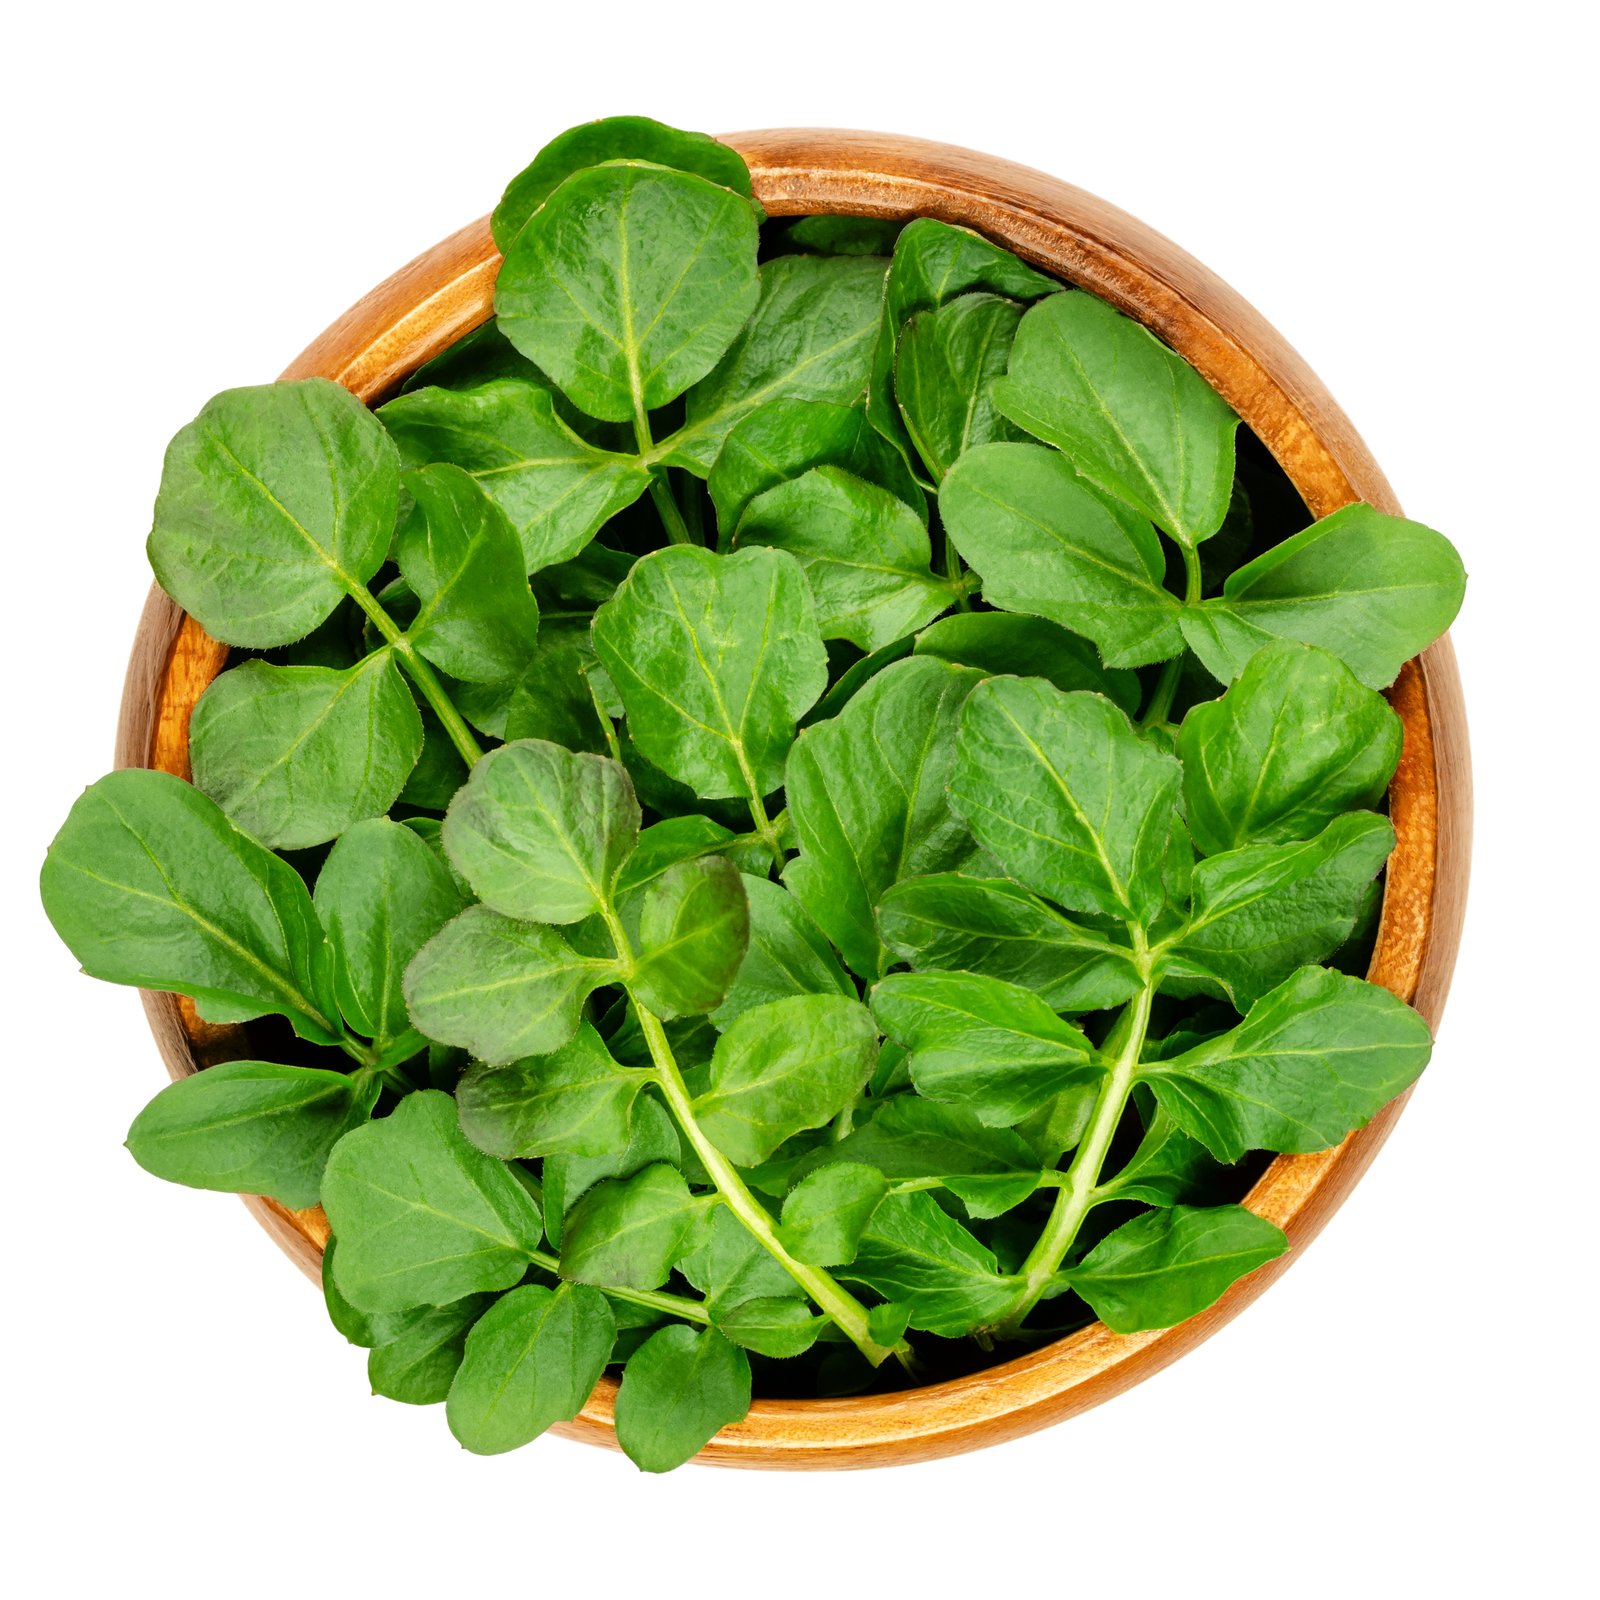
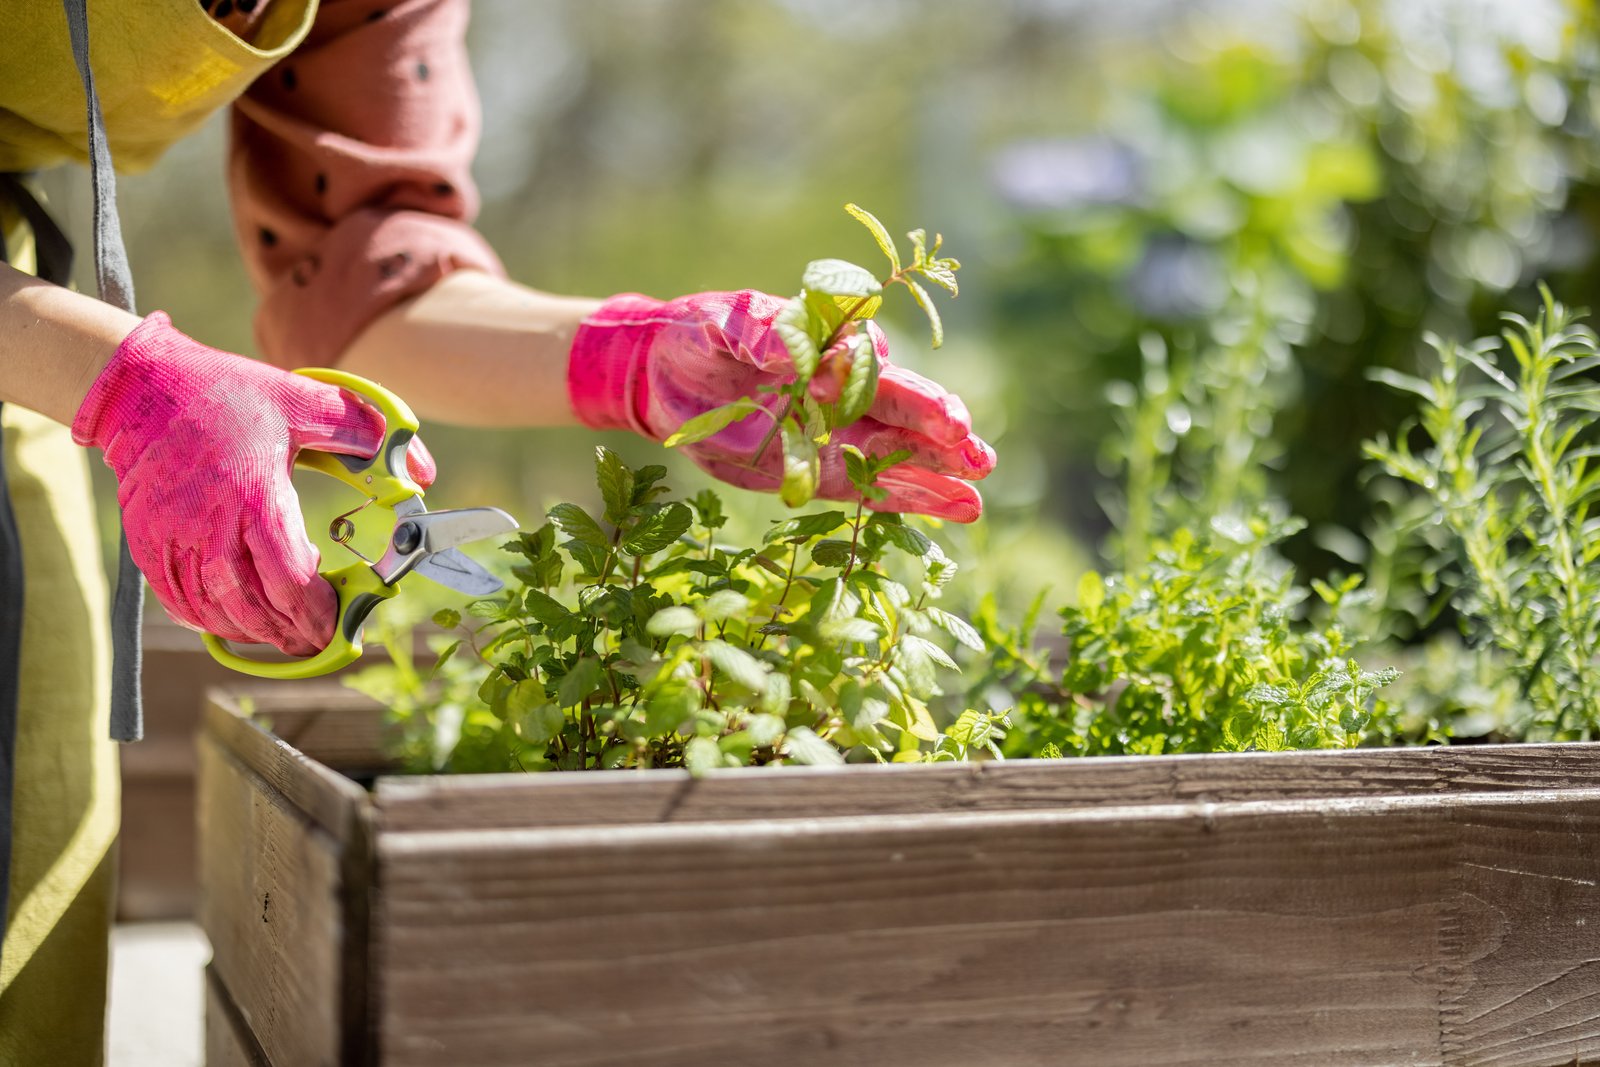
Use scissors. Cut stems back to about 2 inches (5 cm) above the mix, just above a leaf joint. Take no more than a third of the plant at one time. New shoots break from the joints below the cut. This is cut-and-come-again harvesting, and a healthy pot gives you a picking every week or two through the cool season.
Pick in the cool of morning, when leaves are crisp. Rinse well and use them soon. Watercress keeps only a few days in the refrigerator, best with its stems standing in a glass of water. Leaves taste mild and peppery in cool weather. They turn hotter and slightly bitter once the plant starts to flower.
Watercress has long been a gathered green in the eastern mountains. Anthony Cavender, in Folk Medicine in Southern Appalachia, notes that mountain families picked it with other wild spring greens. They ate these as a seasonal tonic after a winter of stored food. That is folk history, not medical advice. It does carry a warning for anyone tempted to pick from the wild.
Never gather wild watercress from streams or ditches near cattle, sheep or other livestock. Such water can carry liver fluke, a parasite that clings to the leaves and infects people who eat them raw. Home-grown watercress raised in clean water avoids this risk.
Common problems
Plants run to flower and the leaves turn bitter
This is bolting, and heat and long days cause it. Move the pot into more shade and change the water more often to keep it cool. Pinching buds buys a little time only. Once most stems are flowering, pull the crop and start again in late summer. You can let one pot set seed for your next sowing.
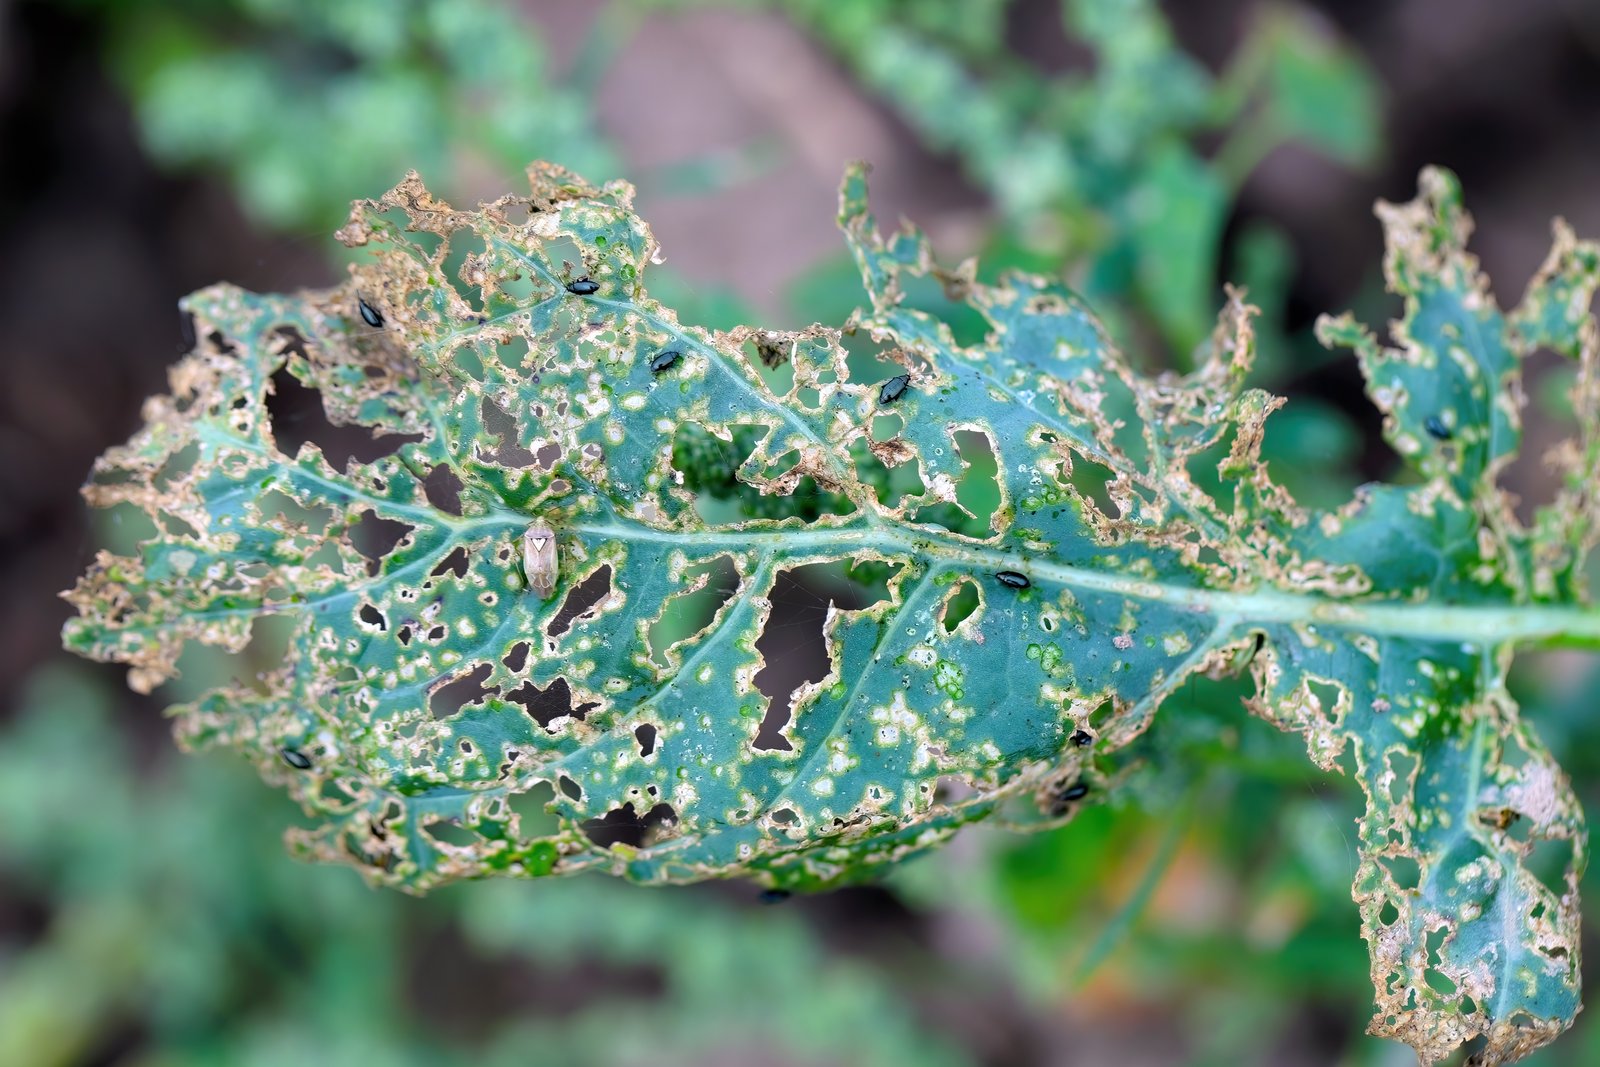
Leaves are peppered with tiny round holes
Flea beetles are at work. These are very small, dark, shiny beetles that jump when disturbed. They attack watercress and all its cabbage-family relatives. Cover the pot with fine insect mesh from the day you sow. Keep the pot away from beds of cabbage, kale, arugula and radishes.
Shoot tips are crowded with small insects
These are aphids, soft sap-sucking insects that cluster on young growth. Dunk the cut stems in a bowl of water, or spray the plants firmly with a hose every few days. Cut badly infested stems right back and discard them. Avoid insecticides on a salad crop that you pick every week.
Leaves turn yellow and growth slows
The water is usually stale, or the plants are hungry. Change the water, flush the pot from above and resume light feeding. Check that the pot still sits in cool shade. Congested older plants also yellow, so replace them with freshly rooted cuttings.
The water turns green and smells
Algae grow fast in warm, sunlit, nutrient-rich water. Empty and scrub the saucer, then refill it. Move the pot to a shadier place and change the water more often. Let the leaves spread over the saucer, since shade on the water slows algae.
What to do next
Keep a second pot coming. Every three to four weeks through the cool season, root a few cut stems in a glass of water and plant them in a fresh pot. When summer heat ends your first crop, empty the pot and scrub the saucer. Then sow again as nights begin to cool.