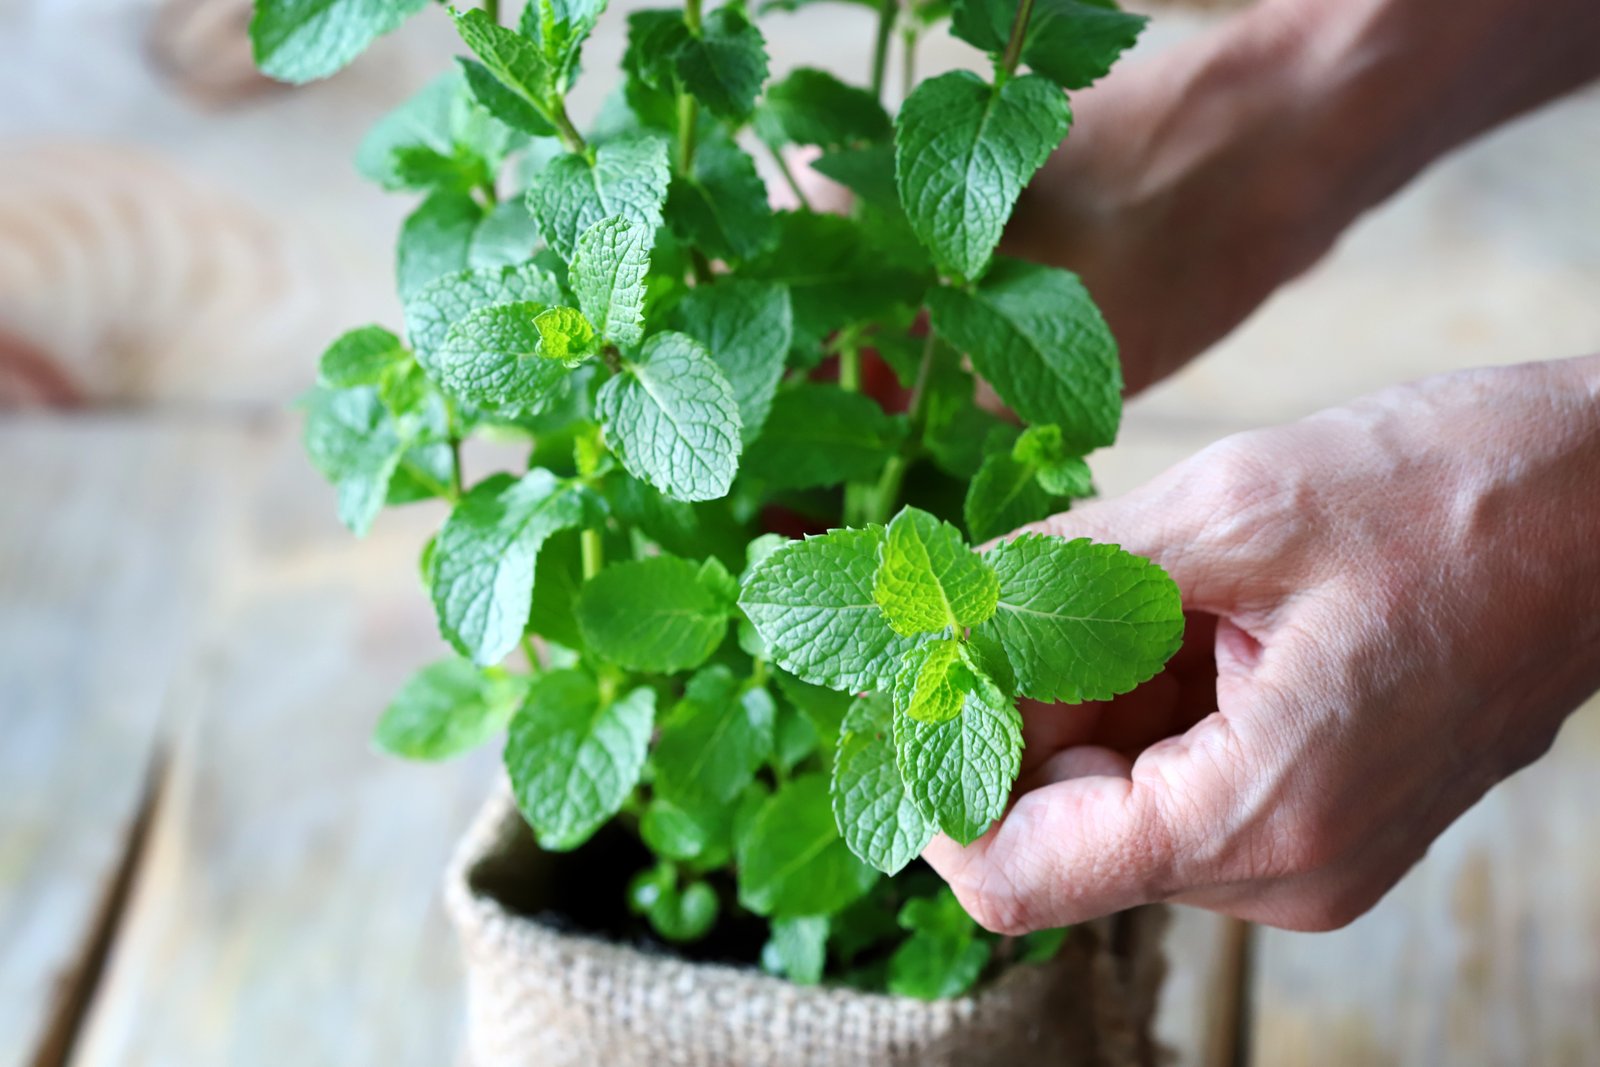
A single pot of peppermint gives you fresh leaves from spring to fall, and dried leaves for the rest of the year. Growing it in a container is not a compromise. It is the best way to grow a plant that otherwise takes over a bed. The one thing that matters most is water: a potted mint must never dry out completely.
What you need
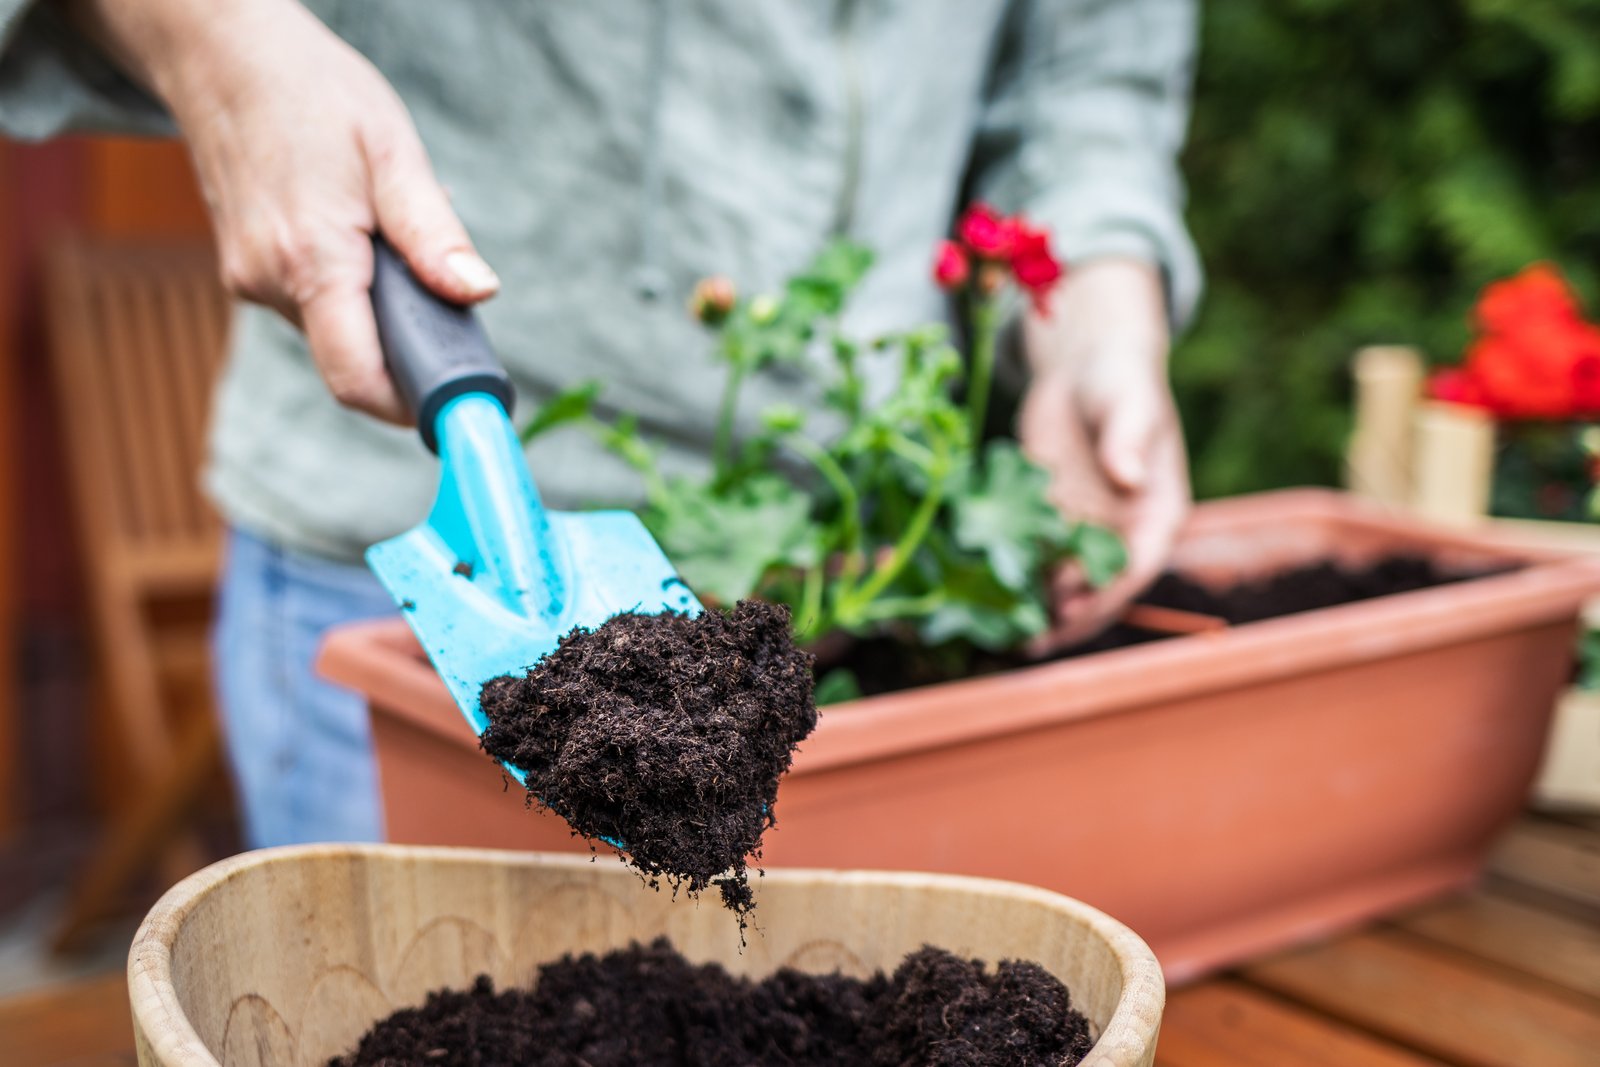
- One healthy peppermint plant, or a few cuttings or a division from a friend's plant
- A pot at least 12 inches (30 cm) wide with drainage holes
- All-purpose potting mix, plus a little compost if you have it
- A saucer, pot feet or bricks to stand the pot on
- A spot with morning sun and light afternoon shade
- Clean scissors or pruners
- A balanced liquid fertilizer, used lightly
When to plant peppermint
Pot up peppermint in spring, once hard frosts are over and new growth is showing. A plant started in spring fills its pot by midsummer. You can also plant in early fall, as long as the roots have about six weeks to settle before the ground freezes.
Take cuttings from late spring through summer, when the stems are growing fast. Divide established plants in early spring or early fall, when the weather is cool and the plant is not under stress.
Peppermint is a hardy perennial in roughly USDA zones 5 to 9, and it often survives colder winters in the ground. Roots in a pot get colder than roots in a bed. In zones 6 and colder, plan to protect the pot over winter, as described in the last step.
Never sink the pot into a garden bed or stand it on bare soil. The runners escape through the drainage holes and over the rim, root into the ground, and the mint then spreads through the bed.
Step 1: Start with a plant, cutting or division
Peppermint (Mentha x piperita) is a natural hybrid of watermint and spearmint. It is sterile, or very nearly so, and sets little or no good seed. Packets sold as peppermint seed usually grow into some other mint with a weaker or different flavor. Always start from a living plant.
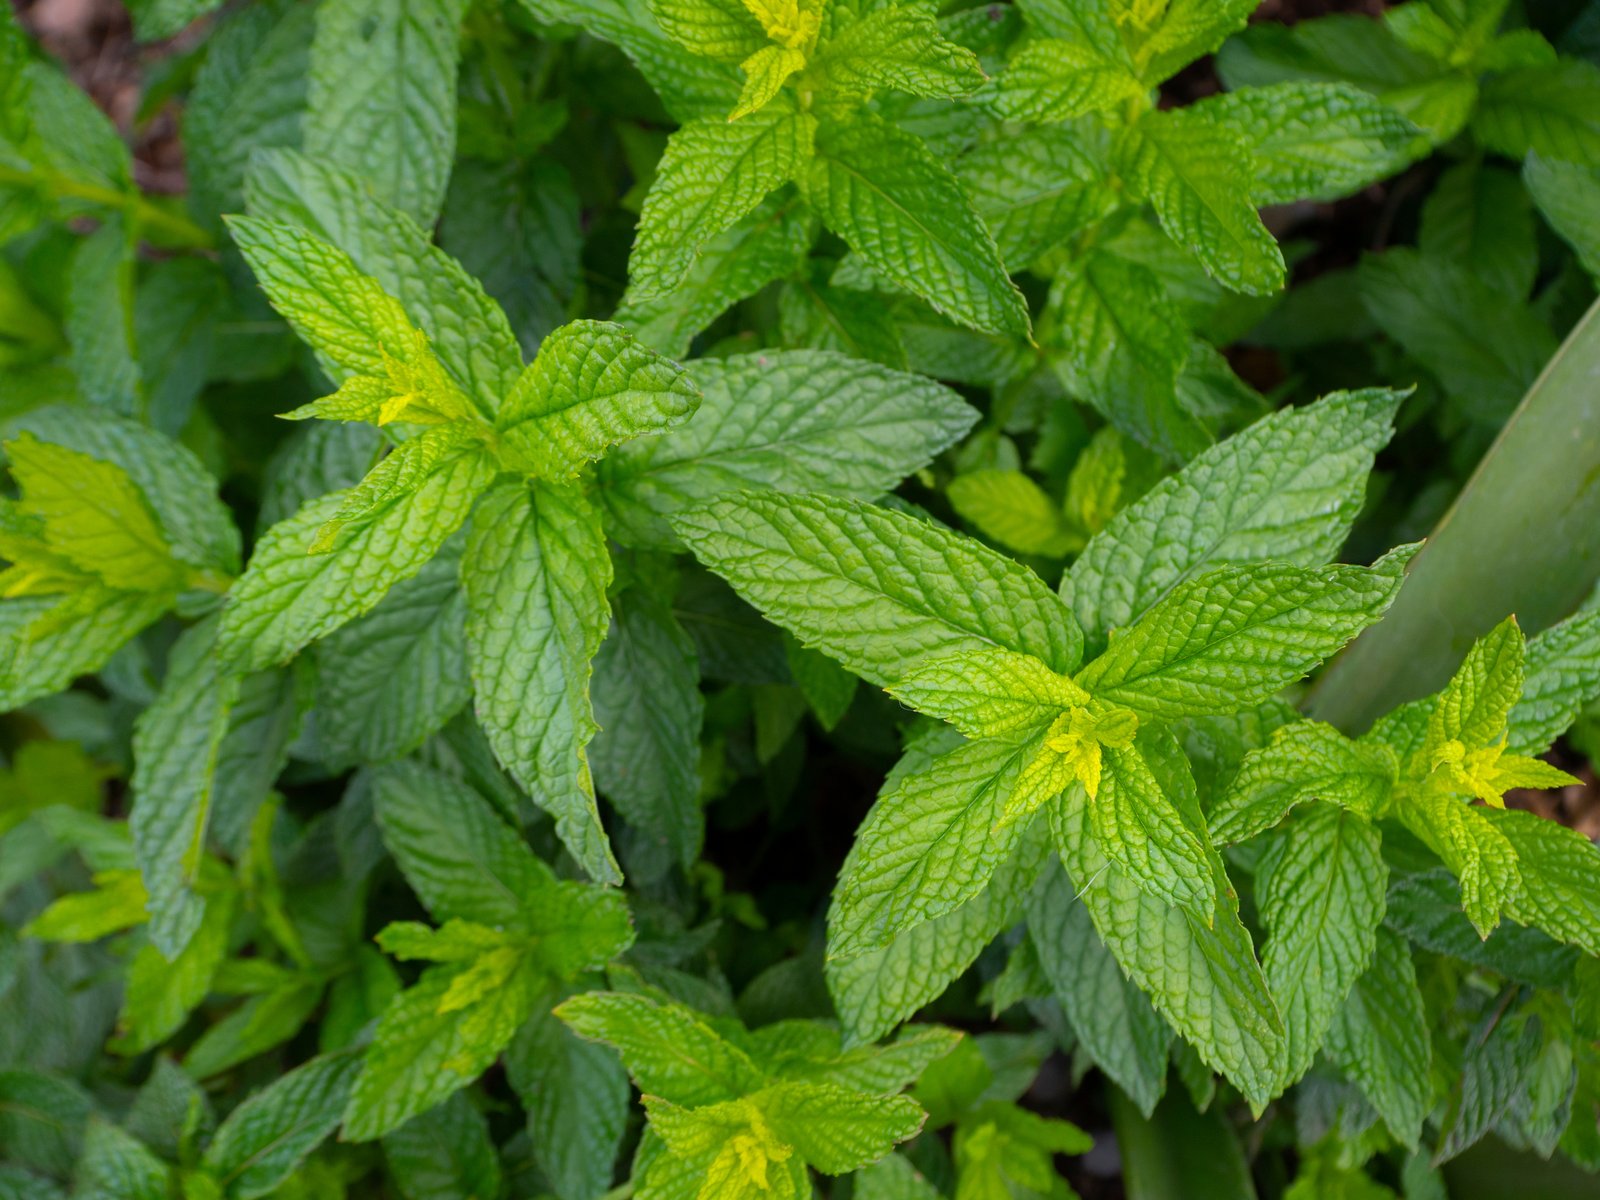
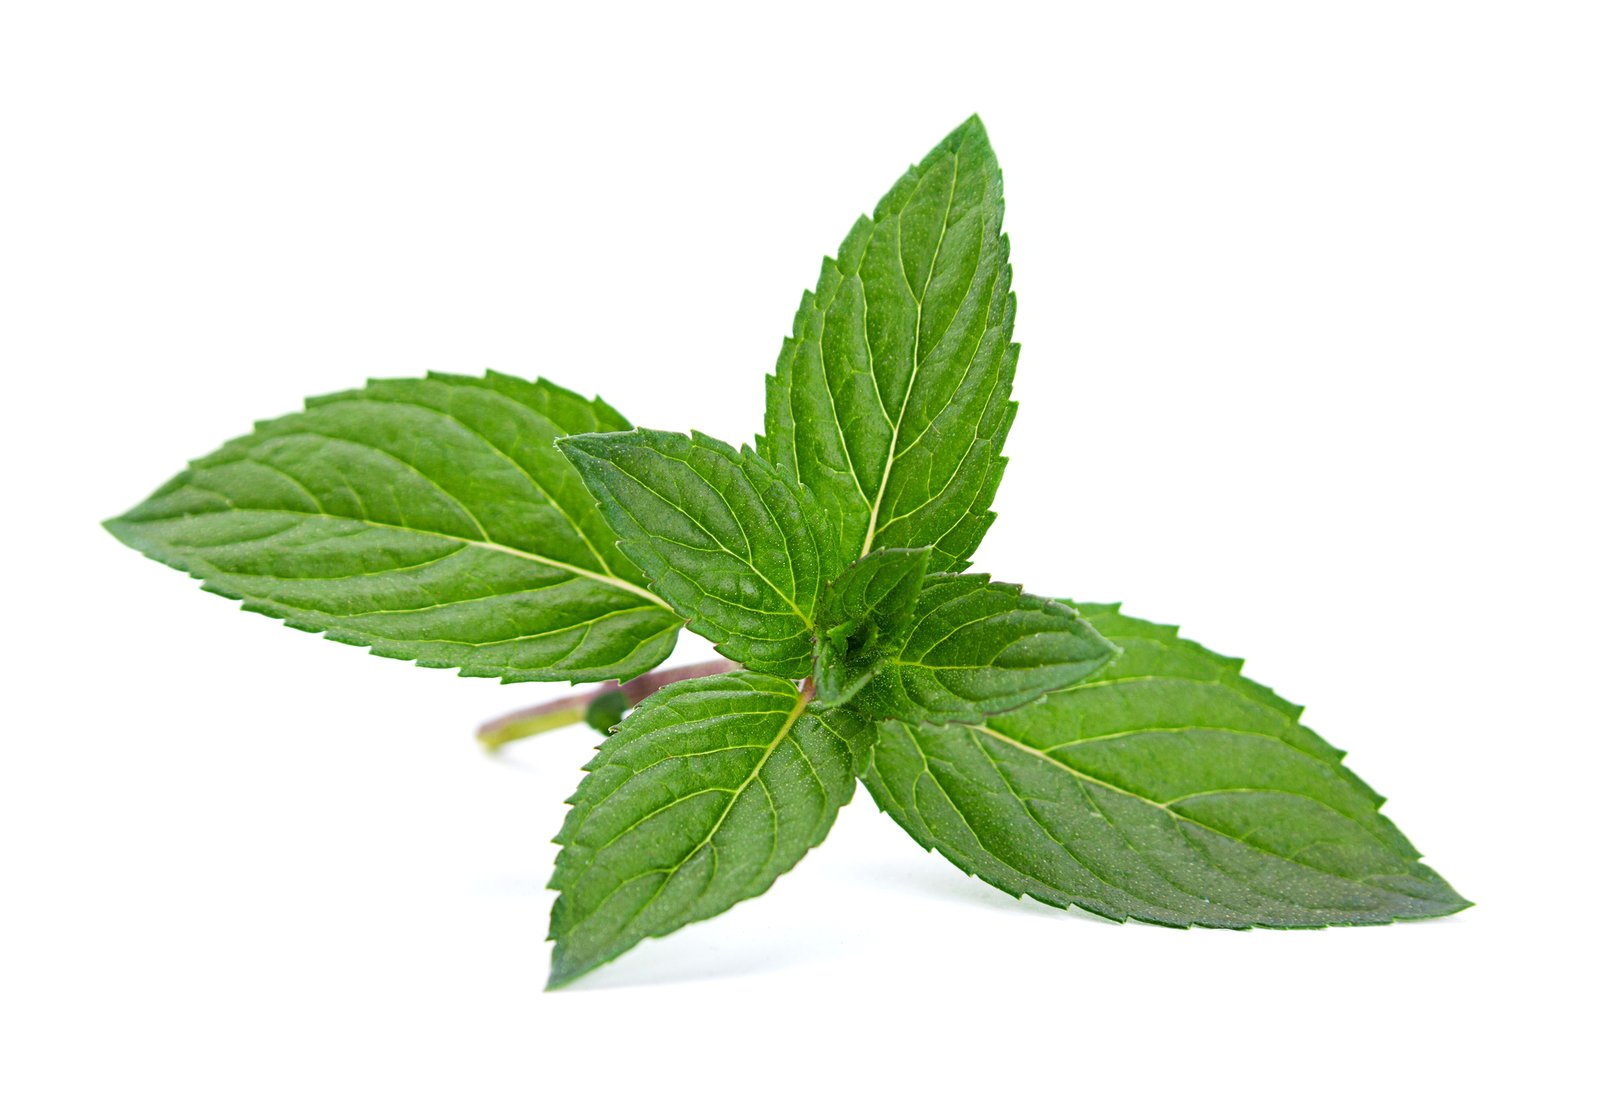
When you buy, rub a leaf and smell it. True peppermint has a sharp, cool menthol scent, and its stems are often tinged purple. Pick a bushy plant with fresh growth and no orange spots under the leaves.
To take cuttings, snip 4 to 6 inch (10 to 15 cm) stem tips just below a node, the joint where leaves meet the stem. Strip the lower leaves and stand the stems in a glass of water on a bright windowsill. Roots usually show within one to two weeks. Pot the cuttings up once the roots are about 1 inch (2.5 cm) long.
A division is faster still. Any piece of rooted runner with a few shoots attached grows into a full plant.
Step 2: Fill a wide pot and plant
Choose width over depth. Mint roots are shallow, and the runners (horizontal stems that creep along and root as they go) need room to travel. A pot 12 to 16 inches (30 to 40 cm) wide keeps one plant happy for a season or two. Plastic and glazed pots hold moisture longer than unglazed clay, which helps in hot summers.
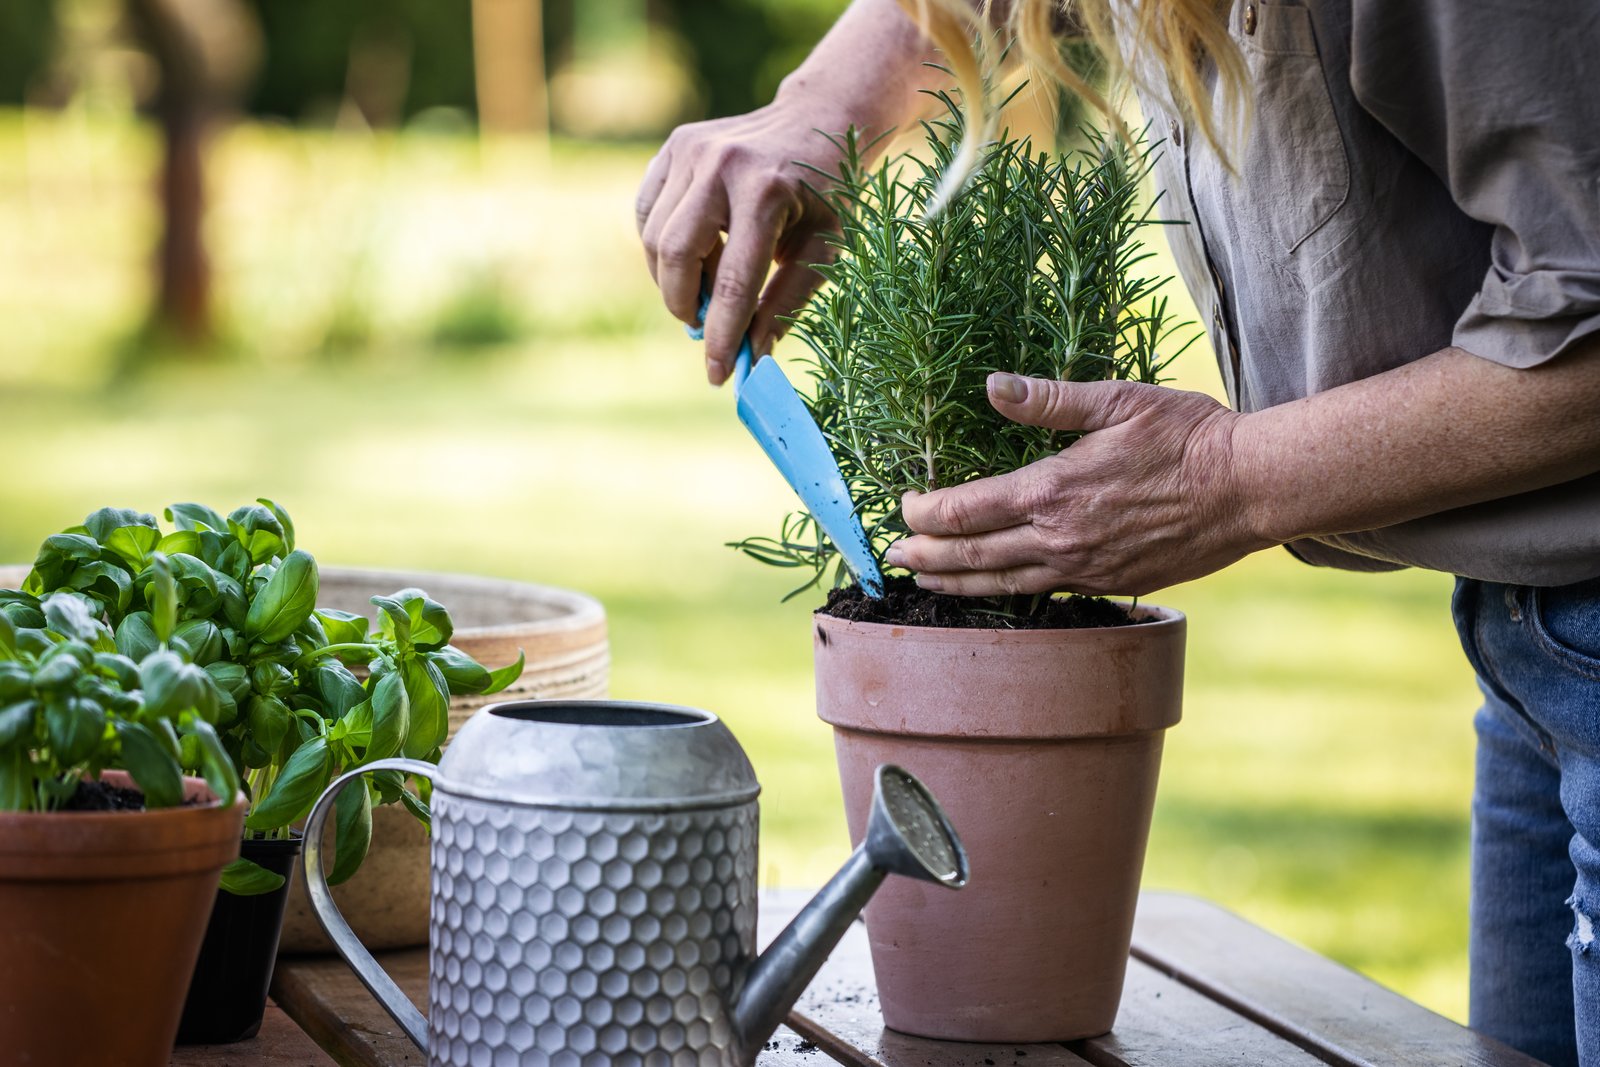
Fill the pot with potting mix to about 1 inch (2.5 cm) below the rim. Mix in a few handfuls of compost if you have some. Do not use garden soil, which packs down hard in a container and drains badly.
Set the plant at the same depth it grew in its nursery pot. Firm the mix around it and water until water runs from the holes. One plant is enough. It fills the pot within a season.
Step 3: Place the pot and keep it moist
Peppermint grows best in part sun, with about four to six hours of direct light. Morning sun with afternoon shade is ideal in hot-summer areas. In cooler climates it takes full sun, provided you keep up with watering. Deep shade gives long, weak stems and poor flavor.

Stand the pot on paving, a deck, pot feet or bricks, never on soil. Check the mix every day in warm weather by pushing a finger in to the first knuckle. Water as soon as the top inch (2.5 cm) feels dry, and water until it drains from the base. In a heat wave, a full pot often needs water daily.
Feed lightly. A half-strength liquid fertilizer every four to six weeks during active growth is plenty. Heavy feeding gives lush leaves with less scent.
Step 4: Pinch the tips and pick often
Once stems reach about 6 inches (15 cm), pinch out the top pair of leaves on each one. The stem then branches from the nodes below. Repeat this every couple of weeks and the plant grows dense and leafy instead of tall and bare.
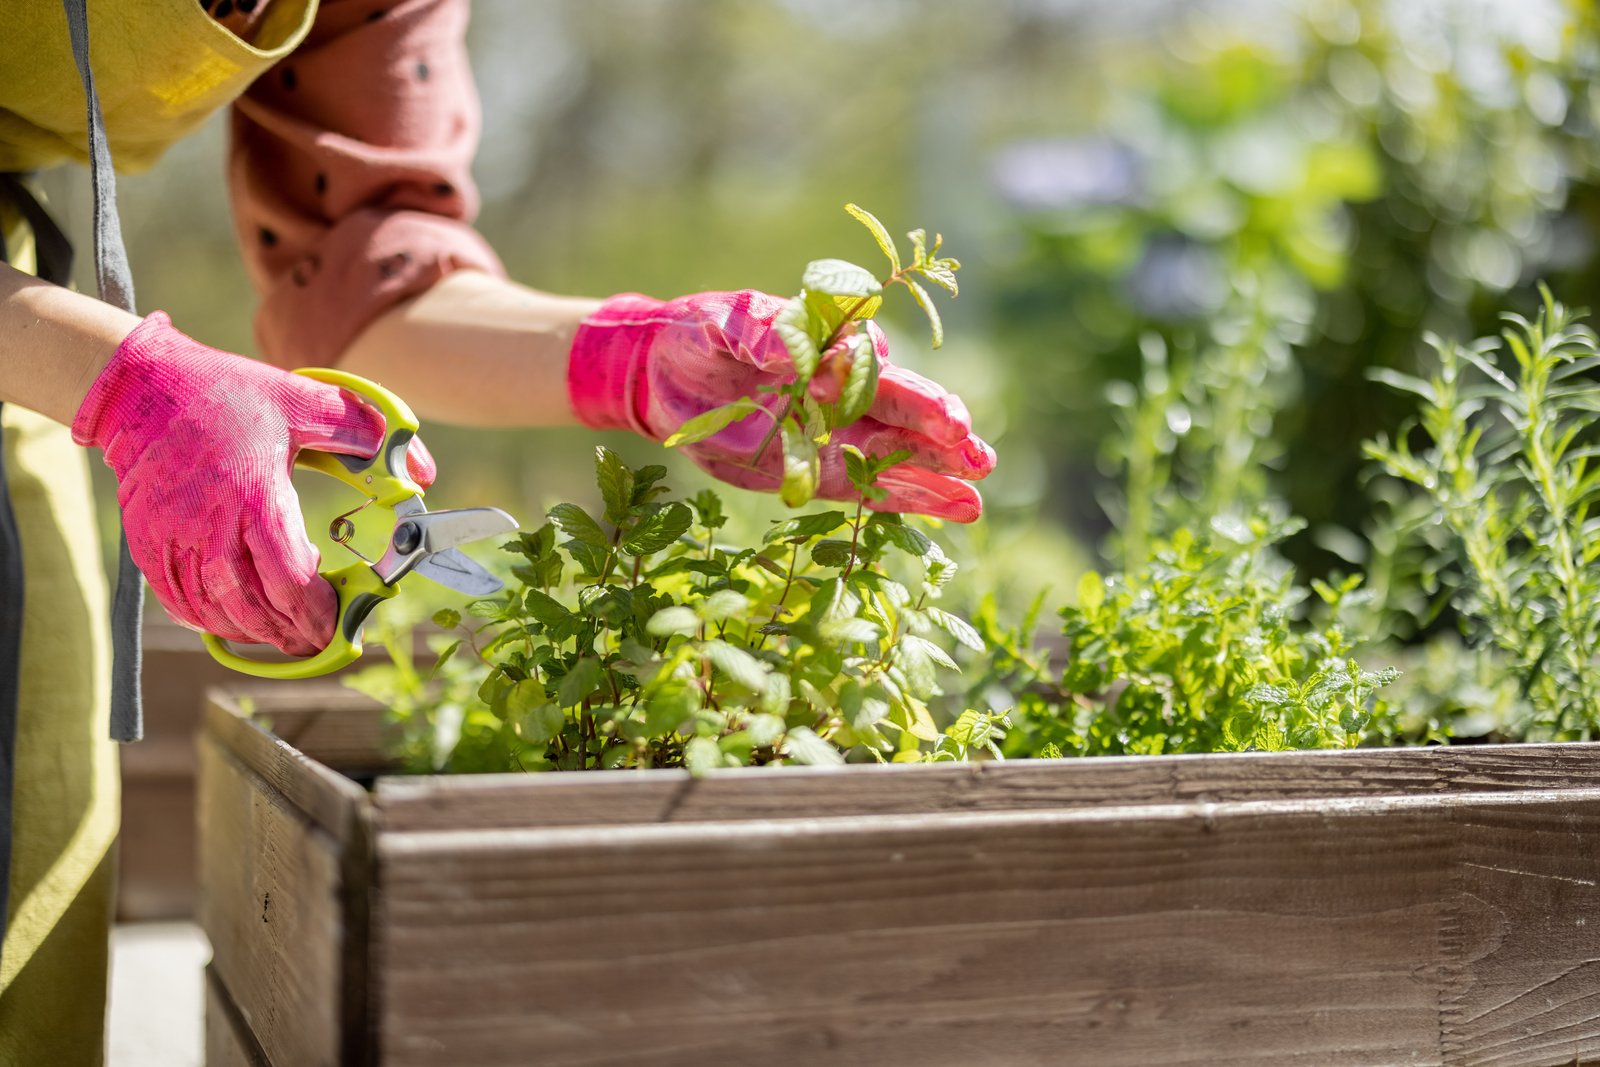
Picking is the same job as pinching. Always cut a stem just above a pair of leaves, and never strip a stem bare. Take what you need from all around the pot so it keeps an even shape.
Peppermint tea is an old standby. In the southern Appalachians, as Anthony Cavender notes in Folk Medicine in Southern Appalachia, mountain families drank it for an upset stomach and gave it for colic. That is folk history, not medical advice, and this guide makes no health claims.
Step 5: Cut the plant back before it flowers
In early to midsummer, flower buds form at the stem tips. Leaf flavor is strongest just before those buds open. After flowering, the stems turn woody and the leaves become small and sparse.
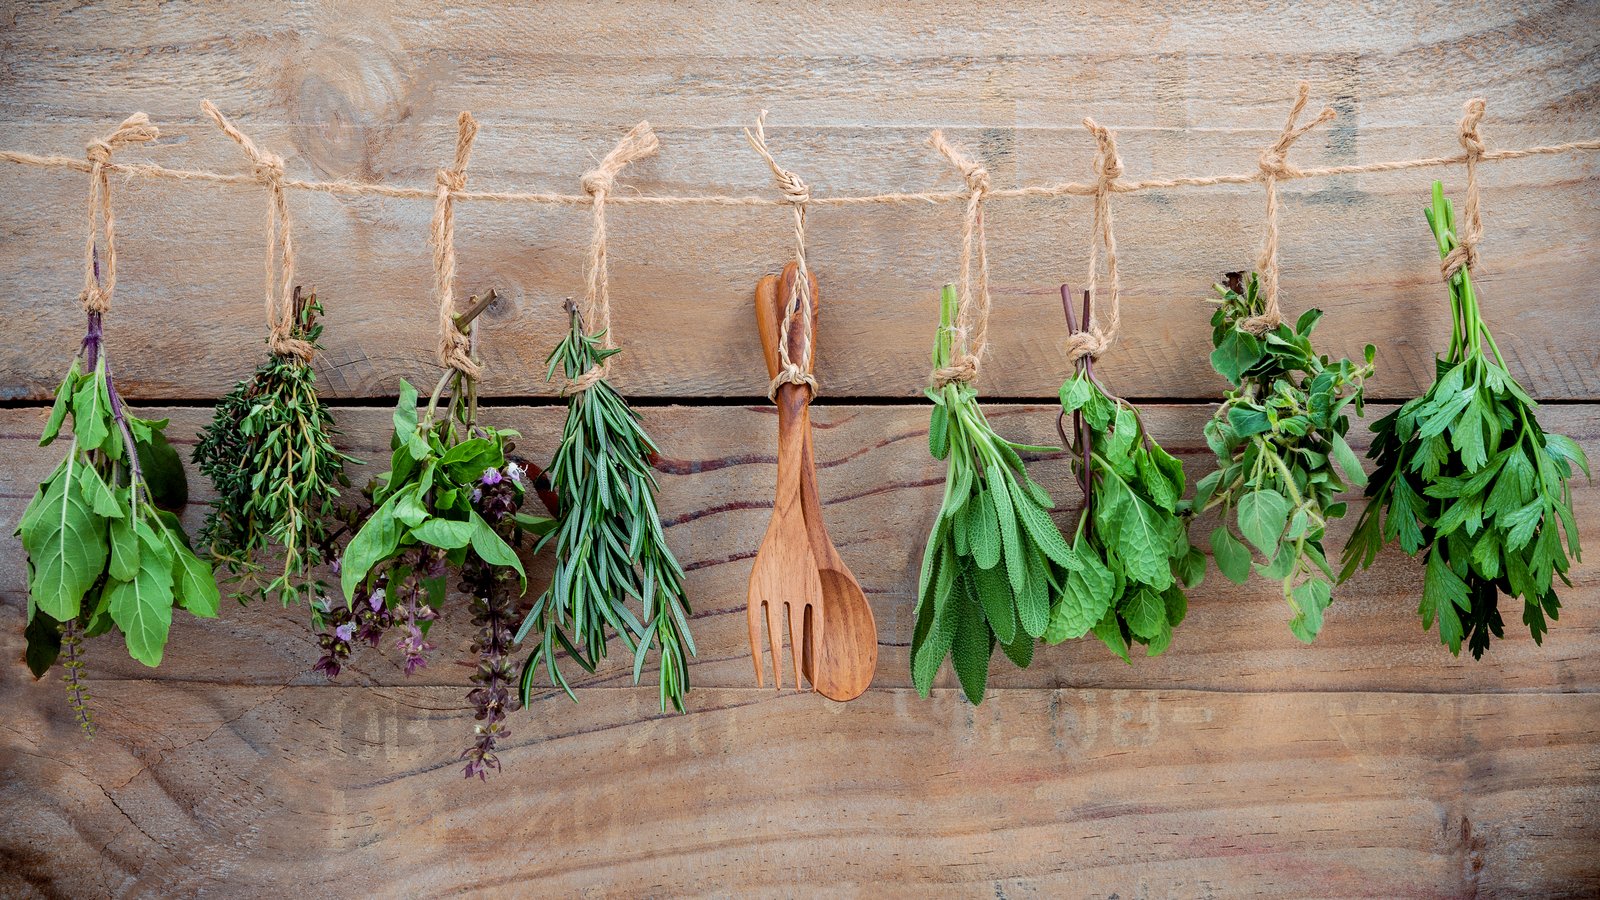
When you see buds, cut the whole plant back to about 2 inches (5 cm) above the soil. Make each cut just above a node. Water well and give a light feed. Fresh growth appears within a week or two, and you usually get a second full harvest, sometimes a third.
This is the cut to dry. Tie the stems in small bunches and hang them somewhere warm, airy and out of direct sun. When the leaves crumble, strip them and store them in a lidded jar away from light.
Step 6: Divide and repot every year or two
Mint runs to the edge of its pot and circles the rim. After a year or two the center of the clump dies out, leaving a ring of shoots around bare soil. Water starts to run straight through. These are the signs that the pot is full of roots.
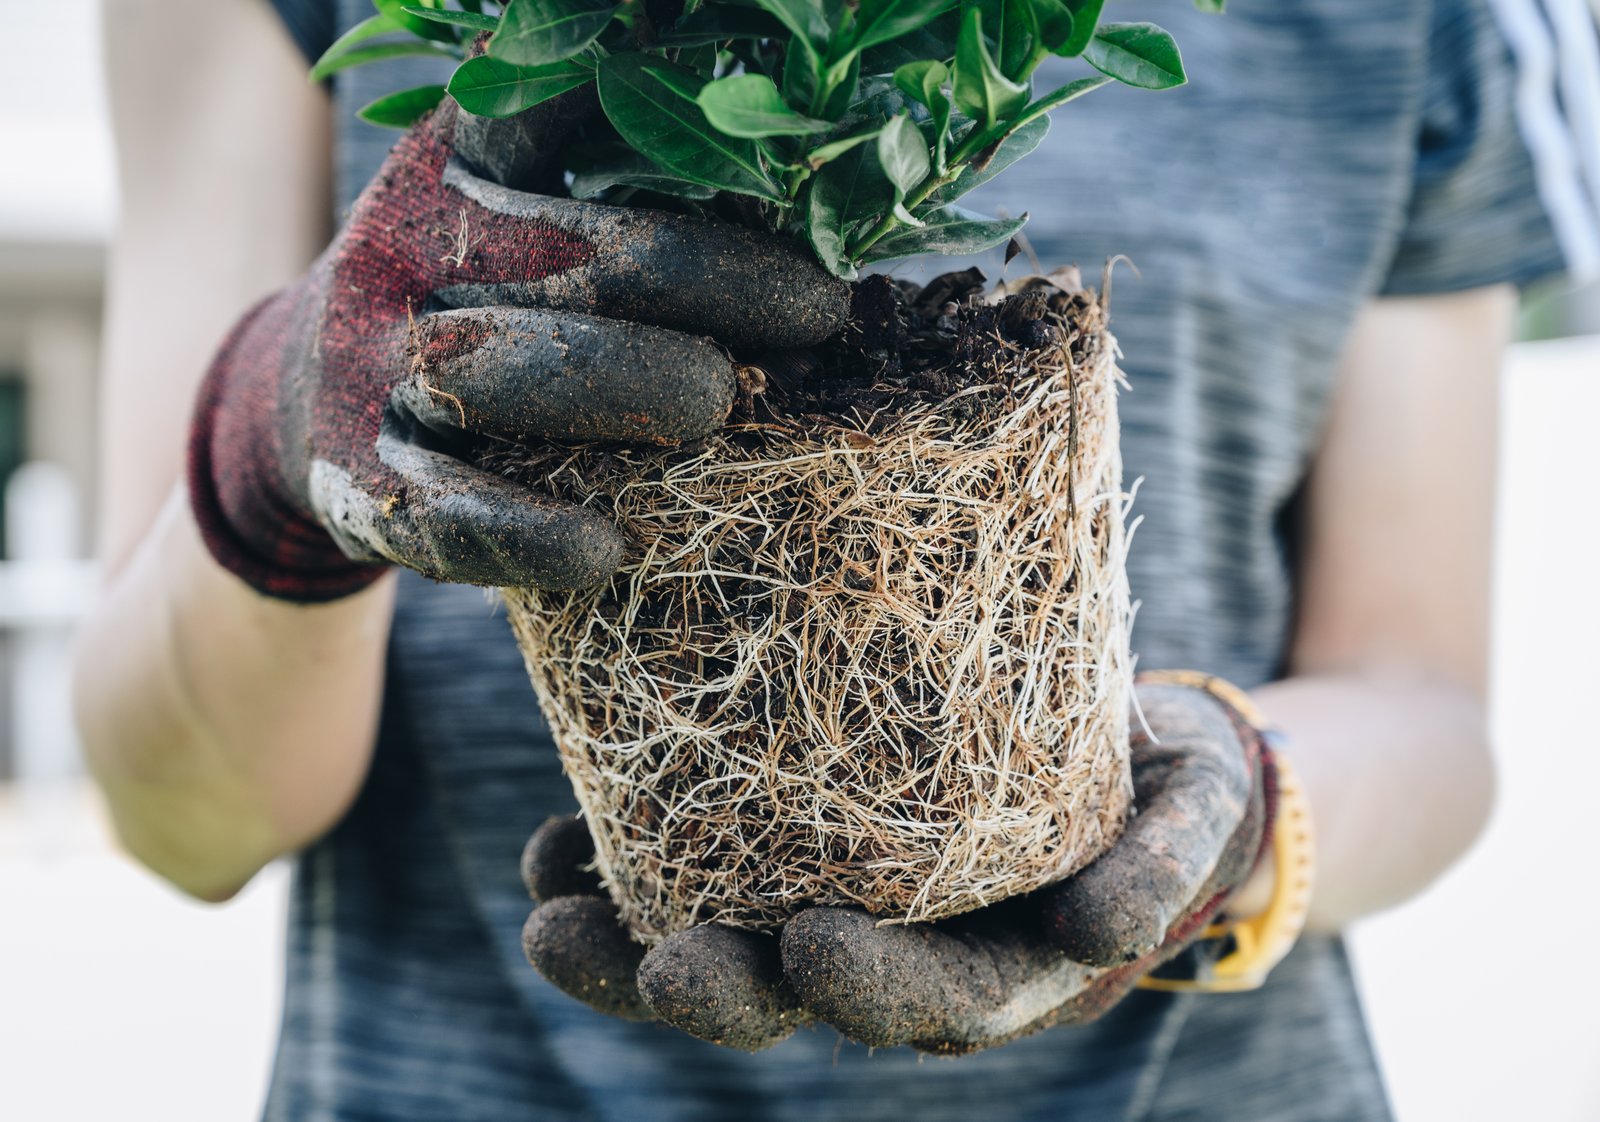
In early spring or early fall, tip the plant out. Cut the root ball into quarters with an old knife or a spade. Choose the youngest, most vigorous piece from the outer edge. Replant it in the same pot with fresh potting mix, and water it in. Give away the other pieces or put them in the trash. Do not compost live runners, since they often root in the heap.
Step 7: Protect the pot over winter
Peppermint dies back to the soil after hard frost. This is normal. Cut the dead stems off at soil level and clear away fallen leaves, which can carry disease into the next season.
In mild-winter areas, leave the pot where it is. In zones 6 and colder, move it against a sheltered house wall, into an unheated garage, or into a cold frame. You can also wrap the pot in burlap or bubble wrap, or heap leaves or straw around it. The aim is to stop the root ball freezing and thawing over and over.
Keep the mix barely moist, never bone dry and never sodden. Water lightly about once a month if the pot is under cover. Move it back into the light when new shoots show in spring.
Common problems
Orange or rust-brown spots under the leaves
This is mint rust, a fungal disease. Early in the season, infected shoots also look pale, swollen and twisted. Cut every affected stem to the soil line, bag the pieces and put them in the trash. Water at the base, not over the leaves, and give the pot more air. If rust returns each year, discard the plant and the potting mix. Scrub the pot and start again with clean stock.
Leaves wilt and the edges turn brown and crisp
The pot has dried out, often more than once. Stand it in a tub of water for half an hour to re-wet the mix, then water more often. If water runs straight through, the pot is root-bound and needs dividing.
Bare center with shoots only around the rim
The clump is old and crowded. Divide it as described in Step 6 and replant a young outer piece in fresh mix.
Long, thin stems and weak flavor
The plant has too little light, too much fertilizer, or has not been pinched. Move it to a brighter spot, cut it back by half and feed less.
Mint coming up in the ground near the pot
Runners have escaped over the rim or through the drainage holes. Dig out every piece of white runner you can find, since each fragment regrows. Raise the pot on feet and trim any stems that trail over the edge.
What to do next
Mark your calendar to check the pot early next spring, as soon as the first shoots show. If shoots come up only around the rim, divide and repot before growth takes off. In the meantime, use your dried leaves through winter and take a few cuttings next summer as a backup plant.