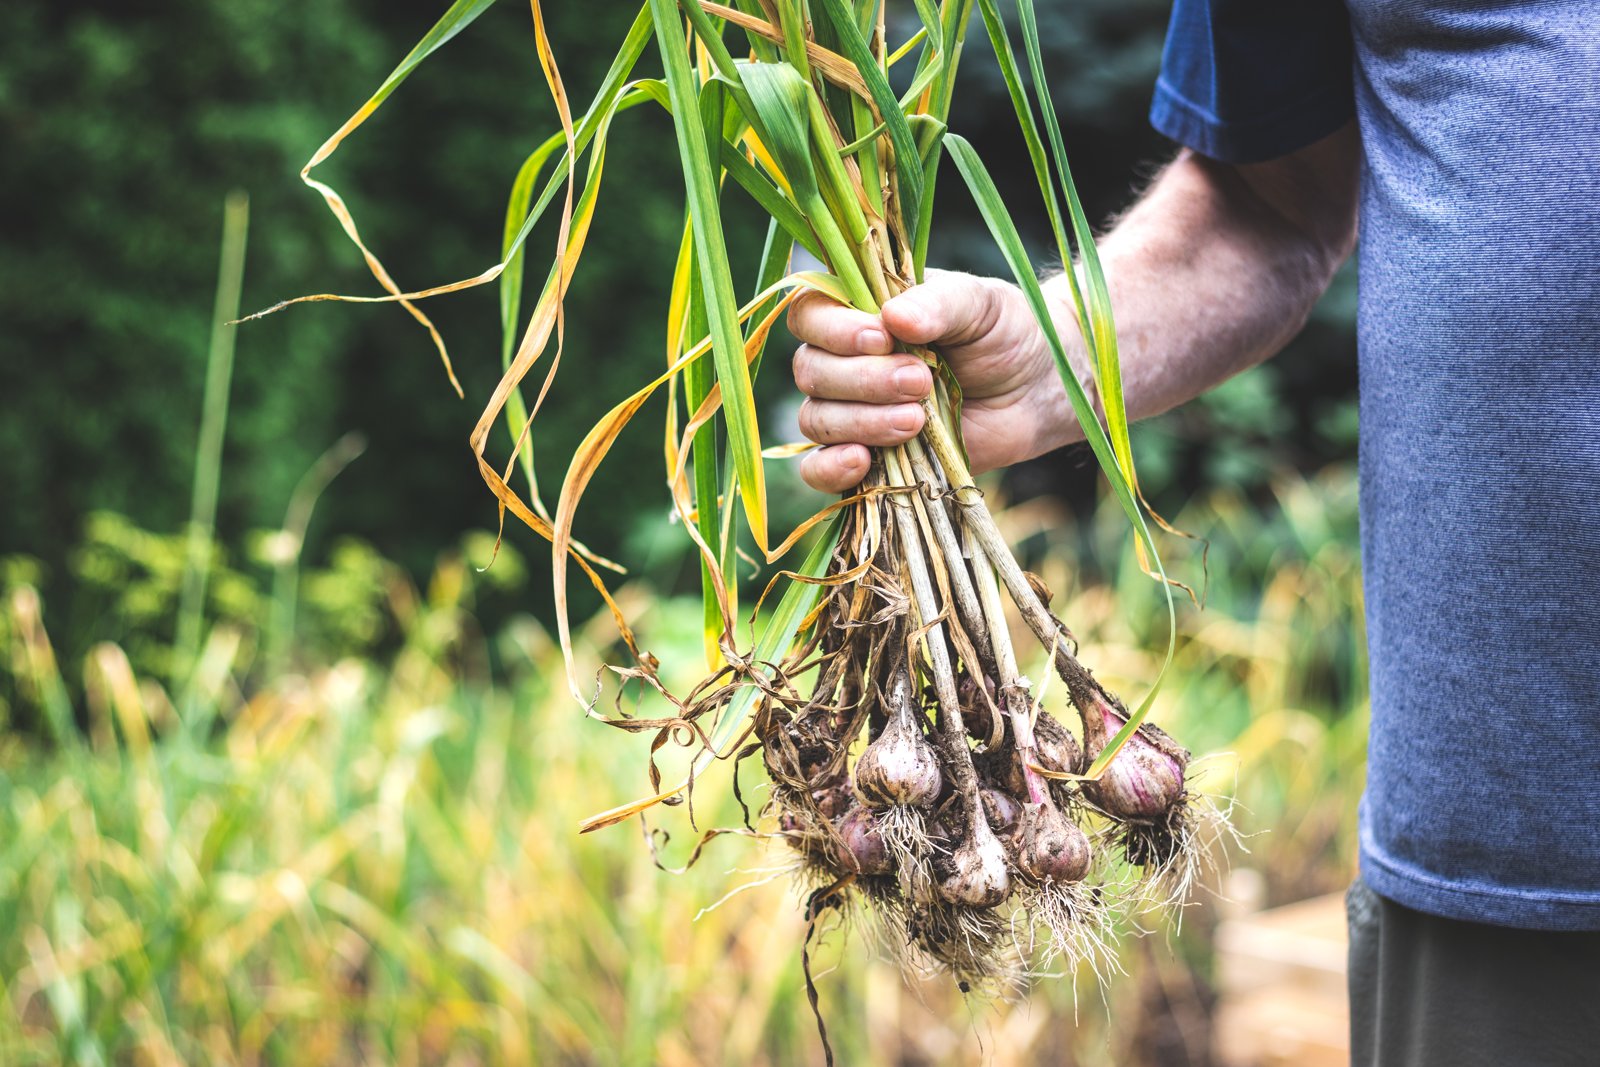
Garlic asks for very little. You push cloves into the ground in autumn, cover them, and lift full bulbs the following summer. One bulb becomes six to twelve. The thing that matters most is timing: cloves need a cold winter in the soil to split into a proper bulb. Plant in autumn and the rest is easy.
What you need
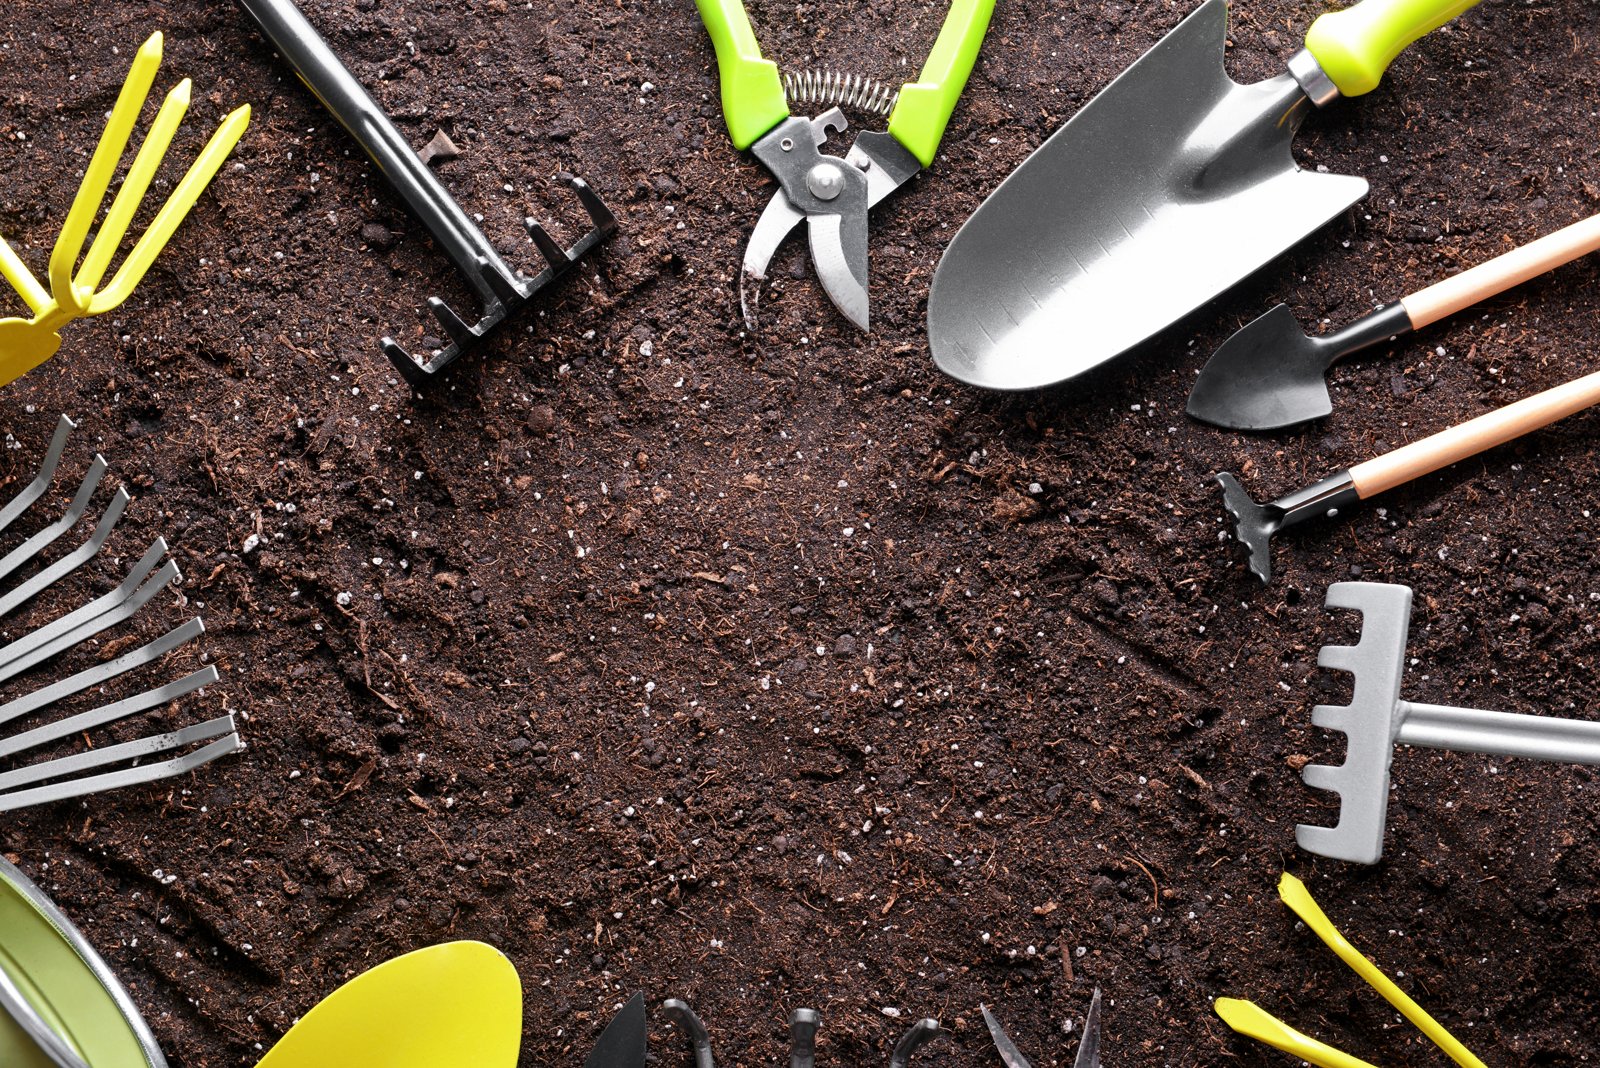
- Seed garlic (bulbs sold for planting) of a type suited to your winters
- A bed in full sun, meaning at least six hours of direct light
- Loose, well-drained soil
- Finished compost
- A trowel or dibber (a pointed stick for making planting holes)
- Straw, shredded leaves or another loose mulch
- A garden fork for harvest
- A dry, shaded, airy place for curing, such as a porch, shed or garage
When to plant garlic
Plant in autumn, about three to six weeks before your ground usually freezes. In most gardens that falls shortly after the first light frosts. The aim is roots without much top growth. Cloves planted at this time root well before winter and sit ready for spring.
Plant too early and tall green shoots can be damaged by hard cold. Plant too late and the cloves root poorly, and frost can push them out of the soil.
In mild-winter areas, roughly USDA zones 8 and warmer, the ground never freezes. There you plant in late autumn or early winter, once the soil has cooled. Softneck types suit these areas best.
If you miss autumn entirely, you can plant as soon as the soil can be worked in spring. Expect smaller bulbs, because the cloves get less cold and less growing time.
Step 1: Choose your garlic type
Garlic comes in two main groups, and your winter decides which one suits you.
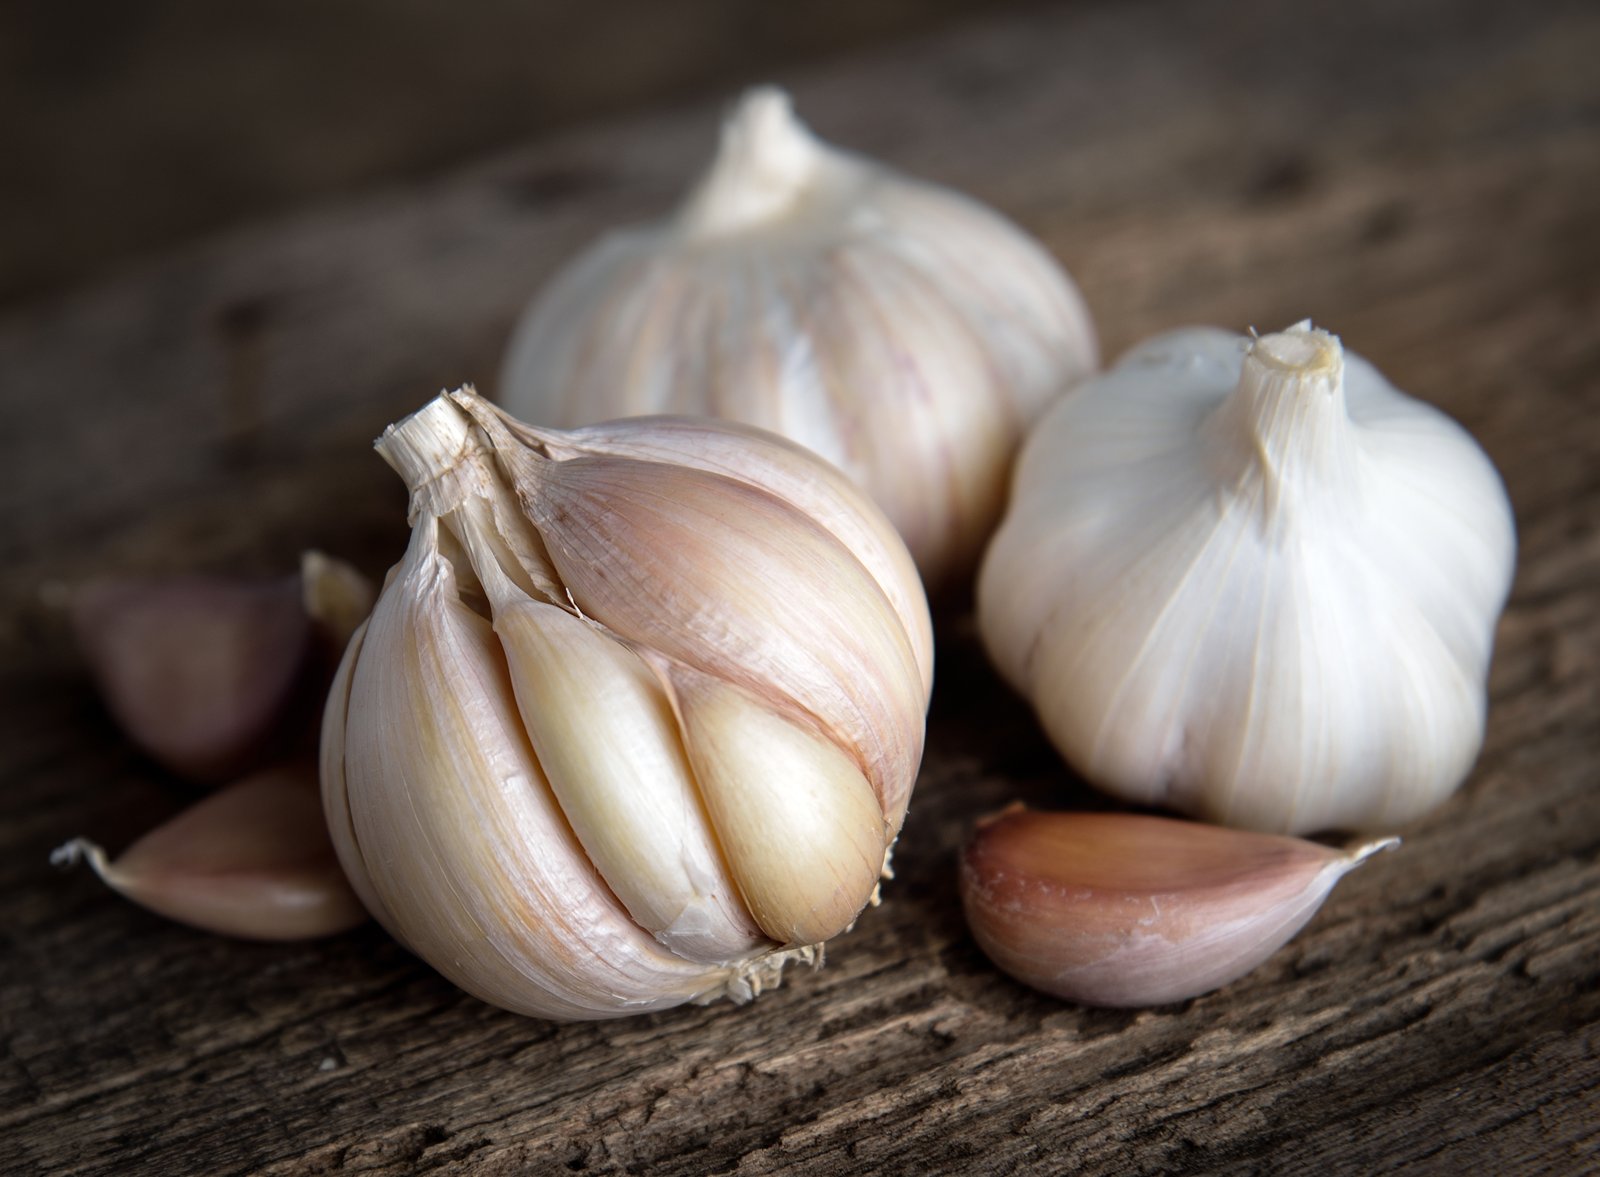
Hardneck garlic grows a stiff central flower stalk called a scape. It is very cold hardy and does well in USDA zones 3 to 7. The cloves are large, easy to peel and sit in a single ring. Hardneck bulbs store for around three to six months.
Softneck garlic has no stiff stalk, so the dried tops can be braided. It prefers milder winters and grows best in about zones 5 to 9. Bulbs hold more cloves, in layers, and the inner ones are small. Softneck stores longest, often six months or more.
| Hardneck | Softneck | |
|---|---|---|
| Best winters | Cold | Mild to moderate |
| Scapes | Yes | Rarely |
| Cloves per bulb | Fewer, larger | More, mixed sizes |
| Storage life | Shorter | Longer |
If you garden in a borderline zone, grow some of each. You get scapes and big cloves from one, and long storage from the other.
Start with seed garlic from a garden supplier, not bulbs from the grocery store. Store garlic is often a type unsuited to your climate, is sometimes treated to stop sprouting, and can carry diseases such as white rot, which stays in soil for many years.
Step 2: Prepare the bed
Pick a spot in full sun where no garlic, onions or leeks grew in the last three years. Moving the crop around like this is called rotation. It keeps soil diseases from building up.
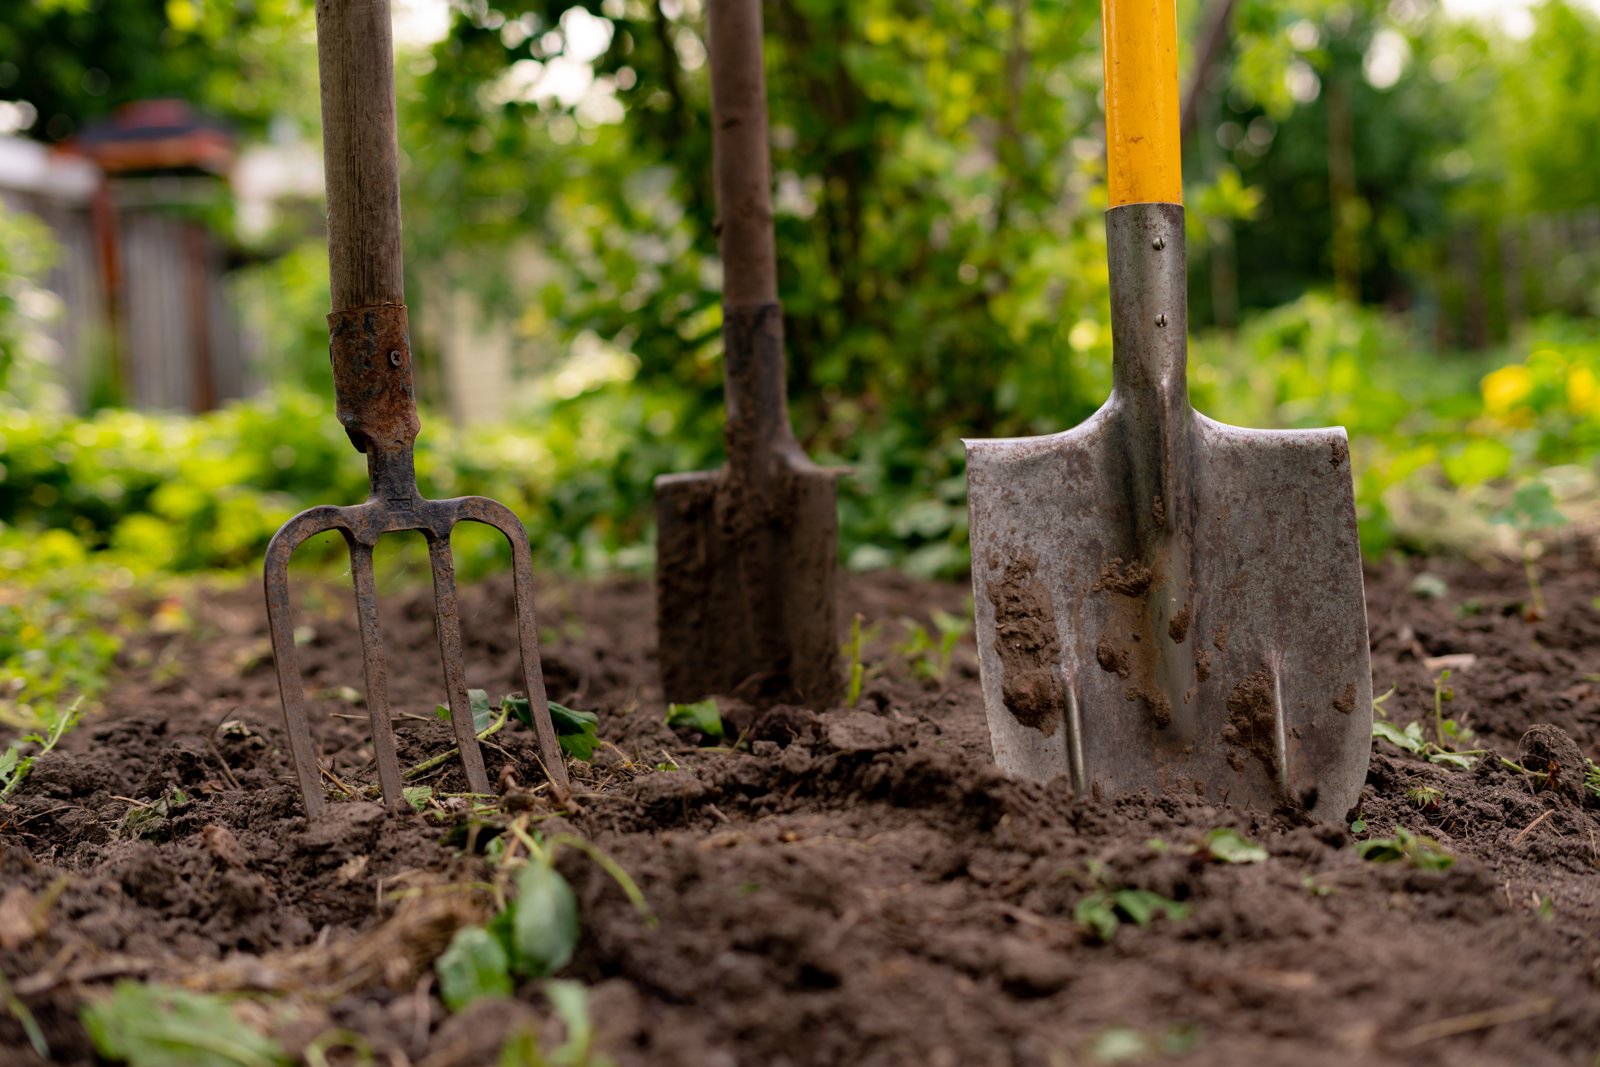
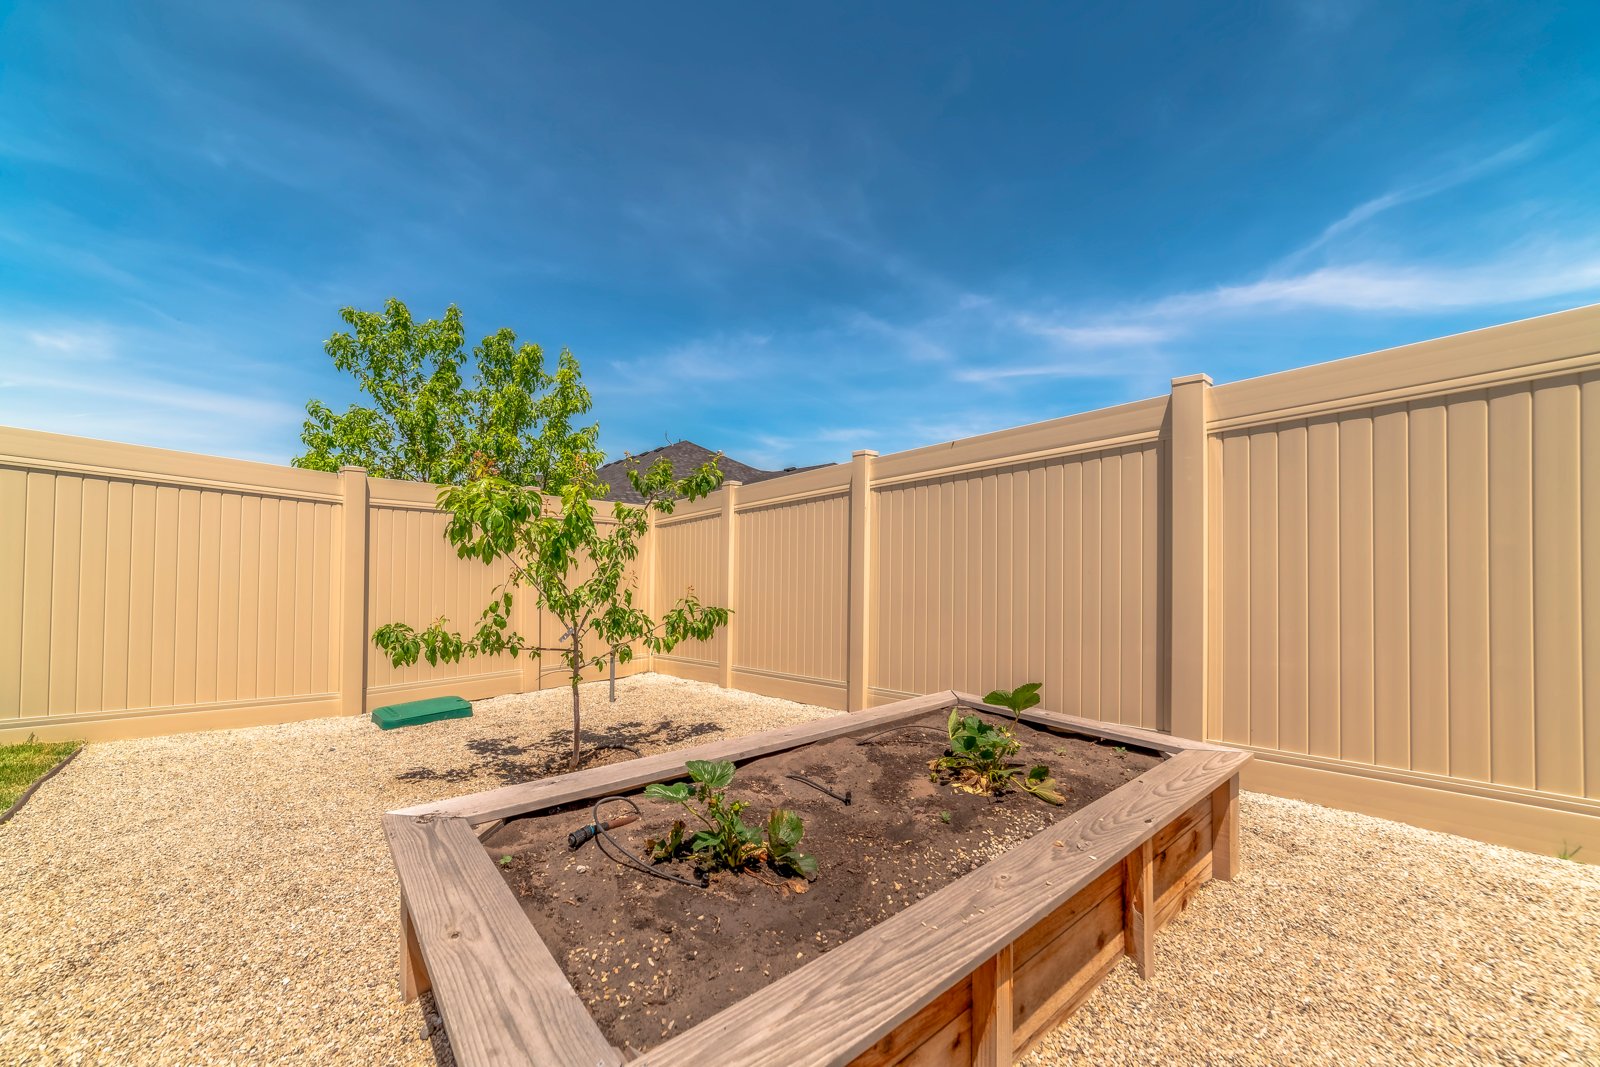
Drainage matters more than anything else in the bed. Cloves sit in the ground through a wet winter, and they rot in soggy soil. If your ground stays wet, use a raised bed or mound the soil into a low ridge.
Loosen the soil to about 8 inches (20 cm) deep with a fork. Remove weeds and stones. Spread 1 to 2 inches (2.5 to 5 cm) of finished compost and mix it into the top layer. Garlic likes fertile soil with a pH near neutral, around 6.0 to 7.0. Rake the surface level before you plant.
Step 3: Plant the cloves
Split each bulb into separate cloves on planting day, or the day before at most. Cloves split too early dry out. Leave the papery skin on each clove. It protects against rot.
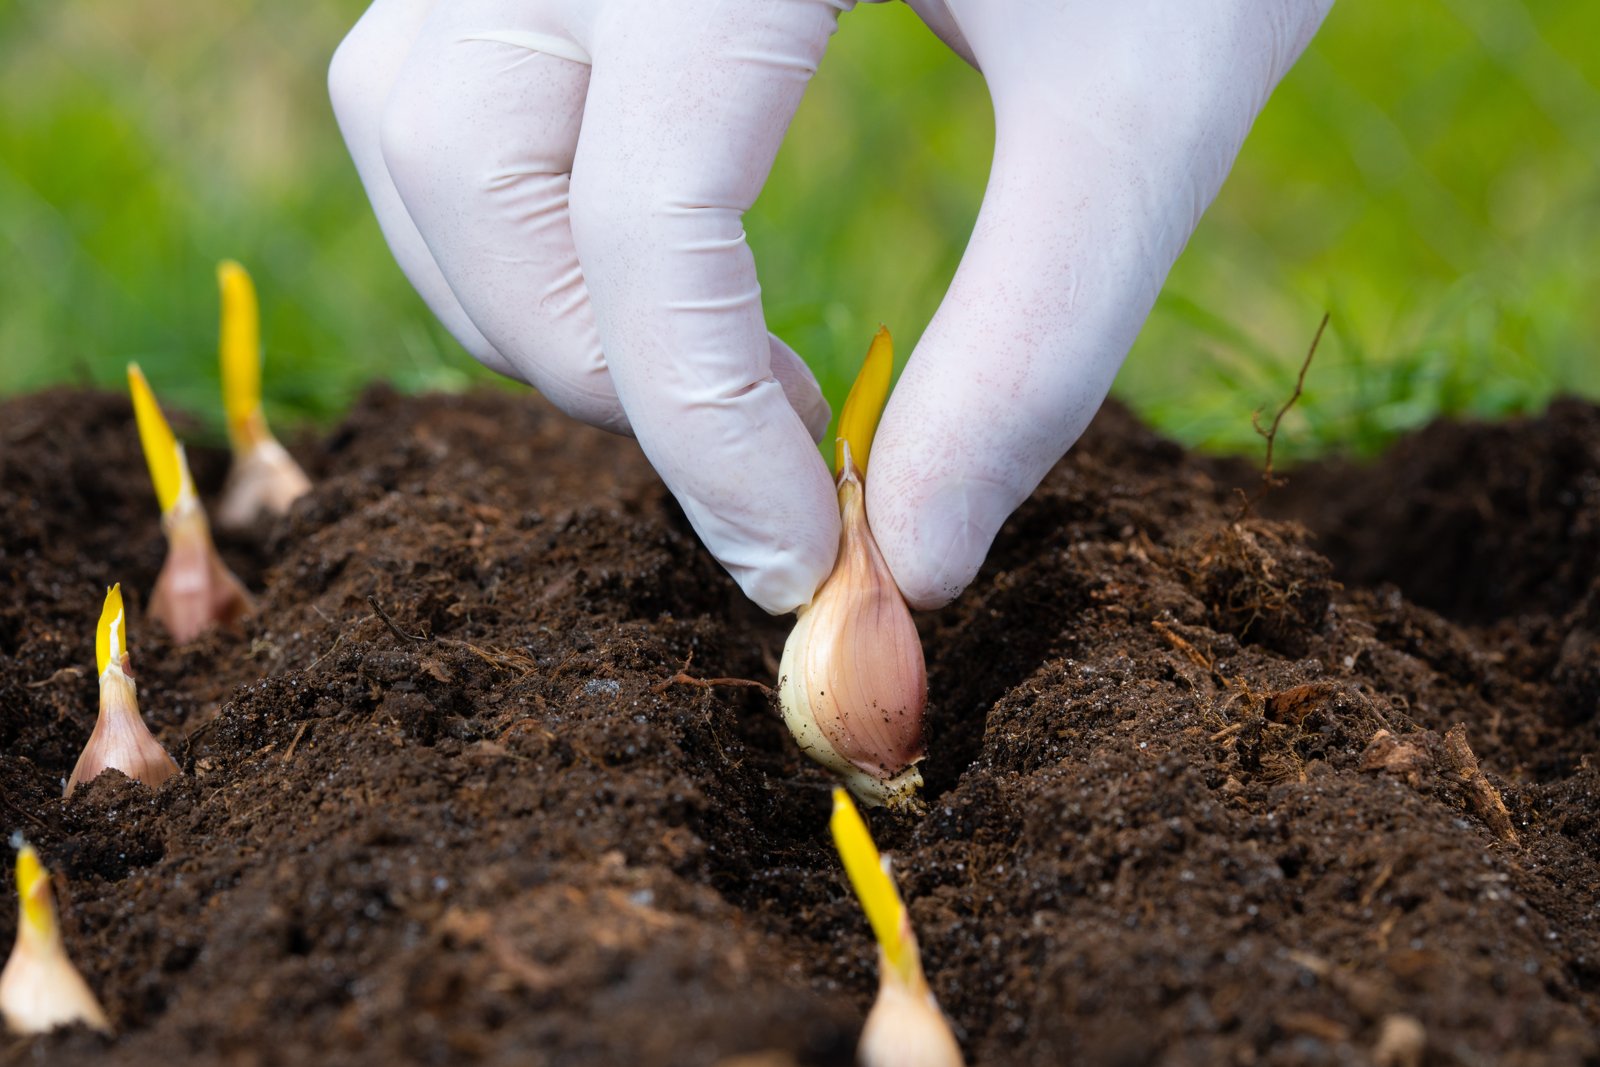
Plant only the biggest, firmest cloves. Large cloves grow large bulbs. Use the small ones in the kitchen. Throw away any that are soft, moldy or damaged.
Set each clove pointy end up, with the flat root end down. Push it in so the tip sits about 2 inches (5 cm) below the surface. In the coldest zones, go a little deeper, up to 3 inches (8 cm). Space cloves 6 inches (15 cm) apart, in rows 10 to 12 inches (25 to 30 cm) apart.
Cover the cloves, firm the soil gently with your hand, and water once if the ground is dry. Label each variety, because the rows all look the same by spring.
Step 4: Mulch the bed
Cover the bed right after planting with 3 to 6 inches (8 to 15 cm) of loose straw or shredded leaves. Use the deeper end of that range where winters are harsh.
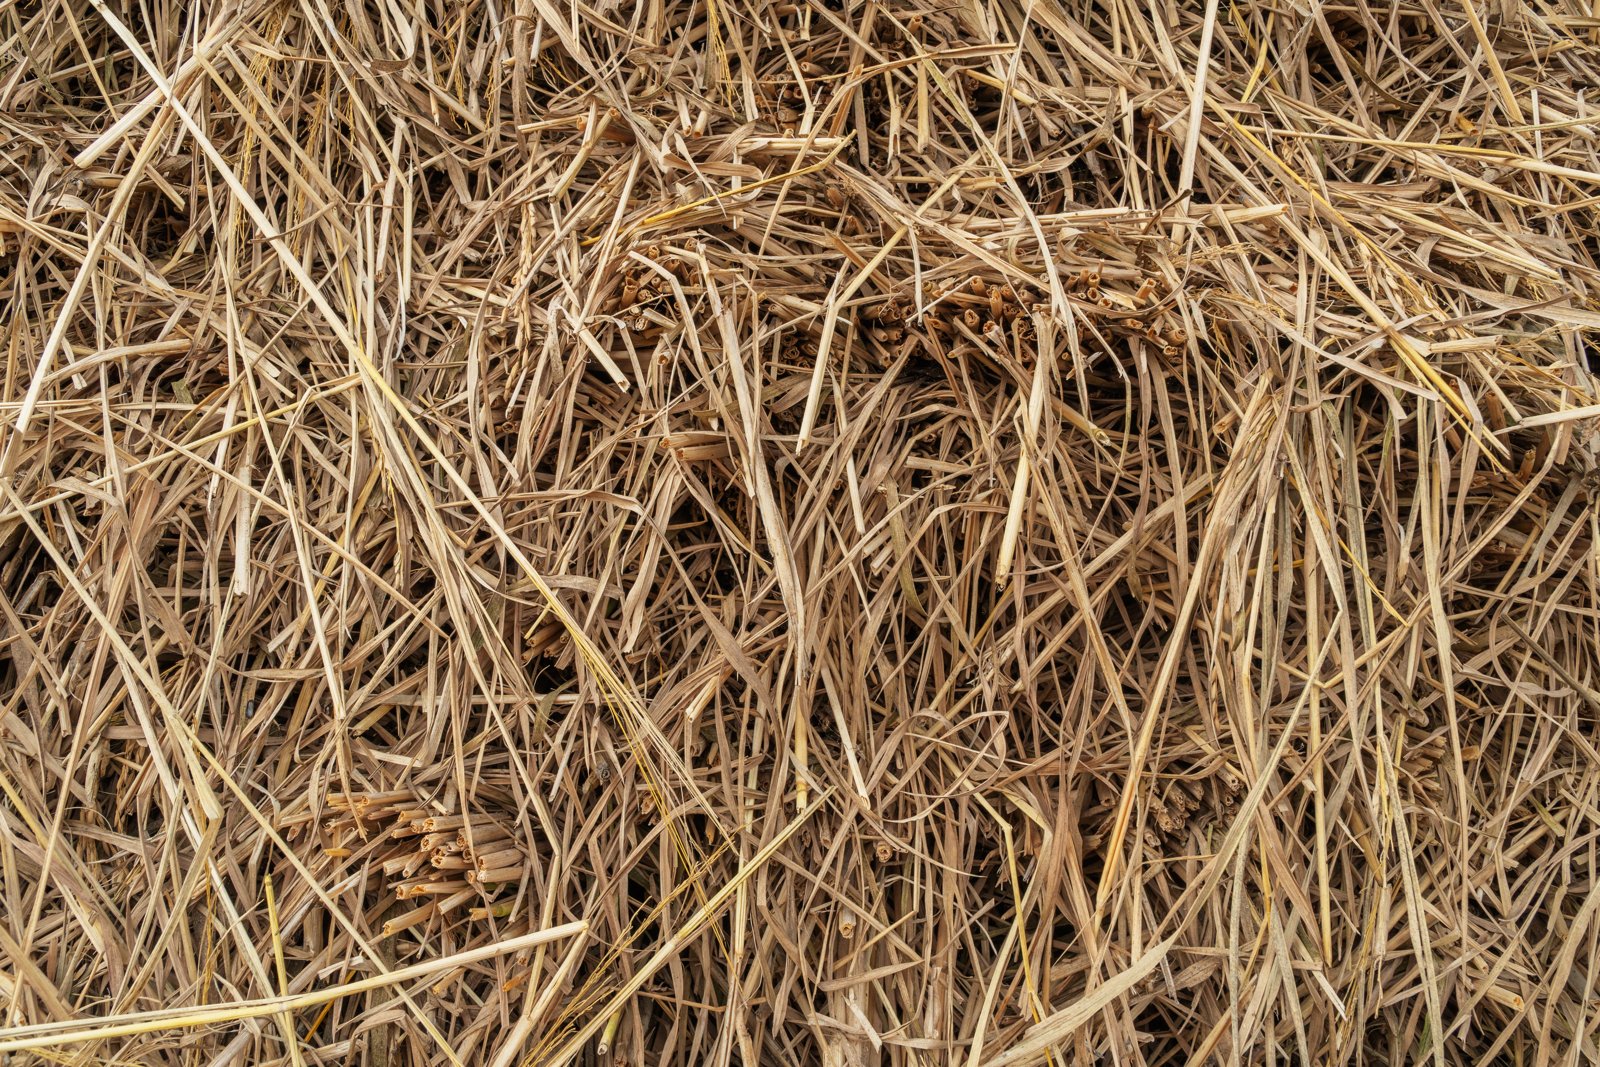
Mulch does three jobs. It evens out soil temperature, so freeze and thaw cycles do not heave cloves out of the ground. It holds moisture. And it smothers most weeds, which garlic competes with badly.
Avoid hay, which is full of weed seed. Avoid whole, unshredded leaves too. They mat into a wet layer that shoots struggle to push through.
You might see a few green tips before winter. That is normal and rarely harms the crop. In spring, shoots usually push through loose mulch on their own. If the layer has packed down, pull it back slightly from the rows. Leave the rest in place for the season.
Step 5: Water, feed and weed in spring
Growth takes off when the soil warms. The more leaf the plant makes now, the bigger the bulb later, since each leaf feeds the bulb.
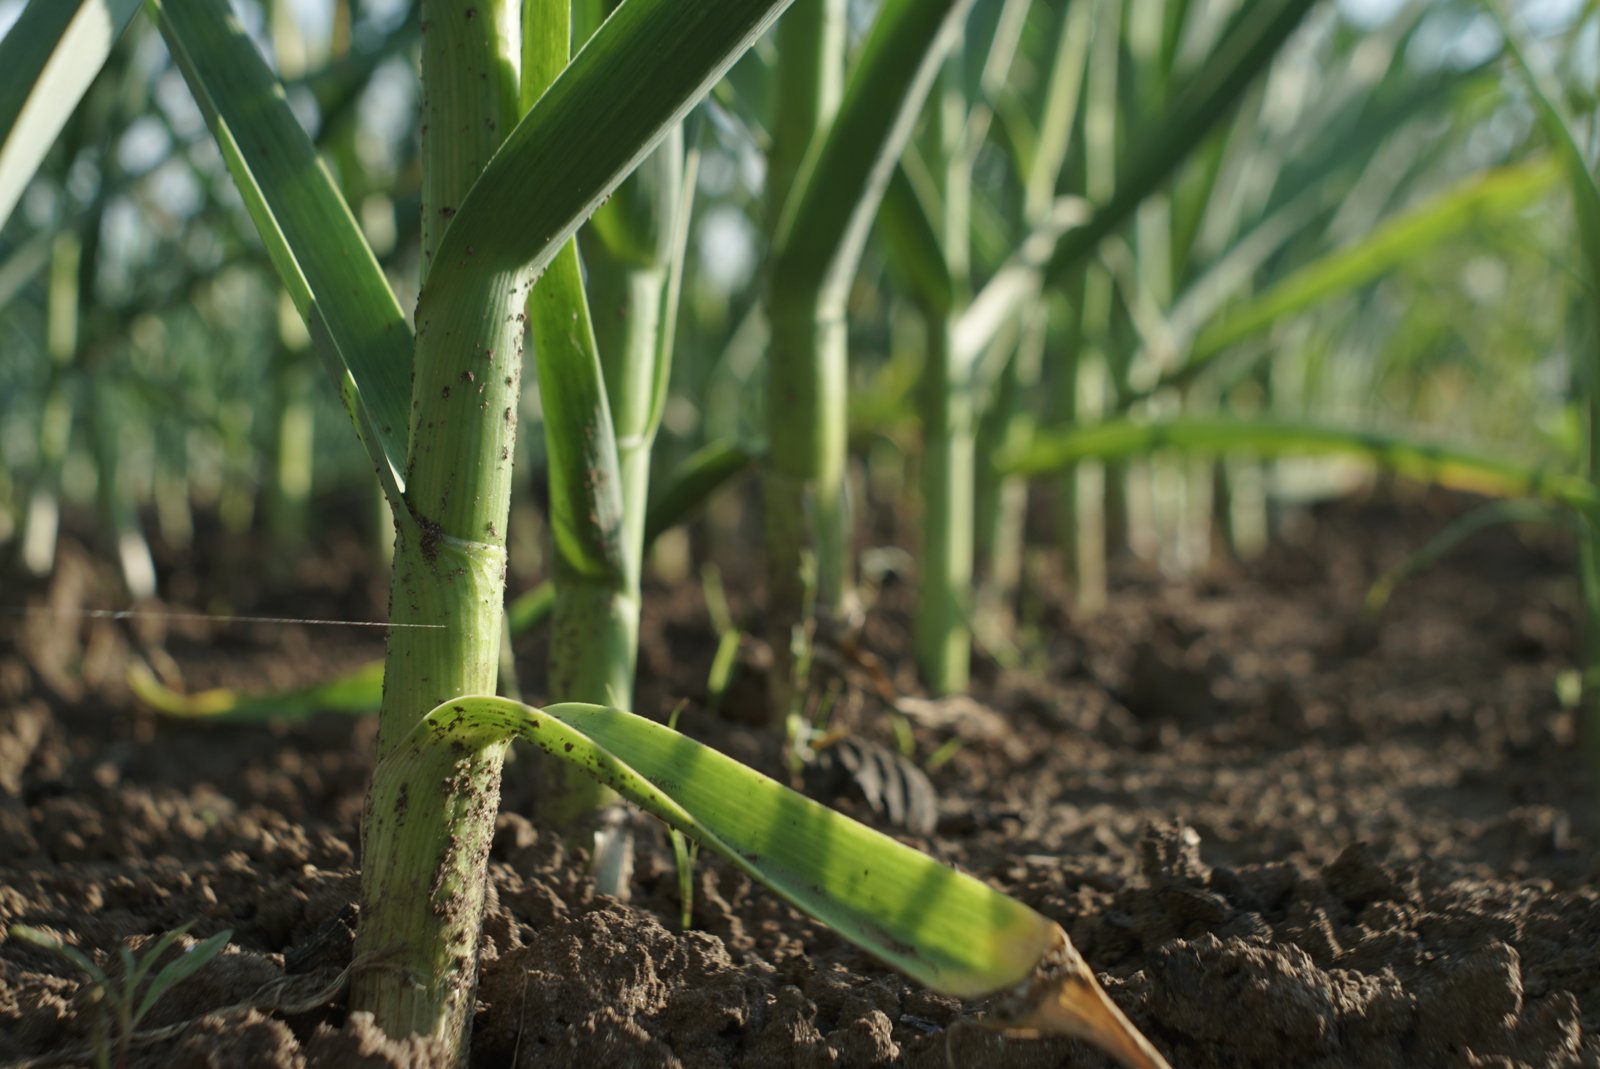
Give the bed about 1 inch (2.5 cm) of water a week, counting rain. Water at the base and let the surface dry between waterings.
Feed once or twice in early spring with a nitrogen-rich fertilizer, or side-dress with compost. Side-dressing means spreading feed along the row beside the plants. Follow the label rate on any packaged fertilizer, and wash your hands after handling it. Stop feeding once scapes appear or bulbs start to swell. Late nitrogen grows leaves at the expense of the bulb.
Pull weeds by hand while they are small. Garlic roots are shallow, so keep hoes away from the row.
Step 6: Remove the scapes
In late spring to early summer, hardneck garlic sends up a round green stalk with a pointed bud on the end. That is the scape. Left alone, it uses energy that would otherwise go into the bulb.
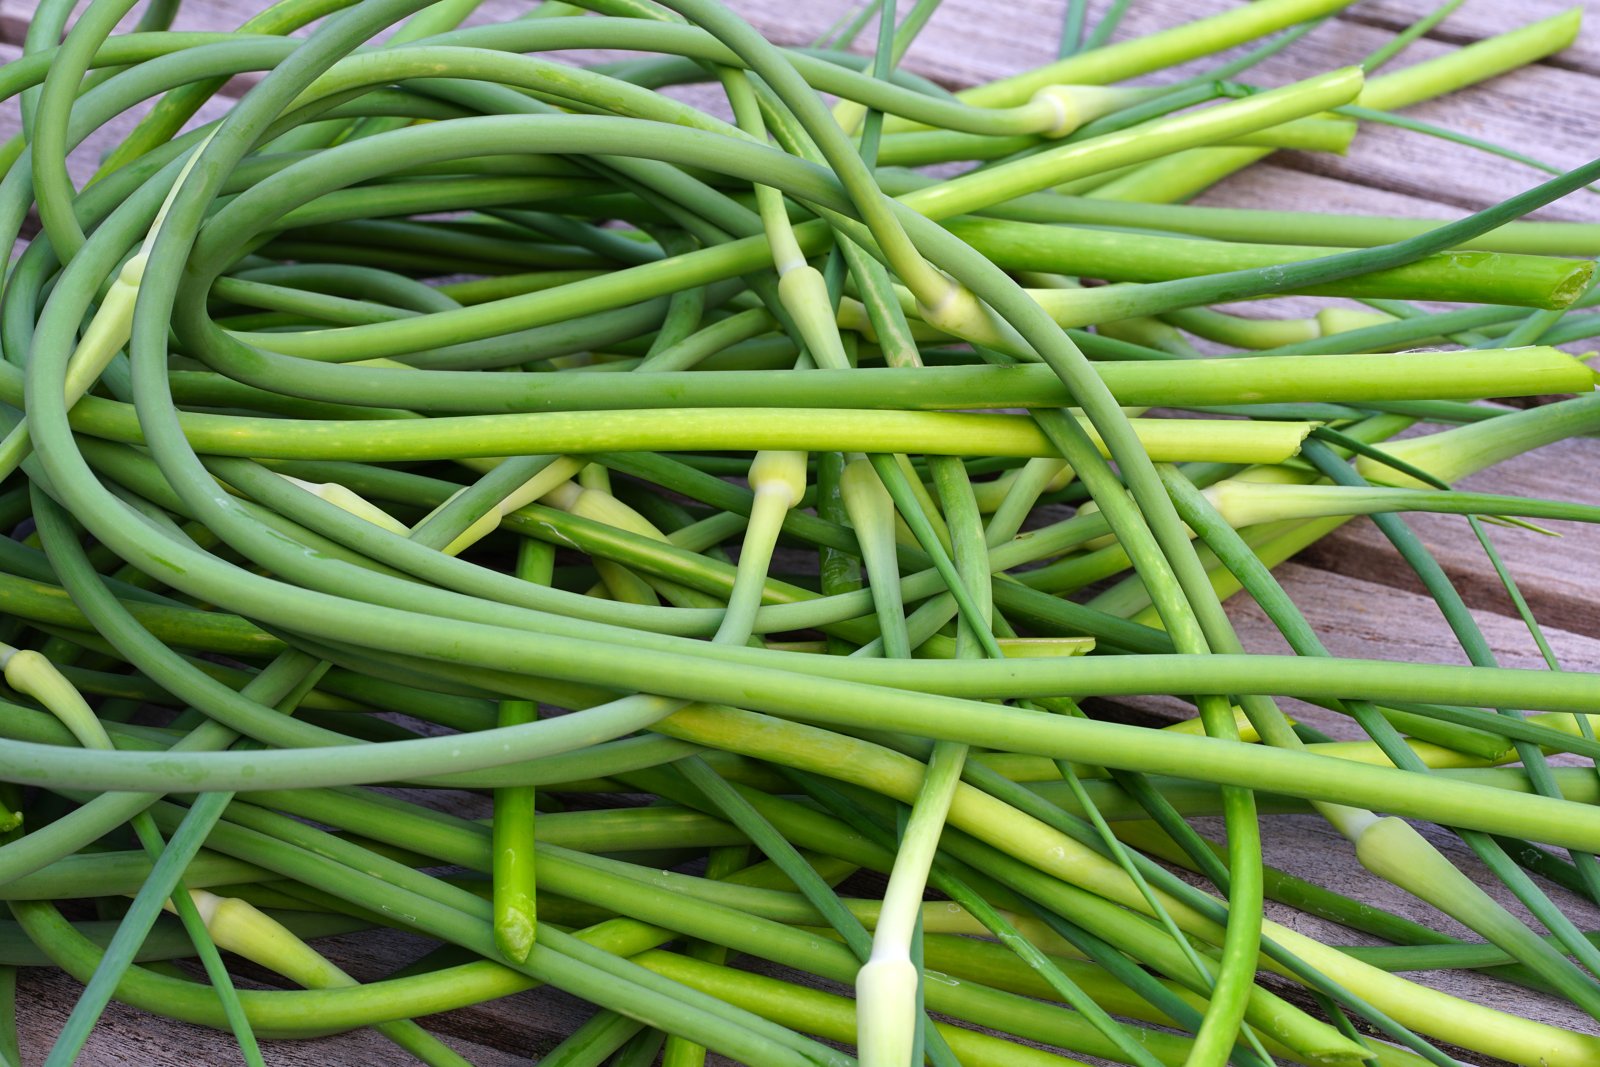
Wait until the scape makes one full curl. Then snap it off or cut it with clean scissors, just above the top leaf. Do this on a dry day so the cut seals quickly.
Do not throw scapes away. They are a mild, garlicky vegetable in their own right. Chop them into stir-fries or eggs, grill them whole, or blend them into pesto.
Softneck garlic rarely makes scapes, so you can skip this step for it. Bulbs are usually ready about three to five weeks after scapes appear.
Step 7: Harvest and cure the bulbs
Stop watering when the lowest leaves begin to yellow. Dry soil at the end helps the bulb wrappers stay sound.
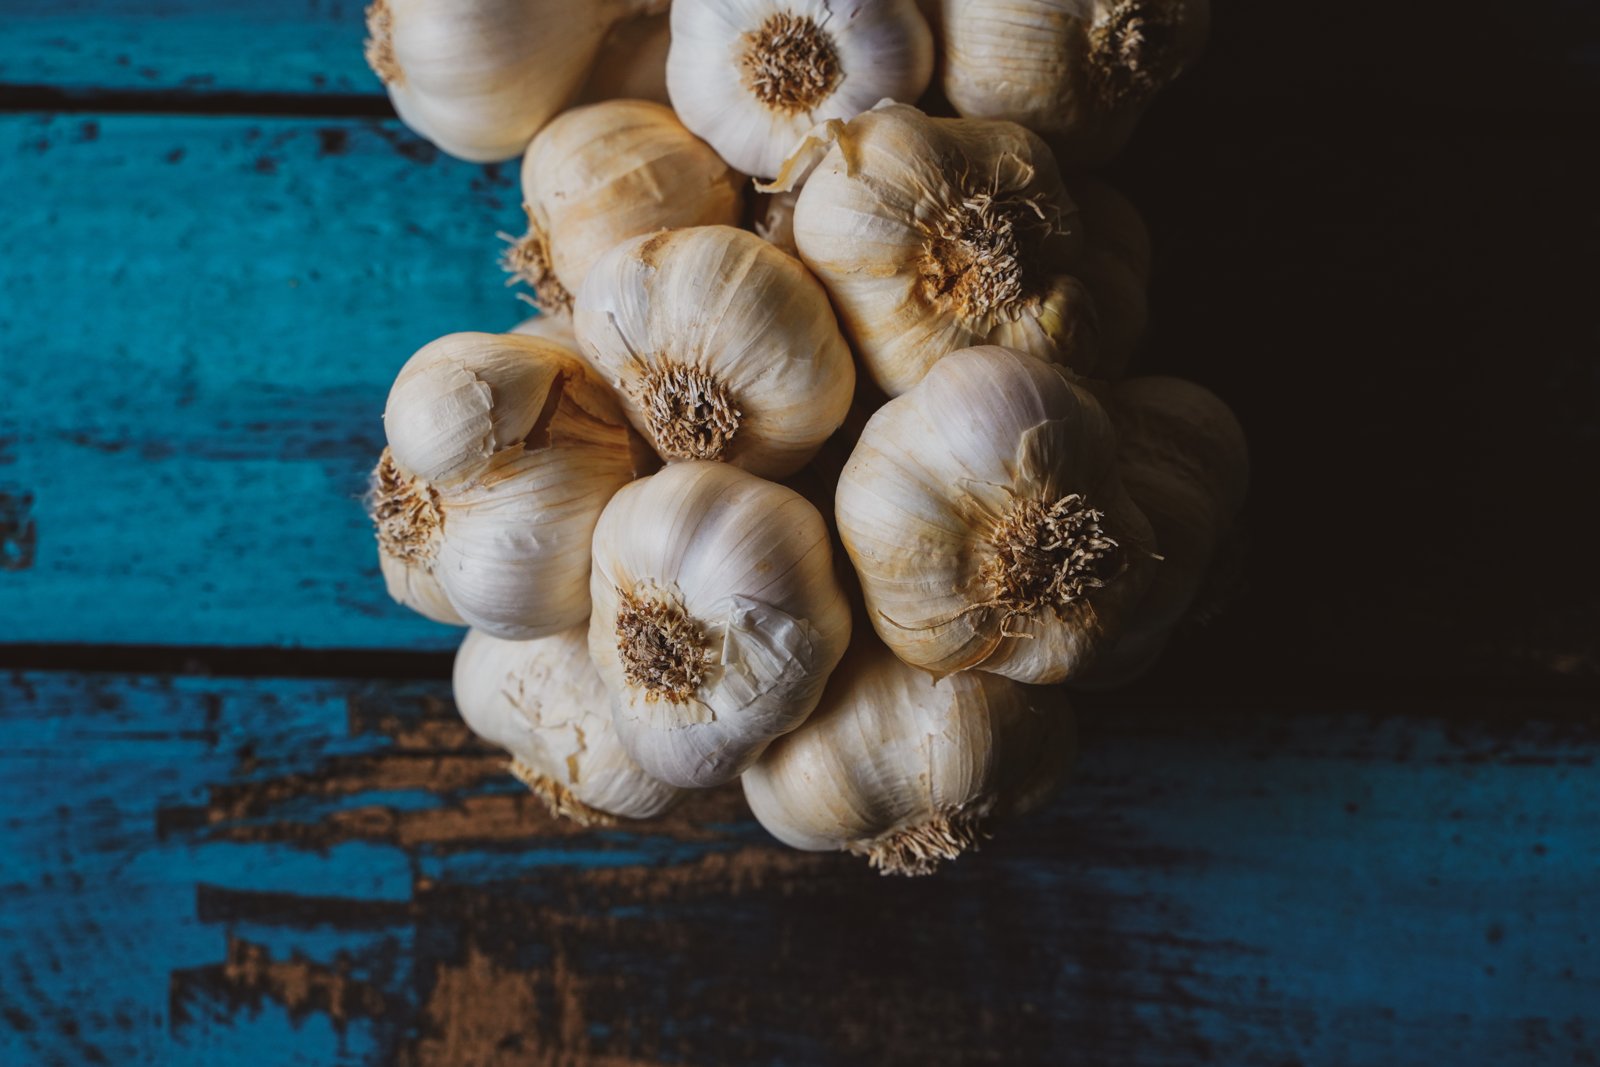
Harvest when the lower third to half of the leaves are brown and the upper leaves are still green. Each green leaf stands for one intact wrapper around the bulb. Wait for every leaf to die and the wrappers rot away. The bulbs then split open and store badly. If you are unsure, dig one test bulb. Cloves should fill the skin and feel well defined.
Loosen the soil with a fork set well clear of the bulbs, then lift each plant by hand. Do not pull on the stem alone. Brush off loose soil. Do not wash the bulbs, and do not leave them lying in hot sun, which can scald them.
Cure the garlic, which means drying it slowly so it keeps. Hang plants in bundles or lay them in a single layer on racks. Use a shaded, dry place with moving air. Leave the tops and roots on. Curing takes two to three weeks. It is done when the necks are tight and dry and the outer skins are papery.
Trim the roots close and cut the stems about 1 inch (2.5 cm) above the bulb. Braid softneck tops instead if you like.
Common problems
Leaf tips turn yellow in spring
A little tip yellowing after cold snaps is normal and harmless. Wider yellowing on young plants usually means too little nitrogen or waterlogged soil. Feed once, check that the bed drains, and pull mulch back if the soil stays cold and wet.
Bulbs are small
The usual causes are late planting, small cloves, weeds, dry soil in spring, or scapes left on. Plant on time with your biggest cloves. Keep the bed weeded and watered while leaves are growing. Spring-planted garlic is always smaller.
Plants yellow and wilt, with white fluffy mold at the base
This is white rot, a soil fungus that attacks the onion family. There is no cure for an infected plant. Dig out affected plants with the surrounding soil and put them in the trash, not the compost. Do not grow garlic or onions in that spot for many years. Clean your tools and boots afterward. Certified seed garlic is the best prevention.
Cloves sit on the surface after winter
Frost heave has lifted them. This happens with shallow planting or thin mulch. Push the cloves gently back in if they have rooted, and top up the mulch. Next time, plant a full 2 inches (5 cm) deep.
Stored bulbs sprout or go soft
The garlic was cured too briefly or stored wrong. Keep cured bulbs cool, dry and airy in a mesh bag or basket. Avoid the refrigerator. Its cold, damp air triggers sprouting. Use hardneck bulbs first.
What to do next
Set aside your biggest, healthiest bulbs as seed for autumn. Garlic saved this way adapts to your garden over the years. Store the rest somewhere cool and dry.
Garlic also has a long history as a folk food. Anthony Cavender's Folk Medicine in Southern Appalachia records that mountain families ate garlic and onions in spring, believing this thinned or purified the blood after winter. That is history, not medical advice.