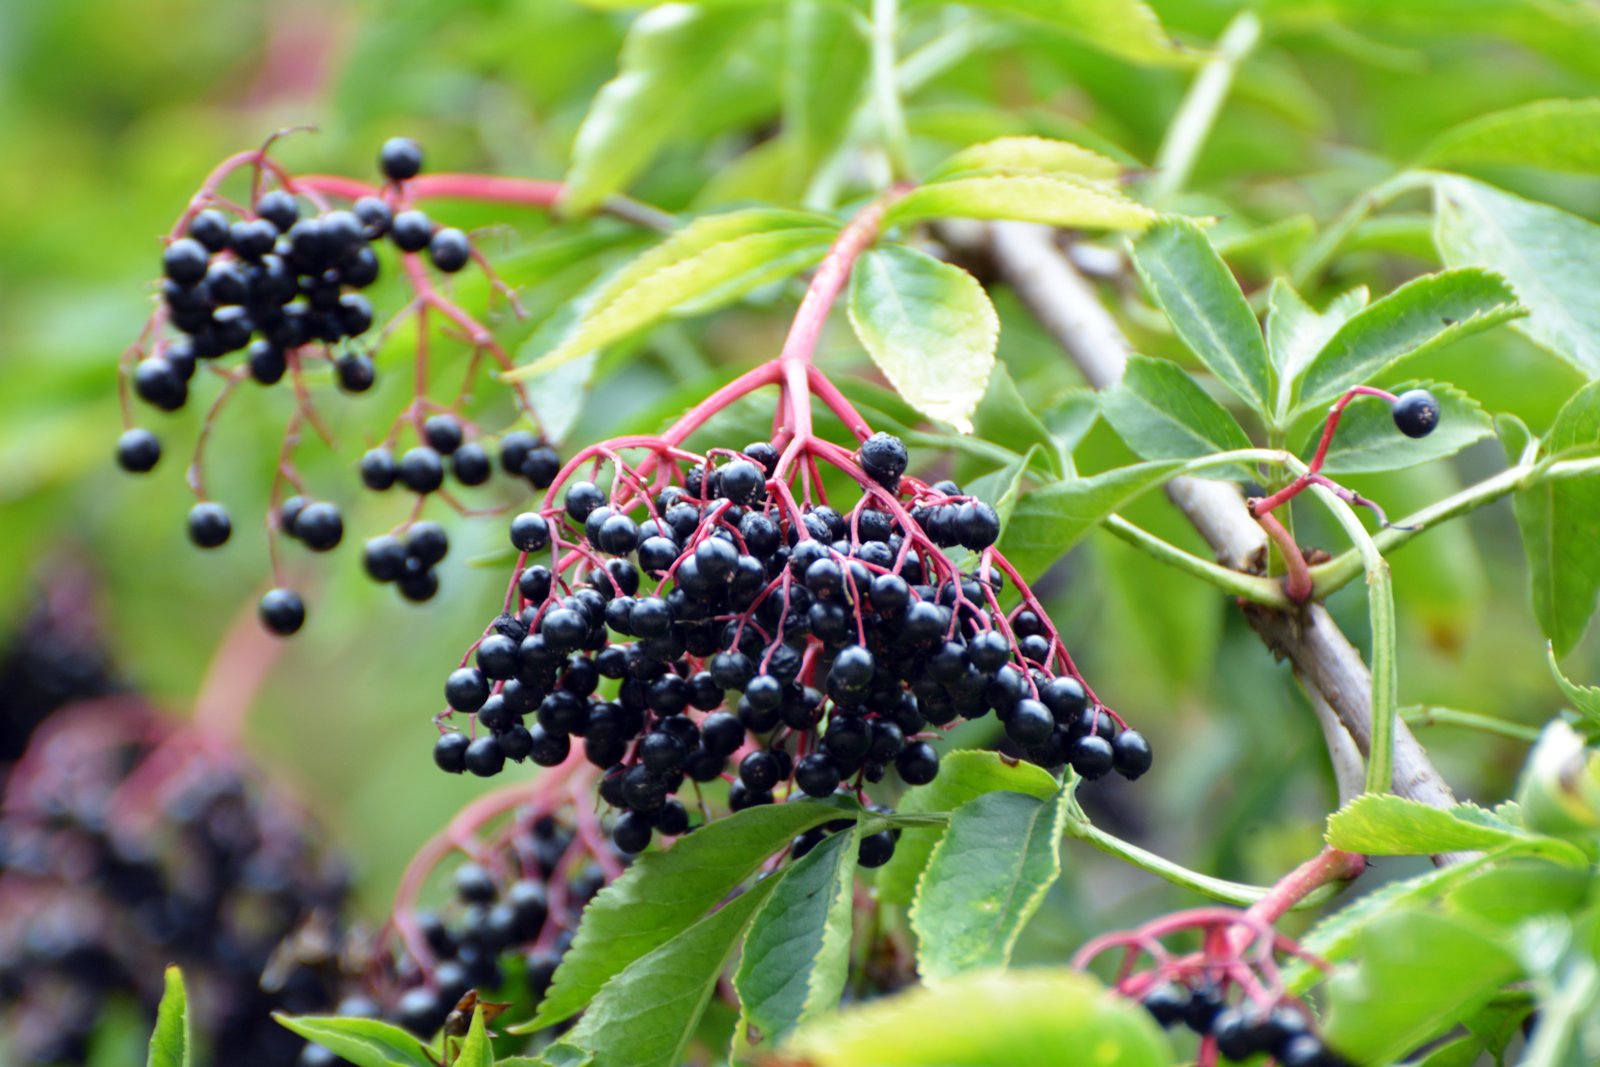
Elderberry is one of the easiest fruiting shrubs to multiply at home. A handful of bare sticks cut in late winter become rooted plants by planting time, and they cost nothing. The one thing that matters most is timing. Cut the wood while the shrub is fully dormant, before the buds begin to swell.
What you need
- A healthy elderberry shrub to cut from, or dormant cuttings bought from a nursery
- Cuttings from two different named varieties, for pollination
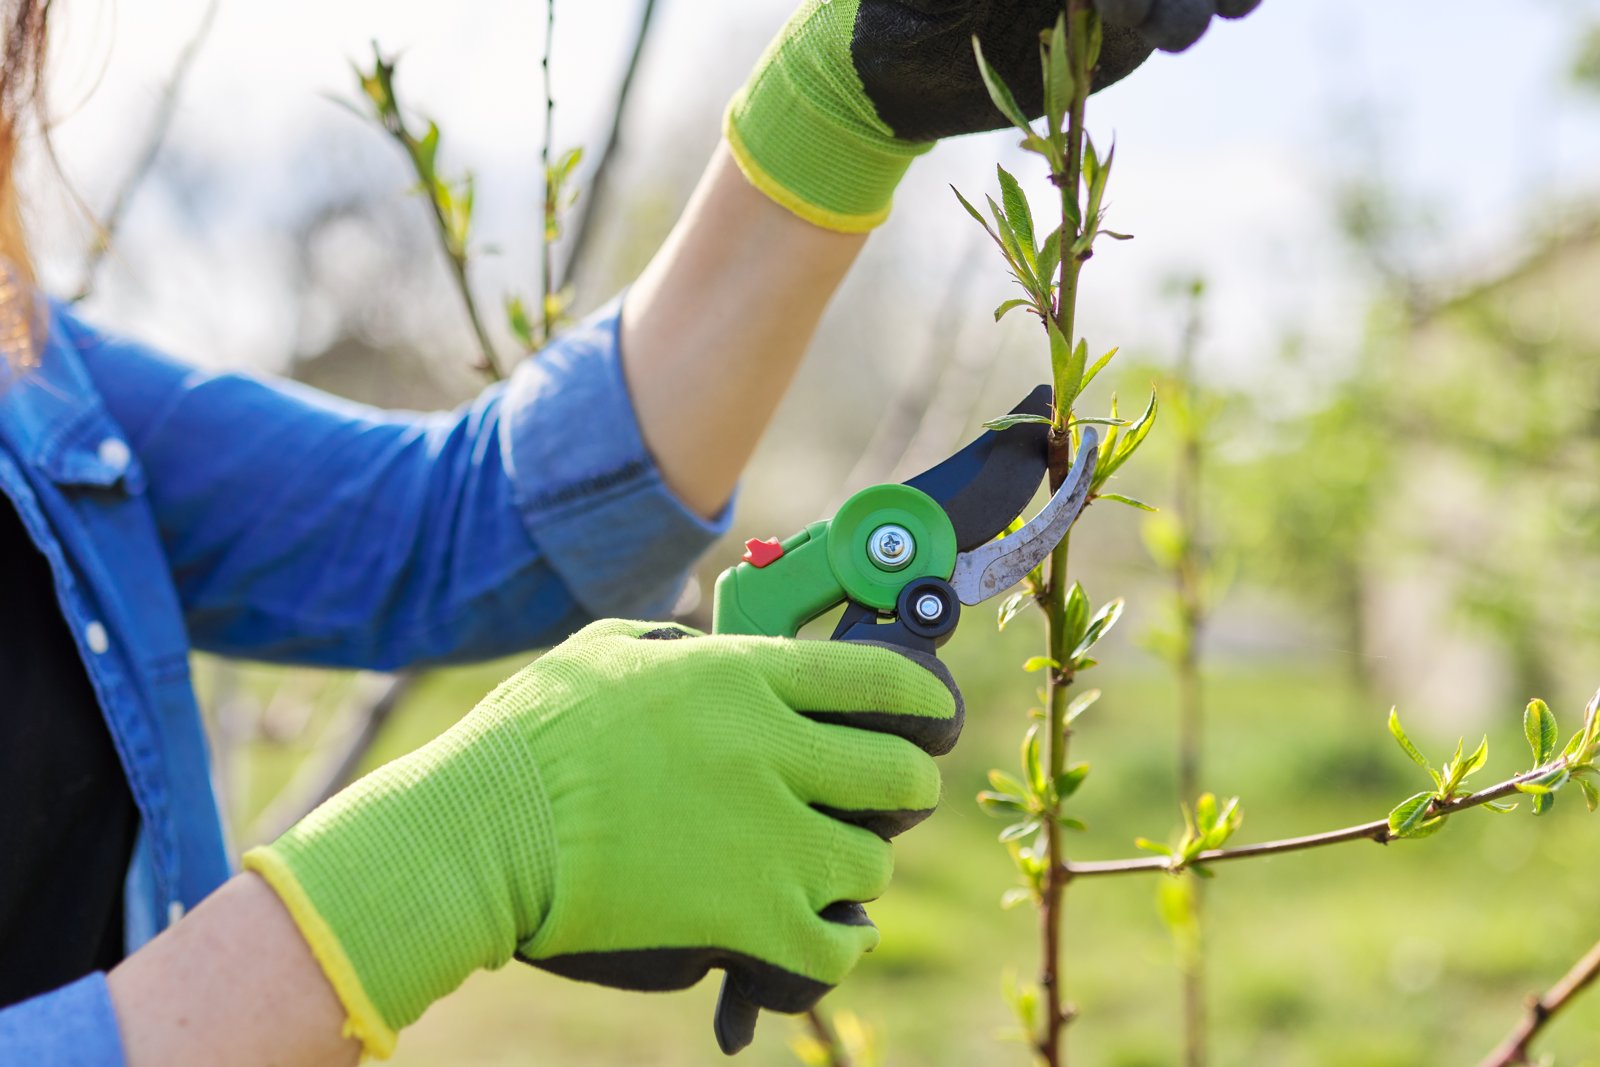
- Sharp, clean bypass pruners
- Rubbing alcohol to wipe the blades between shrubs
- Tall jars for water rooting, or deep pots with drainage holes
- Fresh potting mix, with extra perlite if you have it
- Labels and a waterproof pen
- A cool, bright spot indoors, out of direct sun
- A sunny planting site with moist, well-drained soil
Pruners are sharp. Cut away from your hands and close the blades when you set them down.
When to take cuttings
Take hardwood cuttings (pieces of mature, leafless stem) in late winter. The shrub must be fully dormant, with tight buds and no green showing. In most gardens that window falls about six to ten weeks before your last expected frost.
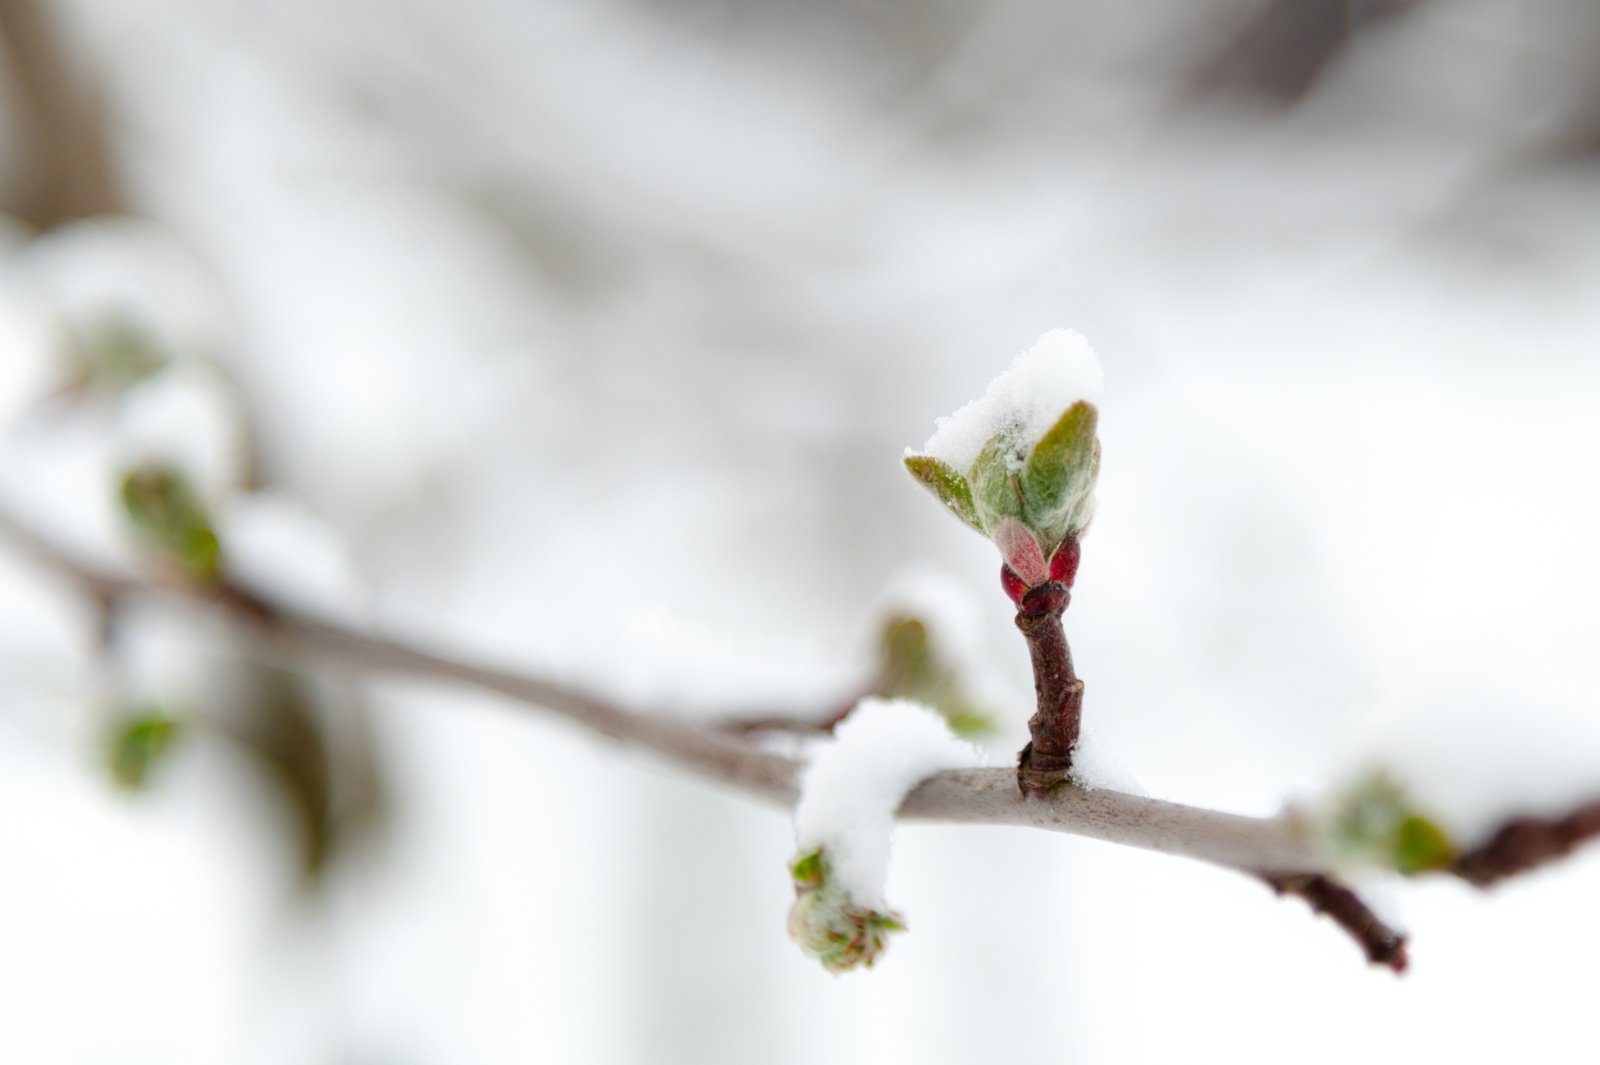
Elderberry wakes early. Once the buds swell and open, the stem puts its energy into leaves rather than roots, and success drops. Choose a day when the wood is not frozen solid.
American elderberry (Sambucus canadensis) is hardy in USDA zones 3 to 9. In the warm end of that range, dormancy is short, so cut soon after the leaves drop or in midwinter. In cold zones you can wait until the hardest freezes pass.
You can also root leafy softwood cuttings in early summer. They need constant humidity, so dormant cuttings are the simpler choice for beginners.
Step 1: Choose healthy one-year-old wood
Look for canes that grew last season. They are smooth, light brown or grey-brown, and dotted with small raised bumps called lenticels (breathing pores in the bark). Older canes are thicker, rougher and root less readily.
Pick stems about as thick as a pencil, or a little thicker. Thin, twiggy tips dry out before they root. Skip any cane with splits, sunken patches, borer holes or dead buds.
Check the buds along the cane. Elderberry buds sit in opposite pairs at each node (the joint where leaves and roots form). You want plump, firm buds that are still tightly closed.
Take wood only from a shrub you know fruits well. A cutting is a clone, so it carries every trait of the parent. If you cut from wild shrubs, make sure you have permission and that the plant is healthy. Named varieties such as 'Adams', 'York', 'Nova', 'Johns' and 'Bob Gordon' give more predictable fruit.
Step 2: Cut each stem into sections
Cut the cane into sections with two to four nodes each. Most finished cuttings are 6 to 10 inches (15 to 25 cm) long. The spacing between nodes varies, so count nodes rather than measuring.
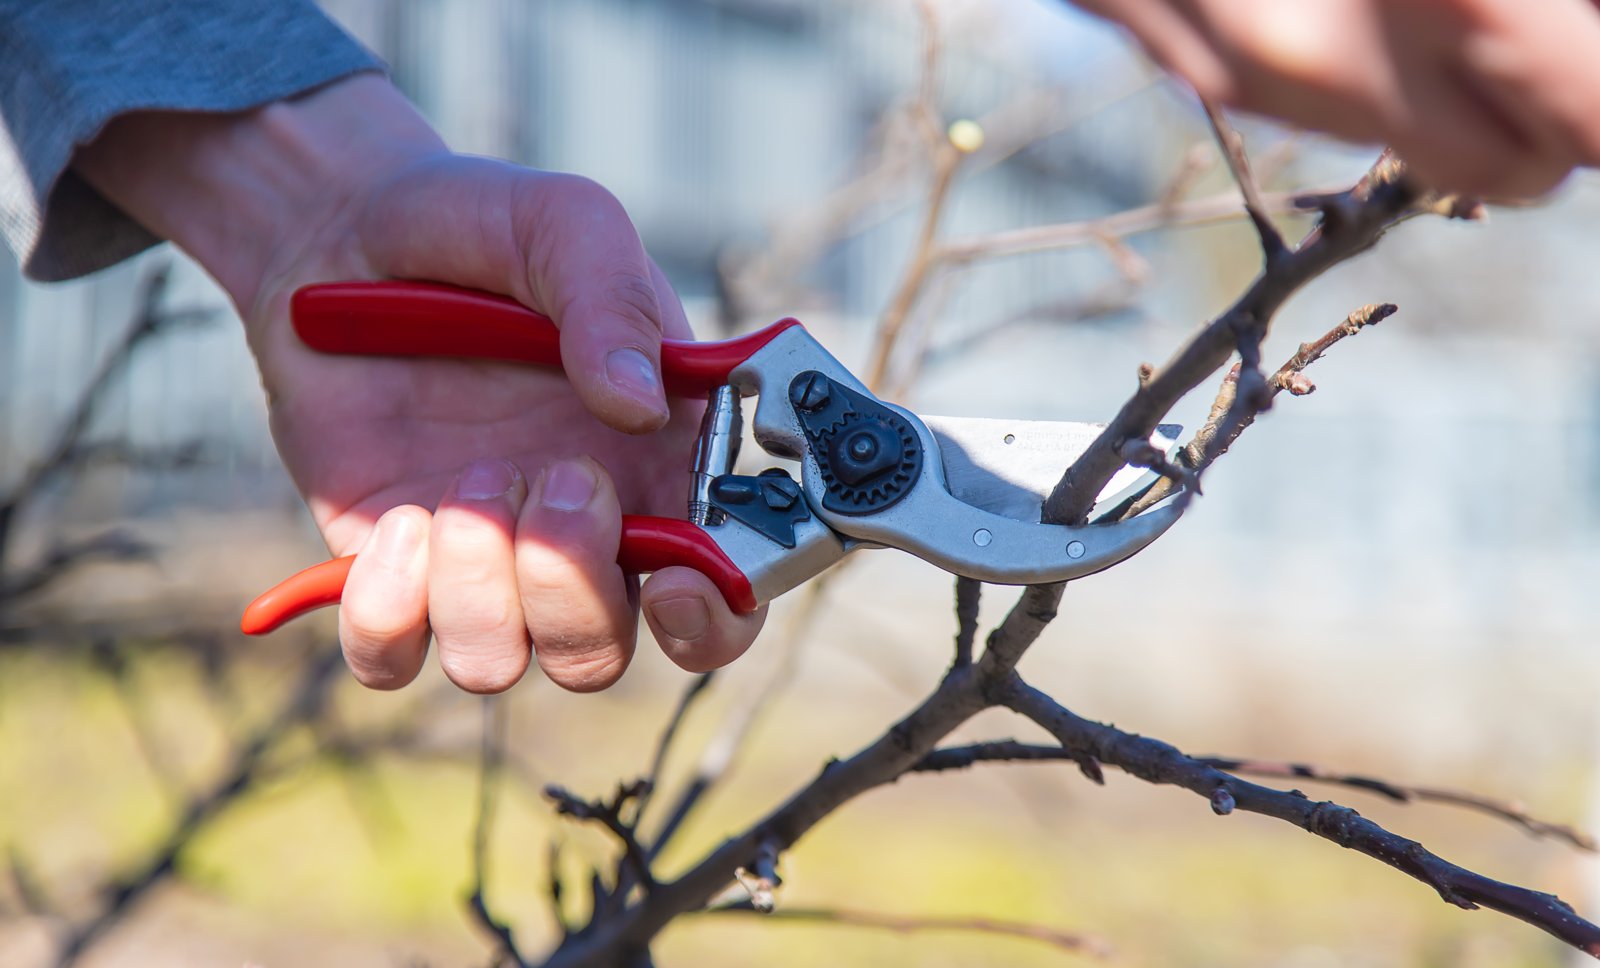
Make the bottom cut at an angle, just below the lowest node. Make the top cut straight across, about 1 inch (2.5 cm) above the highest node. The two shapes tell you which end is up. A cutting planted upside down does not root.
The angled cut also exposes more of the tissue that forms roots. Most roots emerge from the bottom node and the cut end just below it.
Label each bundle with the variety name as you go. Bare sticks all look alike a week later.
If you cannot root them the same day, wrap the cuttings in a damp paper towel. Seal them in a plastic bag and keep them in the refrigerator. They hold well for a week or two. Keep them away from ripening fruit.
Step 3: Root the cuttings in water or potting mix
Both methods work well with elderberry. Water is simple and lets you watch progress. Potting mix gives sturdier roots that transplant more easily.
In water: Stand the cuttings in a jar, angled end down. Add enough water to cover the bottom node only, roughly 2 to 3 inches (5 to 8 cm). Change the water every two or three days so it stays fresh. Cloudy, stale water leads to rot.
In potting mix: Fill a deep pot with moist potting mix. A mix lightened with perlite drains better. Push each cutting in so the lower one or two nodes are buried and at least one node sits above the surface. Firm the mix around the stem. Water once to settle it.
Rooting hormone is optional. Elderberry roots readily without it.
Set jars or pots in a cool, bright place out of direct sun. A spot around 55 to 65°F (13 to 18°C) is ideal. Cool air keeps the buds slow while the base gets on with rooting.
Step 4: Tend the cuttings while they root
Expect roots in about four to eight weeks. Leaves usually appear first, often within two weeks. Those leaves run on energy stored in the stem and do not prove that roots exist. Be patient and leave the cuttings alone.
Keep potting mix evenly moist but never soggy. It should feel like a wrung-out sponge. Tip out any water that collects in saucers.
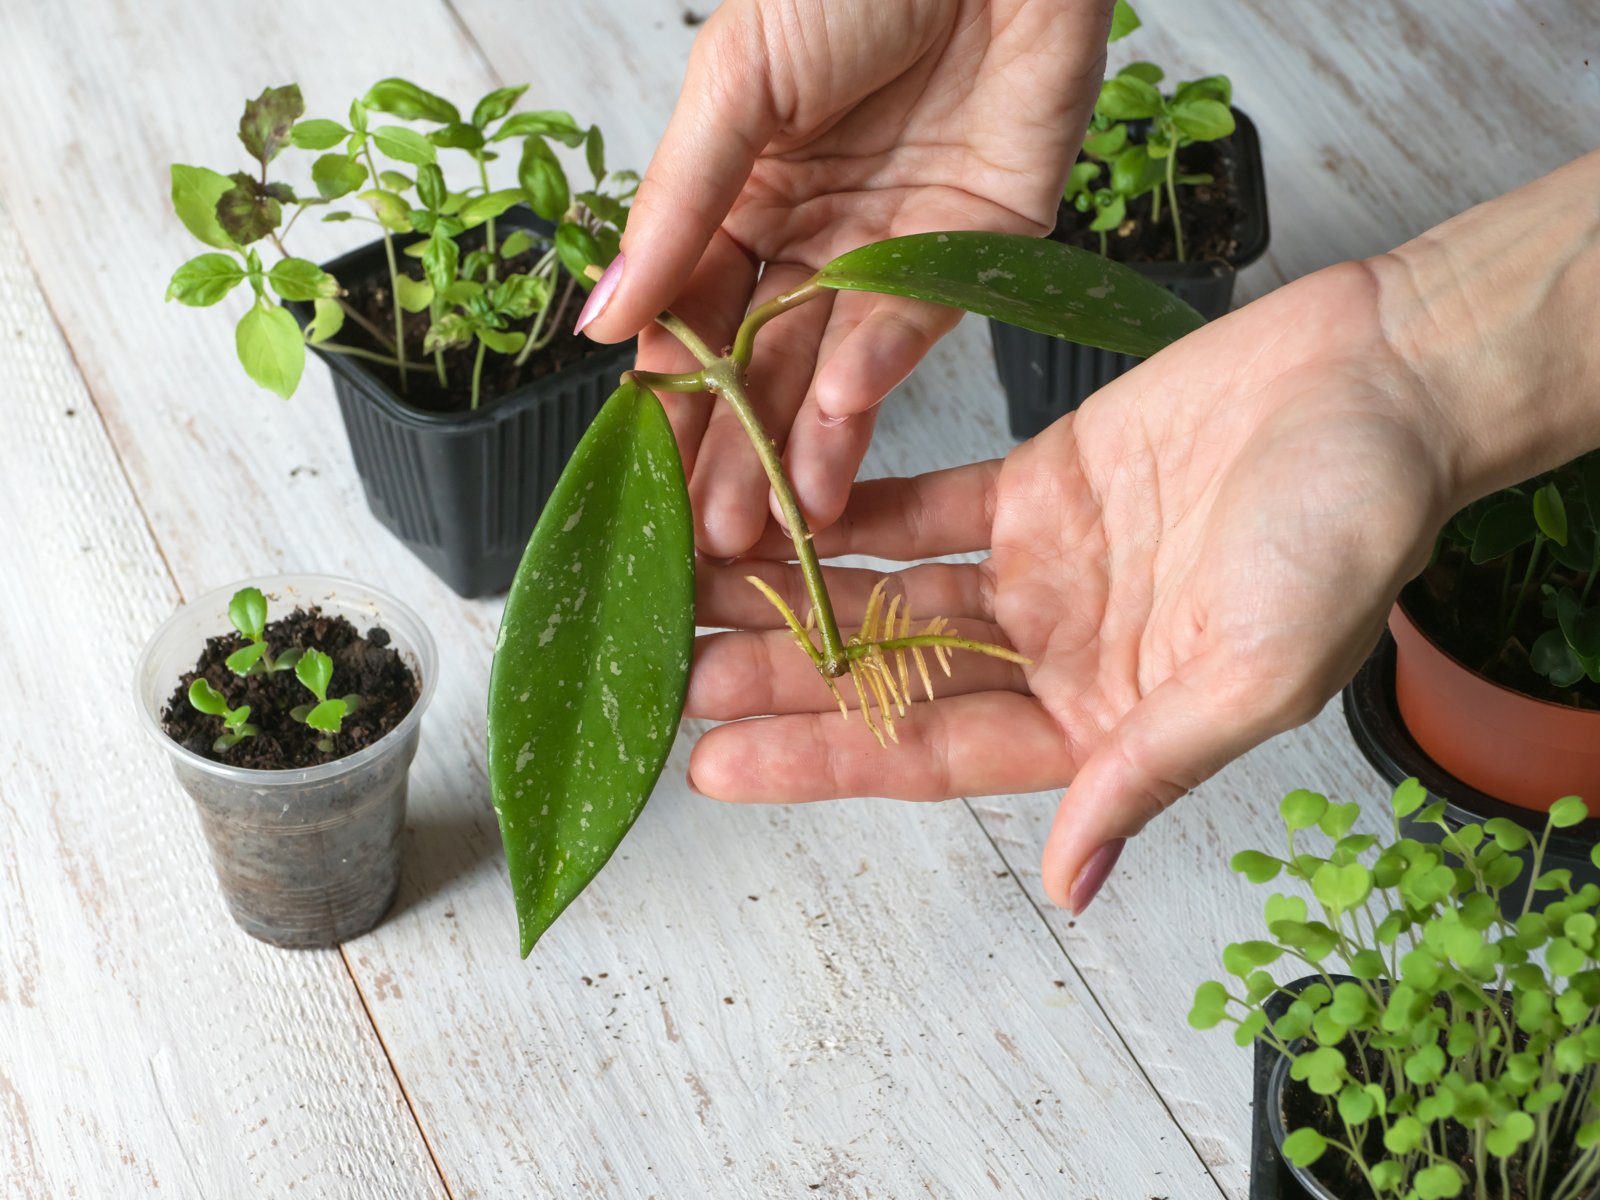
In water, look for white bumps and then pale roots at the bottom node. Move each cutting into potting mix when the roots are 1 to 2 inches (2.5 to 5 cm) long. Water roots are brittle, so handle them gently and do not let them grow long and tangled.
In pots, test after six weeks with a very gentle tug. Resistance means roots have formed. Roots showing at the drainage holes are an even better sign.
If a cutting pushes a flower cluster, pinch it off. Flowers drain a stem that has few roots to support it.
Step 5: Harden off and plant out after the last frost
Dormant elderberry wood is very hardy, but the tender new leaves are not. Wait until your last expected frost has passed before planting out.
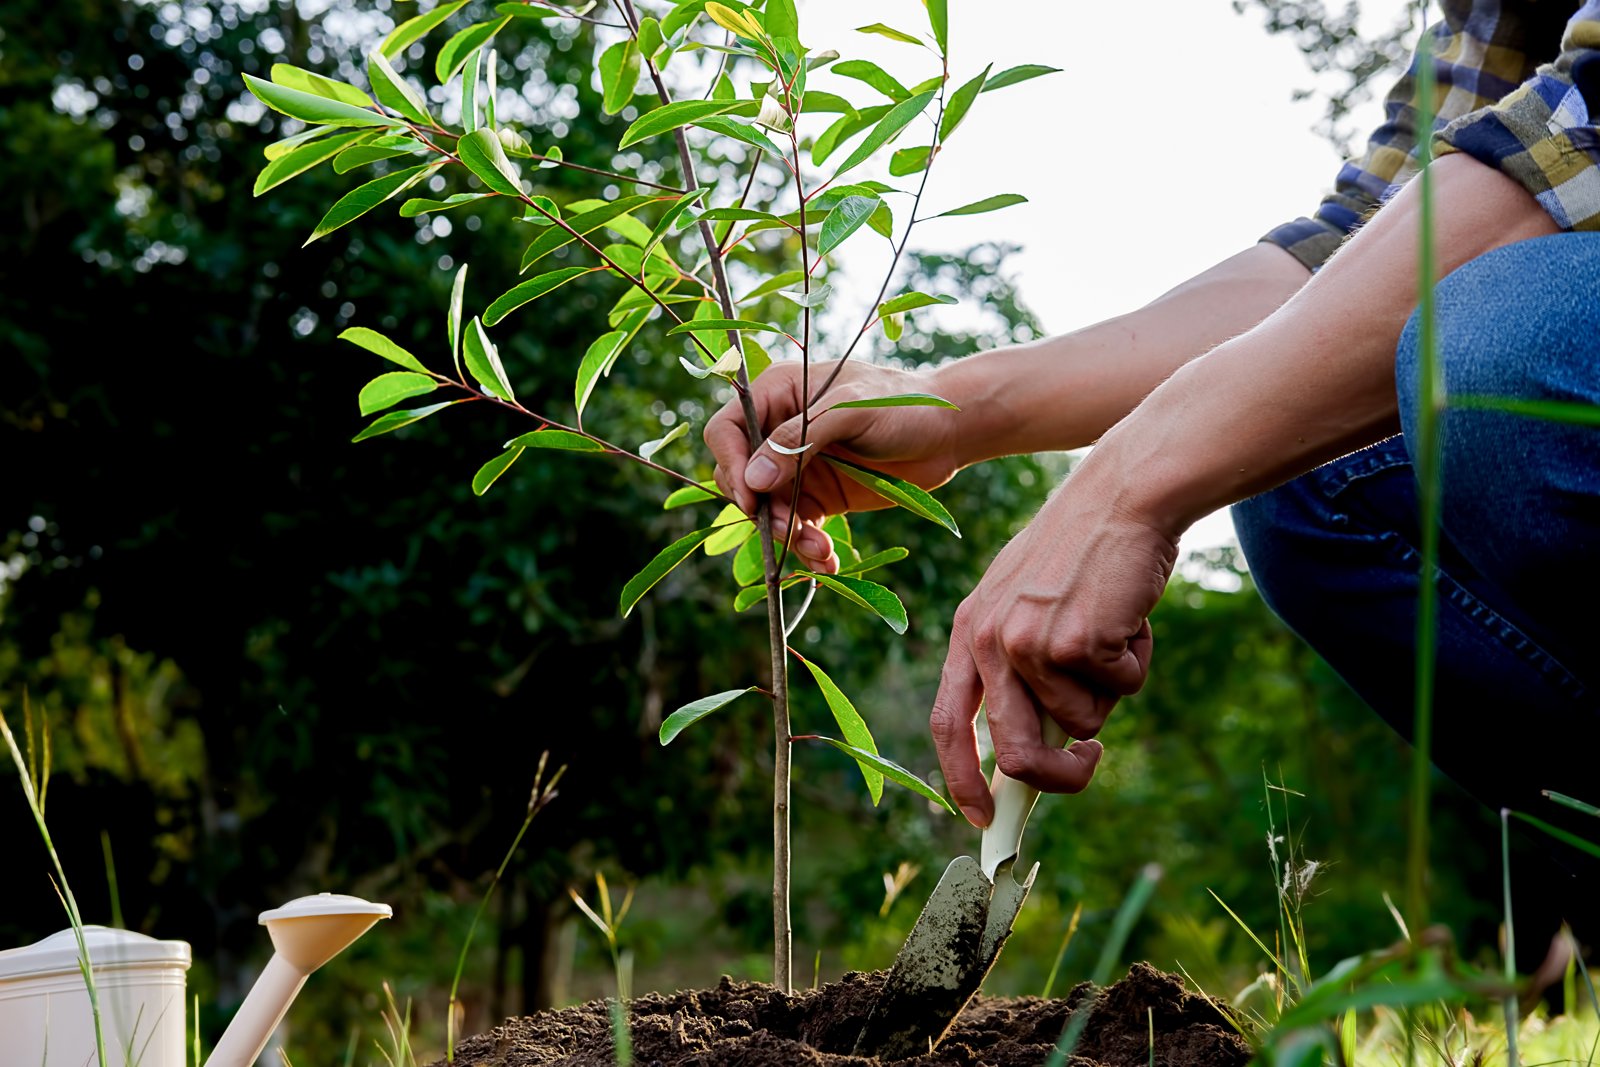
First harden off the plants (get them used to outdoor conditions gradually). Set them outside in a sheltered, shaded spot for a few hours. Lengthen the time and the sun exposure over seven to ten days.
Choose a site in full sun or light shade with moist, well-drained soil. Elderberry tolerates damp ground better than most fruit, but not standing water. Mix a little compost into the planting area.
Plant at least two different varieties of the same species. Elderberry sets far more fruit with cross-pollination (pollen from a different variety). Space the shrubs 6 to 10 feet (1.8 to 3 m) apart, and keep the two varieties within about 60 feet (18 m) of each other.
Set each plant at the depth it grew in the pot. Water deeply. Then spread 2 to 3 inches (5 to 8 cm) of mulch, kept clear of the stems.
Raw elderberries, and the stems, leaves, seeds, bark and roots, contain compounds that can cause nausea, vomiting and diarrhea. Strip ripe berries from every stem and cook them thoroughly before use. Never eat unripe green berries or red-fruited elder species.
Common problems
Leaves open, then wilt and die
The cutting leafed out on stored energy before it made roots. Warm rooms cause this most often. Move the remaining cuttings somewhere cooler and out of direct sun. Next time, take the wood earlier, while the buds are tighter.
The base turns black and soft
This is rot, caused by stale water or waterlogged mix. Change jar water every two or three days. In pots, use fresh mix with added perlite and empty the saucers. Discard any soft cuttings, because they do not recover. Wash jars and pots before you reuse them.
Nothing happens after eight weeks
Scratch the bark lightly with a fingernail. Green underneath means the cutting is alive and slow, so give it more time. Brown and dry means it has died. The usual causes are wood that was too thin, too old, or allowed to dry out. Check also that the angled end is pointing down.
The shrub grows well but sets few berries
Young plants often flower lightly for a year or two. If a mature shrub still fruits poorly, it probably lacks a pollination partner. Every cutting from one shrub is genetically identical, so a row of them cannot cross-pollinate. Add a second named variety nearby.
New shoots wilt and snap soon after planting out
Late frost, strong wind or a sudden move into full sun can flatten soft growth. Harden off for the full week. Cover young plants with a sheet or frost cloth when a late frost is forecast. Damaged shrubs usually resprout from the base.
What to do next
Water deeply once a week through the first summer whenever rain is scarce. Elderberry roots are shallow, so weed by hand and top up the mulch. Pinch off flower clusters in the first year so the shrub builds roots. Expect a light crop in the second or third year.
Elderberry wine was a household staple for southern Appalachian mountain families, as Anthony Cavender notes in Folk Medicine in Southern Appalachia. That is history, not medical advice.