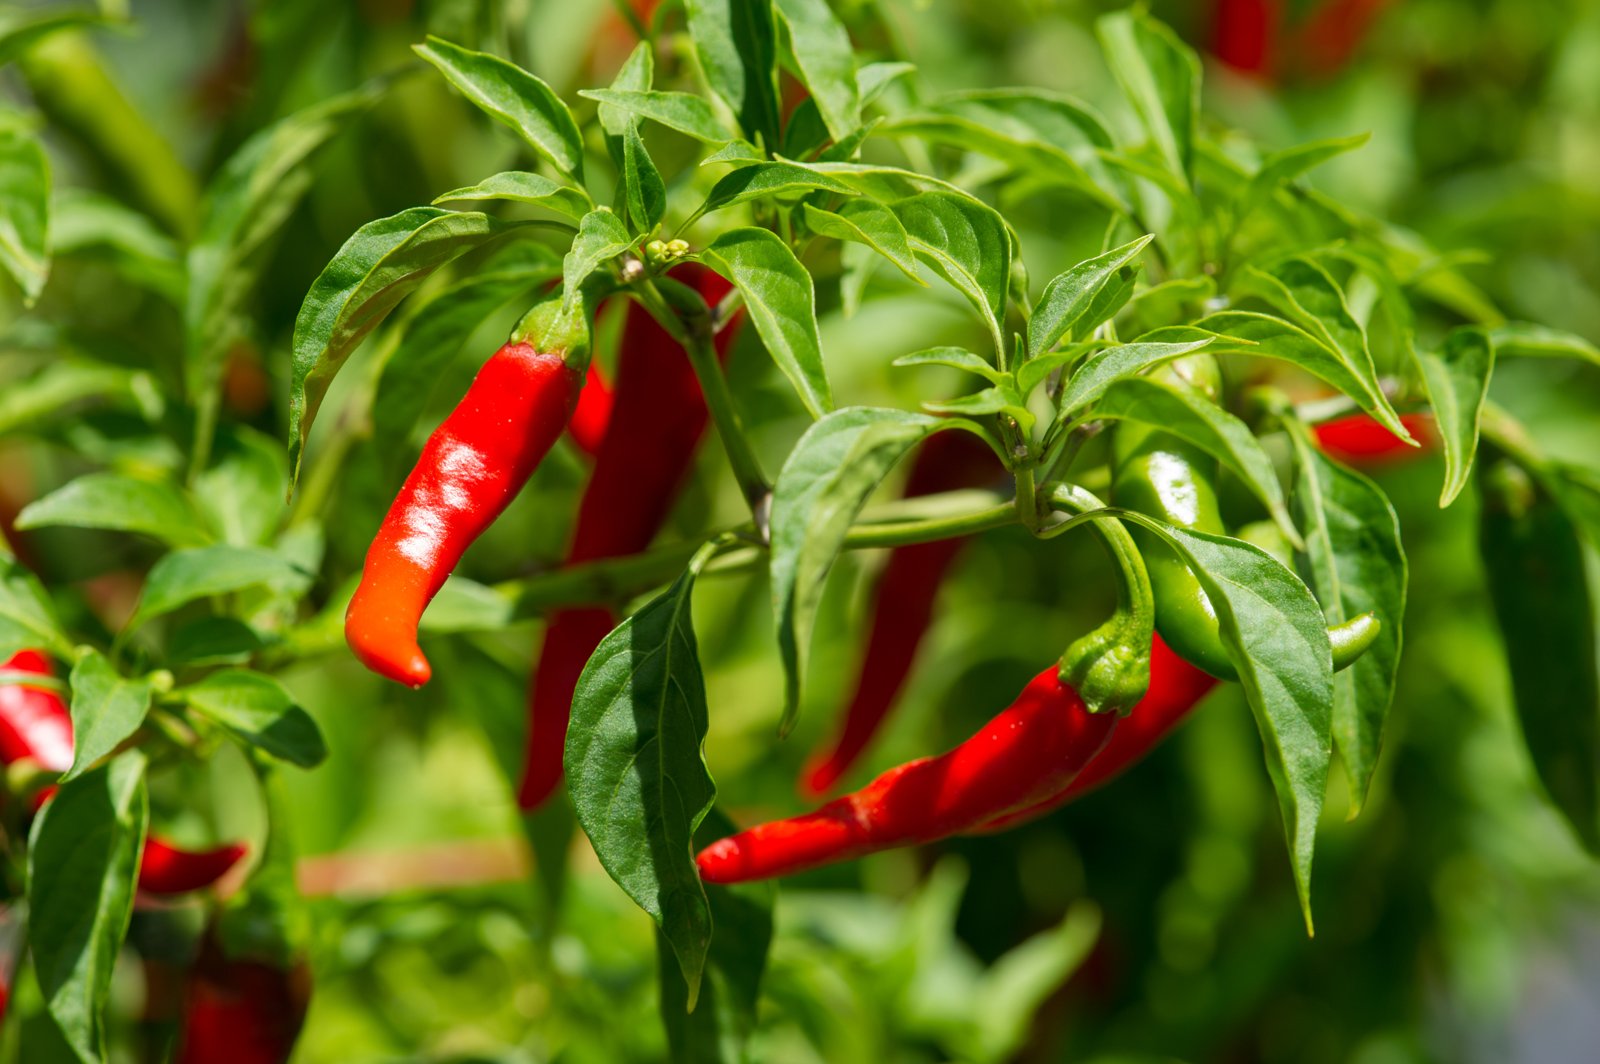
A few cayenne plants fill a jar with dried red pods that last you through winter. The plants are compact, handsome and happy in a pot or a bed. One thing decides success more than any other: warmth. Cayenne seed sulks in cool compost, and young plants stall in cold soil. Give heat at both ends and the middle looks after itself.
What you need
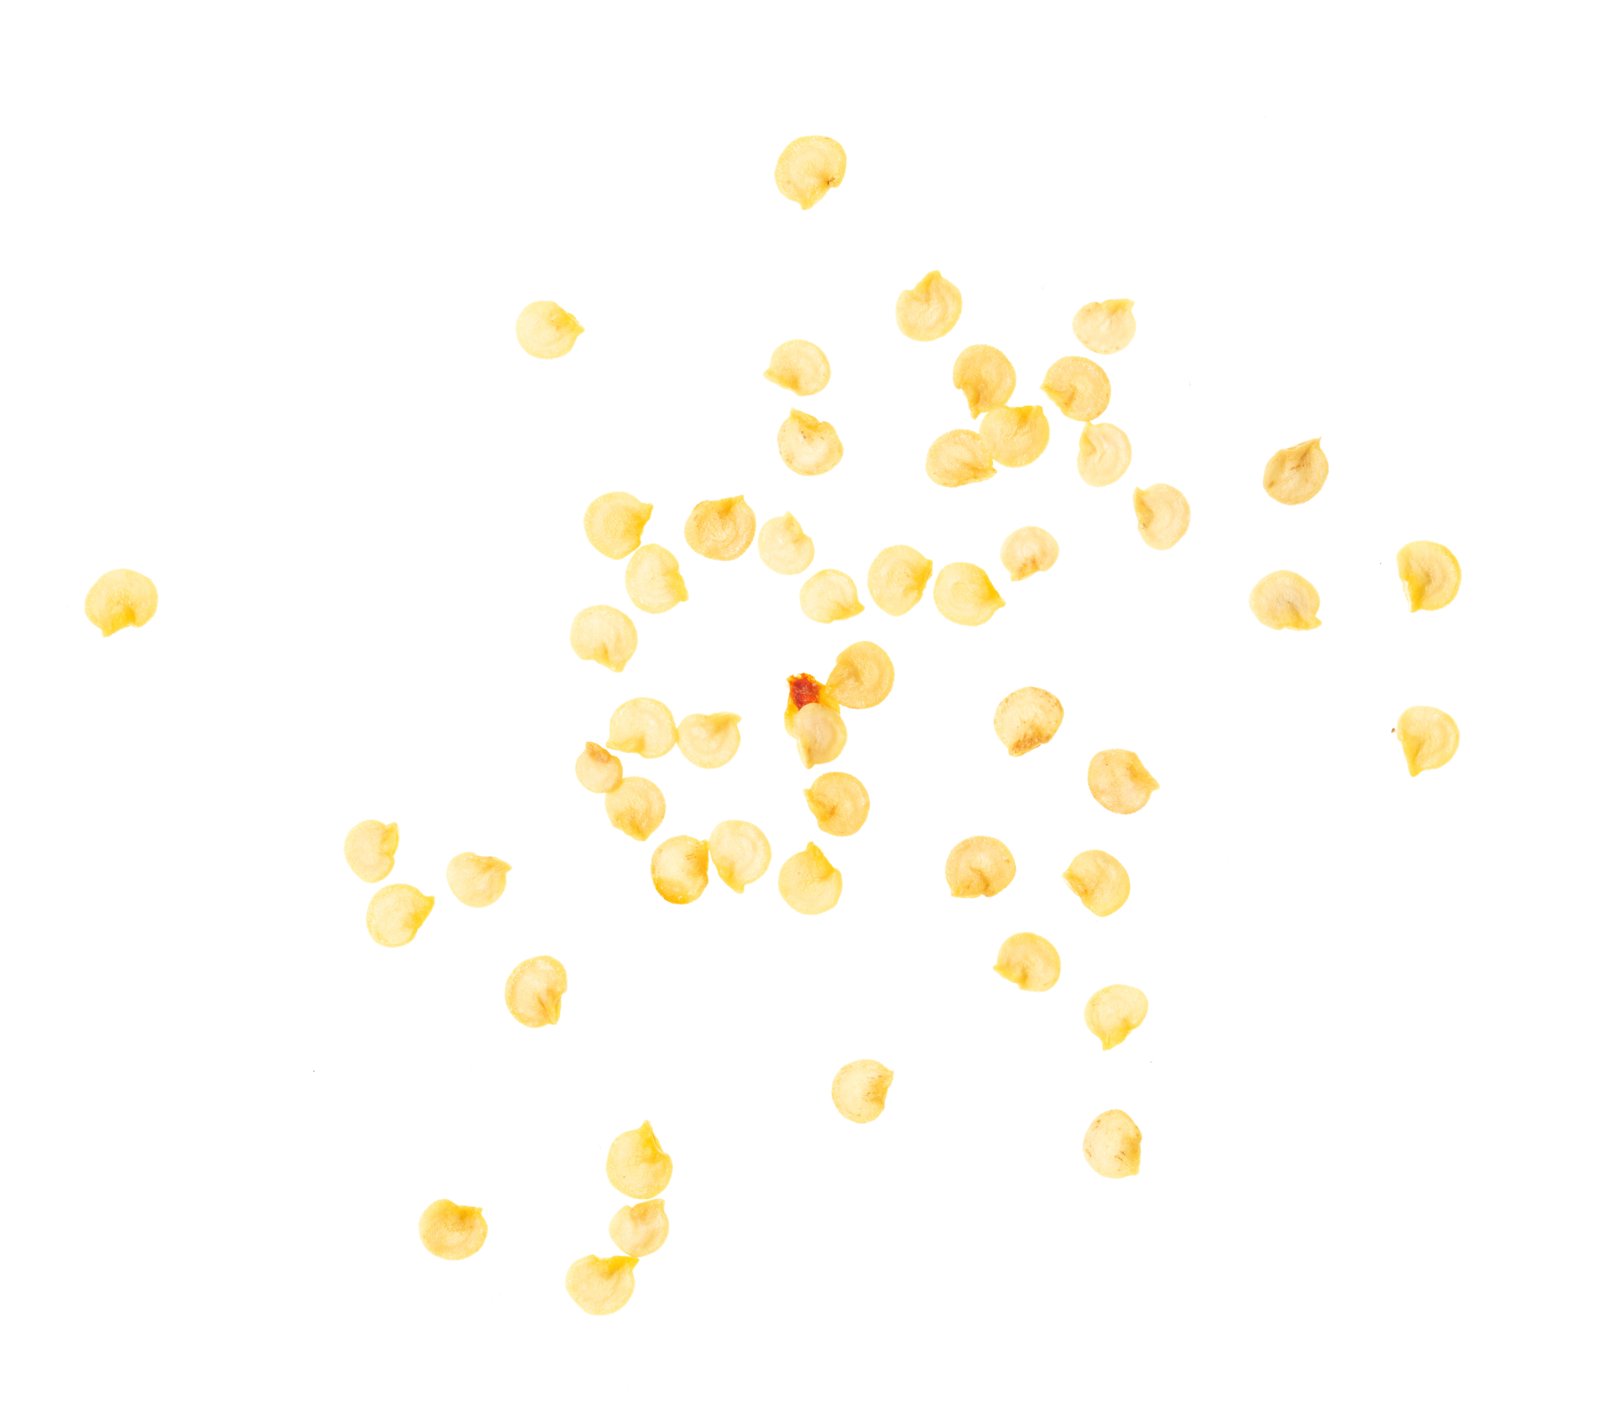
- Cayenne pepper seed (Capsicum annuum)
- A seed tray or small cell tray with drainage holes
- A clear lid or a plastic bag to hold in moisture
- Fresh seed-starting mix
- A heat mat, or a reliably warm spot in the house
- A grow light or your brightest window
- 3 to 4 inch (8 to 10 cm) pots and general potting mix
- A sunny bed with well-drained soil, or containers of at least 3 gallons (11 litres)
- Short stakes and soft ties
- Disposable or rubber gloves for harvest and handling
- Thread and a needle, or a drying rack
When to sow cayenne peppers
Sow indoors 8 to 10 weeks before your last expected frost. Peppers grow slowly at first, so they need this long head start. Sowing much earlier gains little. The plants become rootbound and leggy before the weather lets them outside.
Plant out only when frost is past and nights stay above about 55°F (13°C). In most gardens this falls two to three weeks after the last frost date. Cayenne is a tender plant and is killed by frost.
Your season length matters too. Most cayenne varieties need roughly 70 to 100 days from planting out to ripe red pods. In USDA zones 5 and colder, choose an early variety and consider growing in dark pots, which warm up faster. In zones 9 and warmer, you can also sow in late summer for a crop through the mild season.
Step 1: Sow the seed in warm mix
Fill the tray with seed-starting mix and water it well. Let it drain until damp, not dripping. Sow the seeds about 1/4 inch (6 mm) deep, two per cell or 1 inch (2.5 cm) apart in an open tray. Cover them lightly and firm the surface with your fingers.
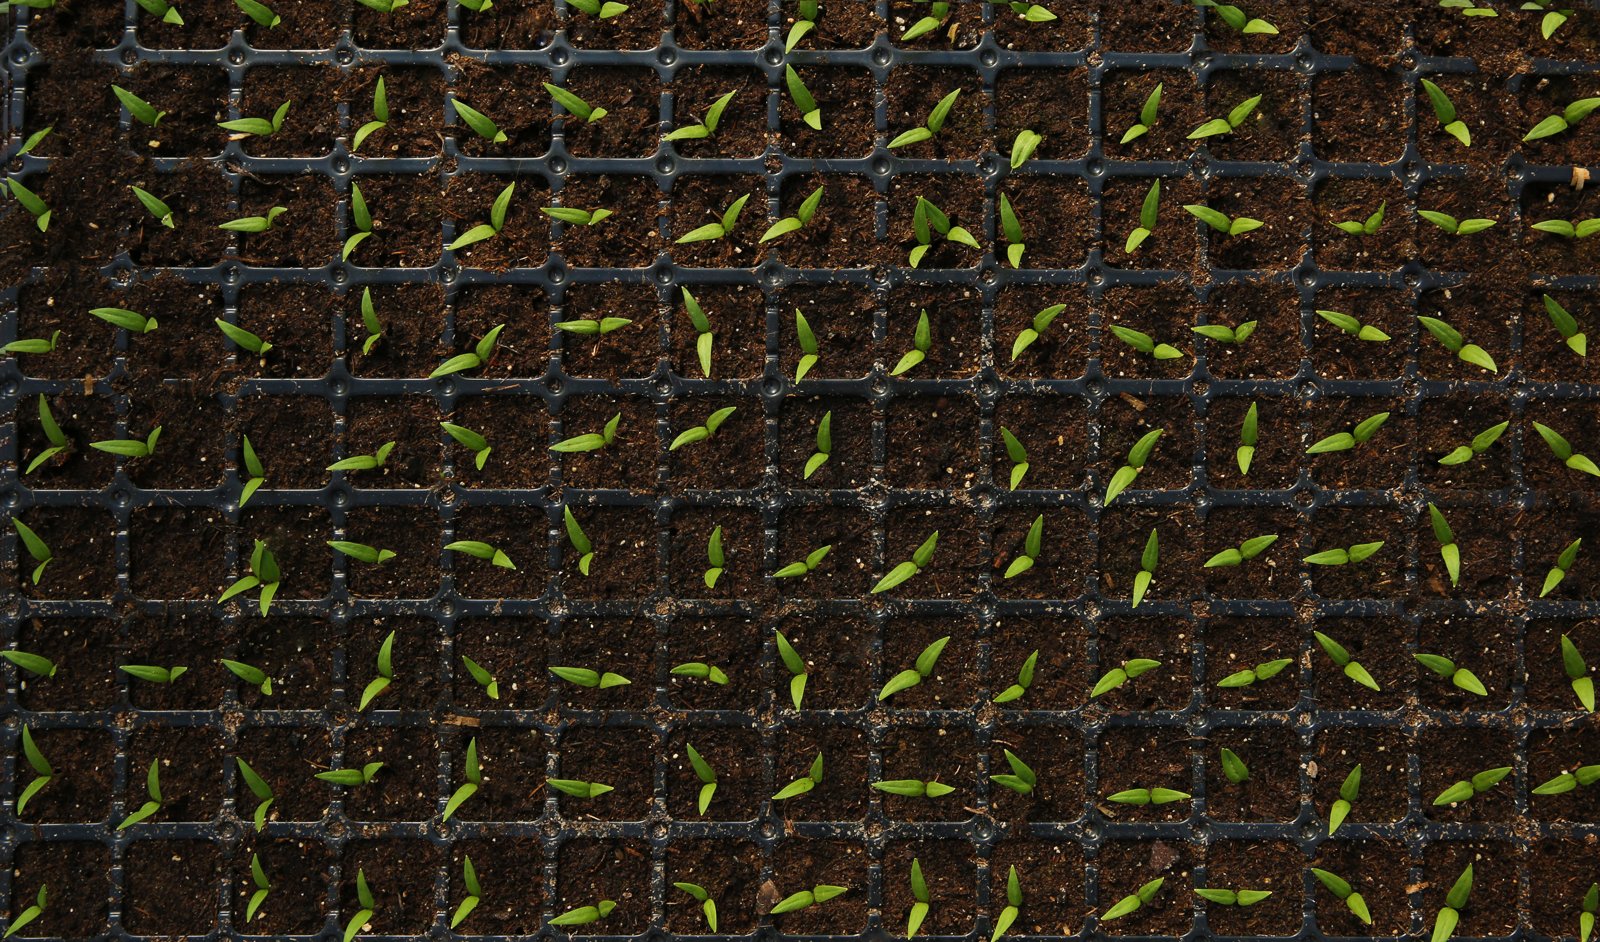
Put the lid or plastic bag over the tray. Then set it on a heat mat or in a spot that holds about 80 to 85°F (27 to 29°C). The top of a refrigerator or a shelf above a radiator often works. Check the temperature with a thermometer if you can, since a guess is often wrong.
At this warmth, seedlings usually show in one to two weeks. At ordinary room temperature the same seed can take three weeks or more, and some never appears. Keep the mix evenly damp and wait. Light is not needed until the first green loops break the surface.
Step 2: Move seedlings into bright light
Take off the lid as soon as most seedlings are up. Still, humid air around new stems invites rot. Move the tray off the heat mat and into the brightest light you have.
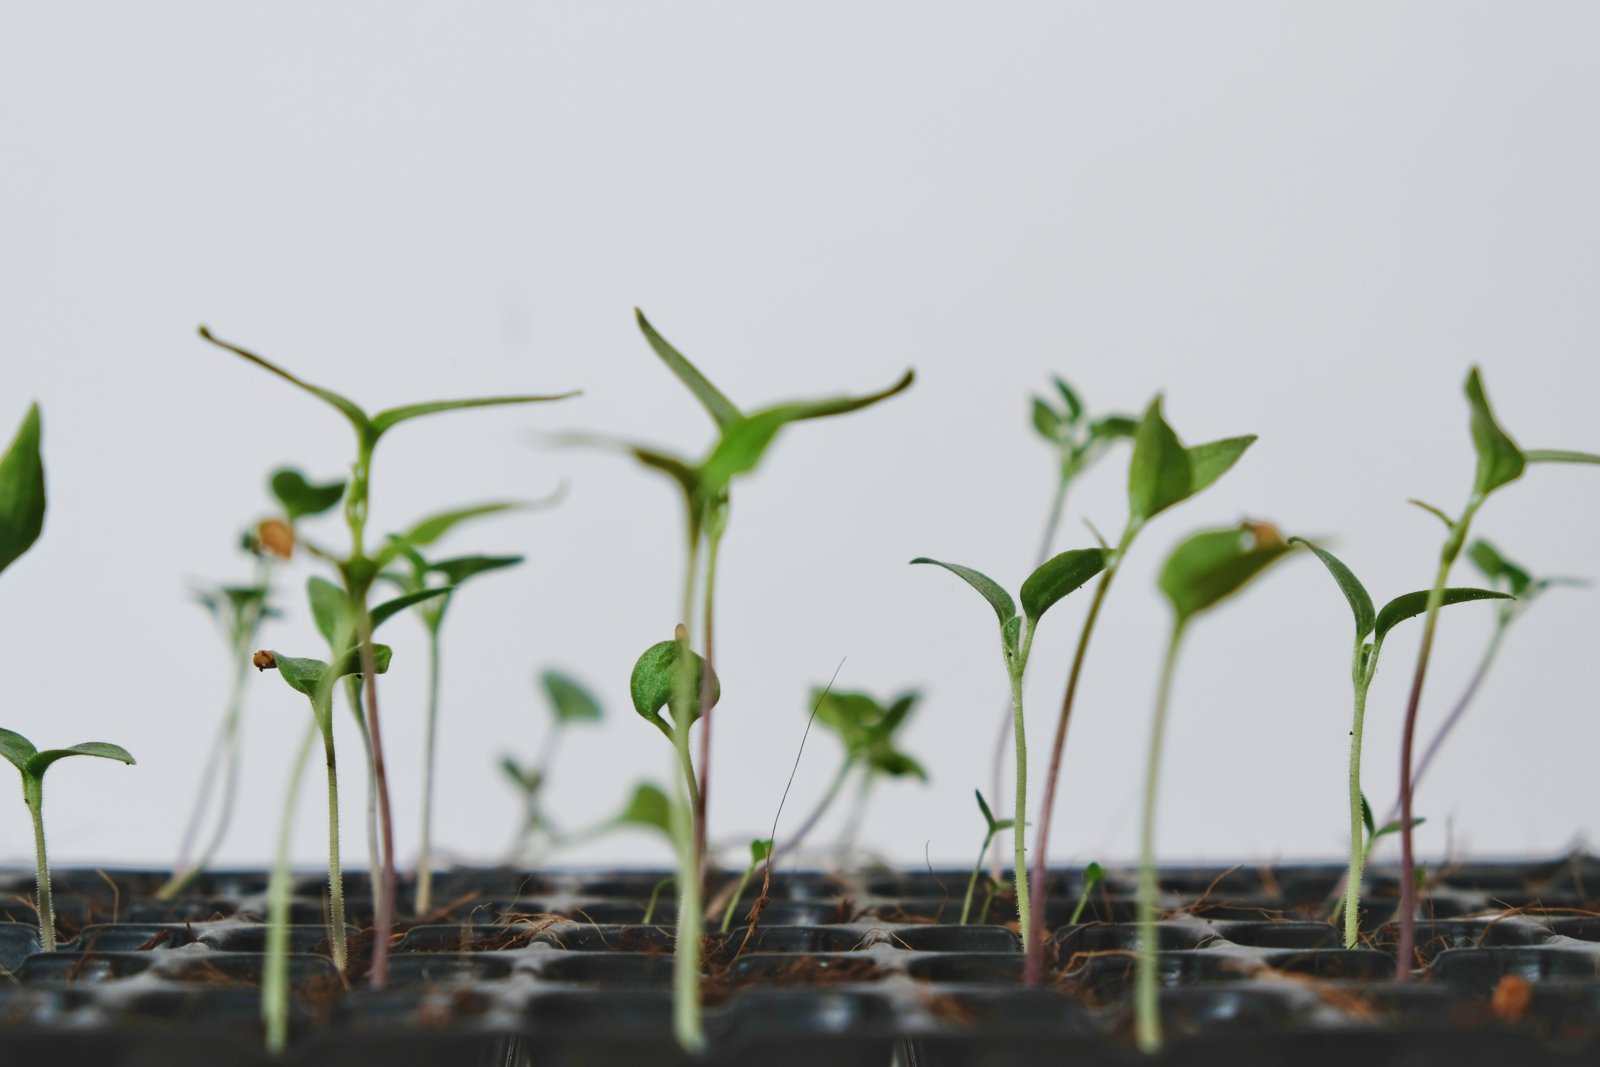
A grow light gives the sturdiest plants. Hang it 2 to 4 inches (5 to 10 cm) above the leaves and run it 14 to 16 hours a day. Raise it as the plants grow. On a windowsill, pick a sunny window facing the midday sun and turn the tray every day so stems grow straight.
Seedlings now prefer it a little cooler. Aim for 65 to 75°F (18 to 24°C) by day. Water from below by standing the tray in a dish for ten minutes, then drain it. Let the surface dry slightly between waterings. Where two seedlings share a cell, snip the weaker one at soil level. Pulling it out disturbs the roots of the one you keep.
Step 3: Pot on into larger pots
Pot on (move a seedling into a bigger container) when two or three true leaves have formed. True leaves are the pointed ones that follow the first pair of smooth seed leaves. By now, roots are usually showing at the drainage holes.
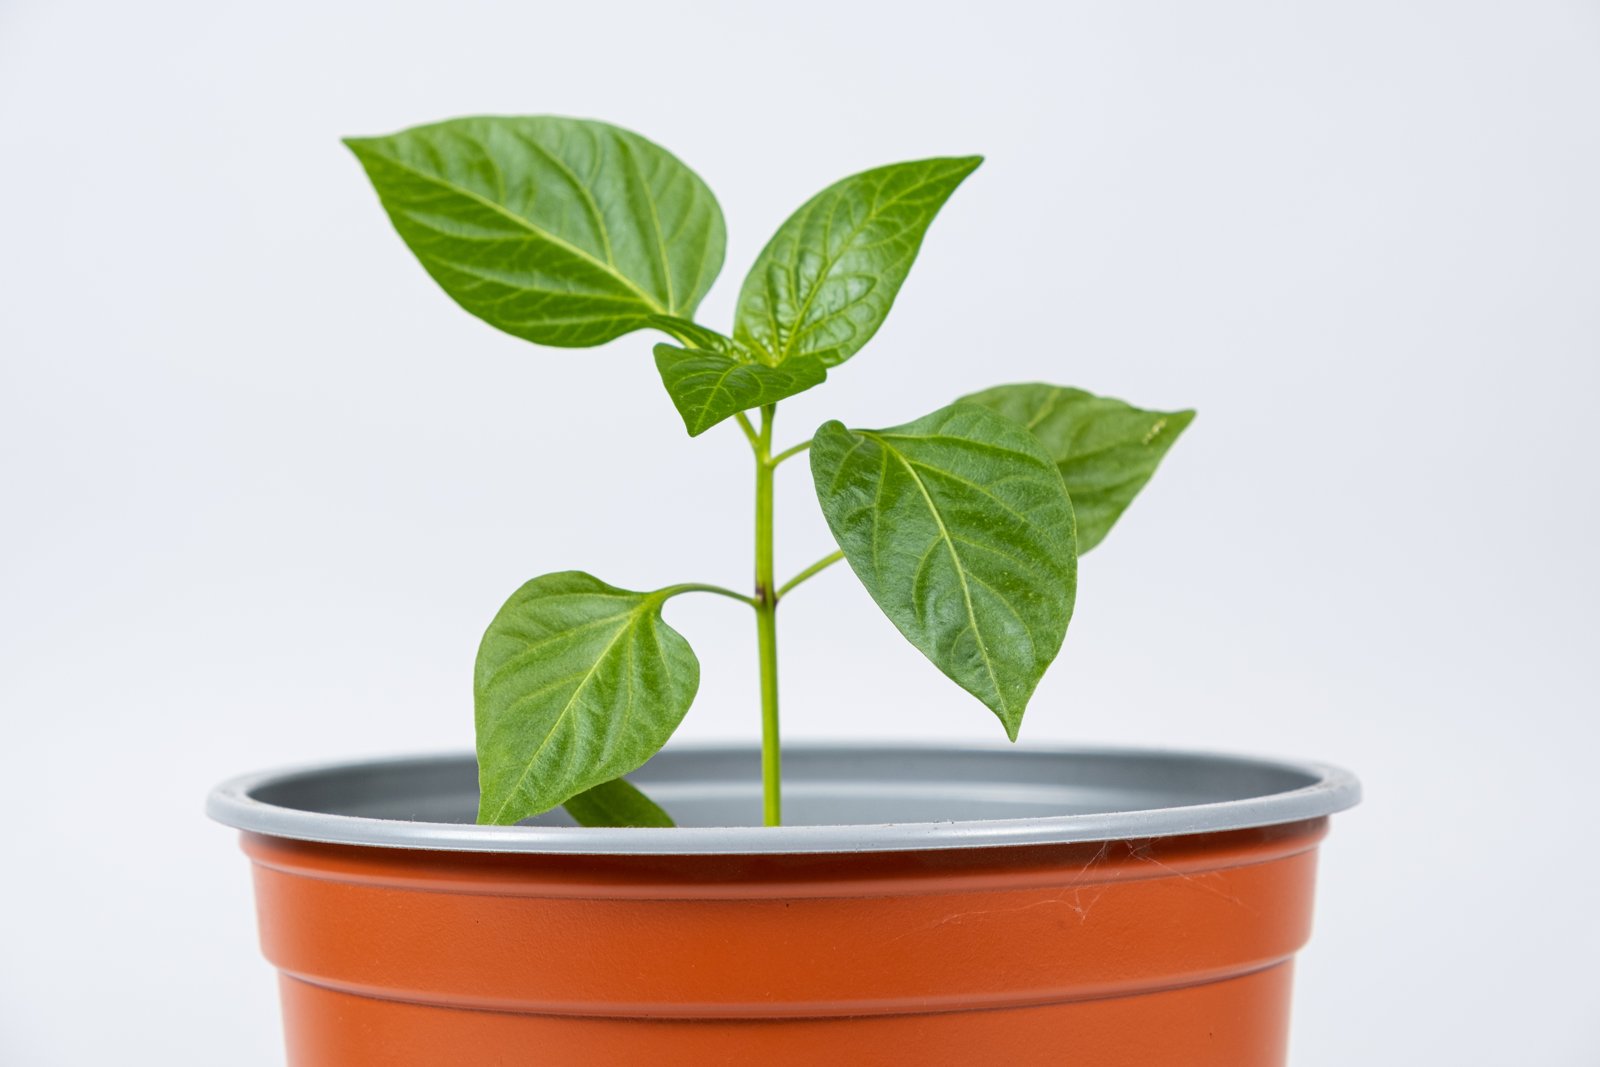
Fill 3 to 4 inch (8 to 10 cm) pots with general potting mix. Ease each seedling out, holding it by a leaf rather than the stem. A bruised leaf is replaced, but a crushed stem is not. Set it at the same depth it grew before, or very slightly deeper. Firm gently and water in.
Return the pots to bright light. After a week or two, begin feeding every 10 to 14 days with a balanced liquid fertilizer at half the label strength. If the plants fill these pots before it is warm enough outside, move them up one more size. A pepper held too long in a small pot sets flowers early and stays stunted.
Step 4: Harden off the young plants
Harden off (get indoor-raised plants used to outdoor sun, wind and cool air) over 7 to 10 days. Start about a week after your last frost date, when days are mild.
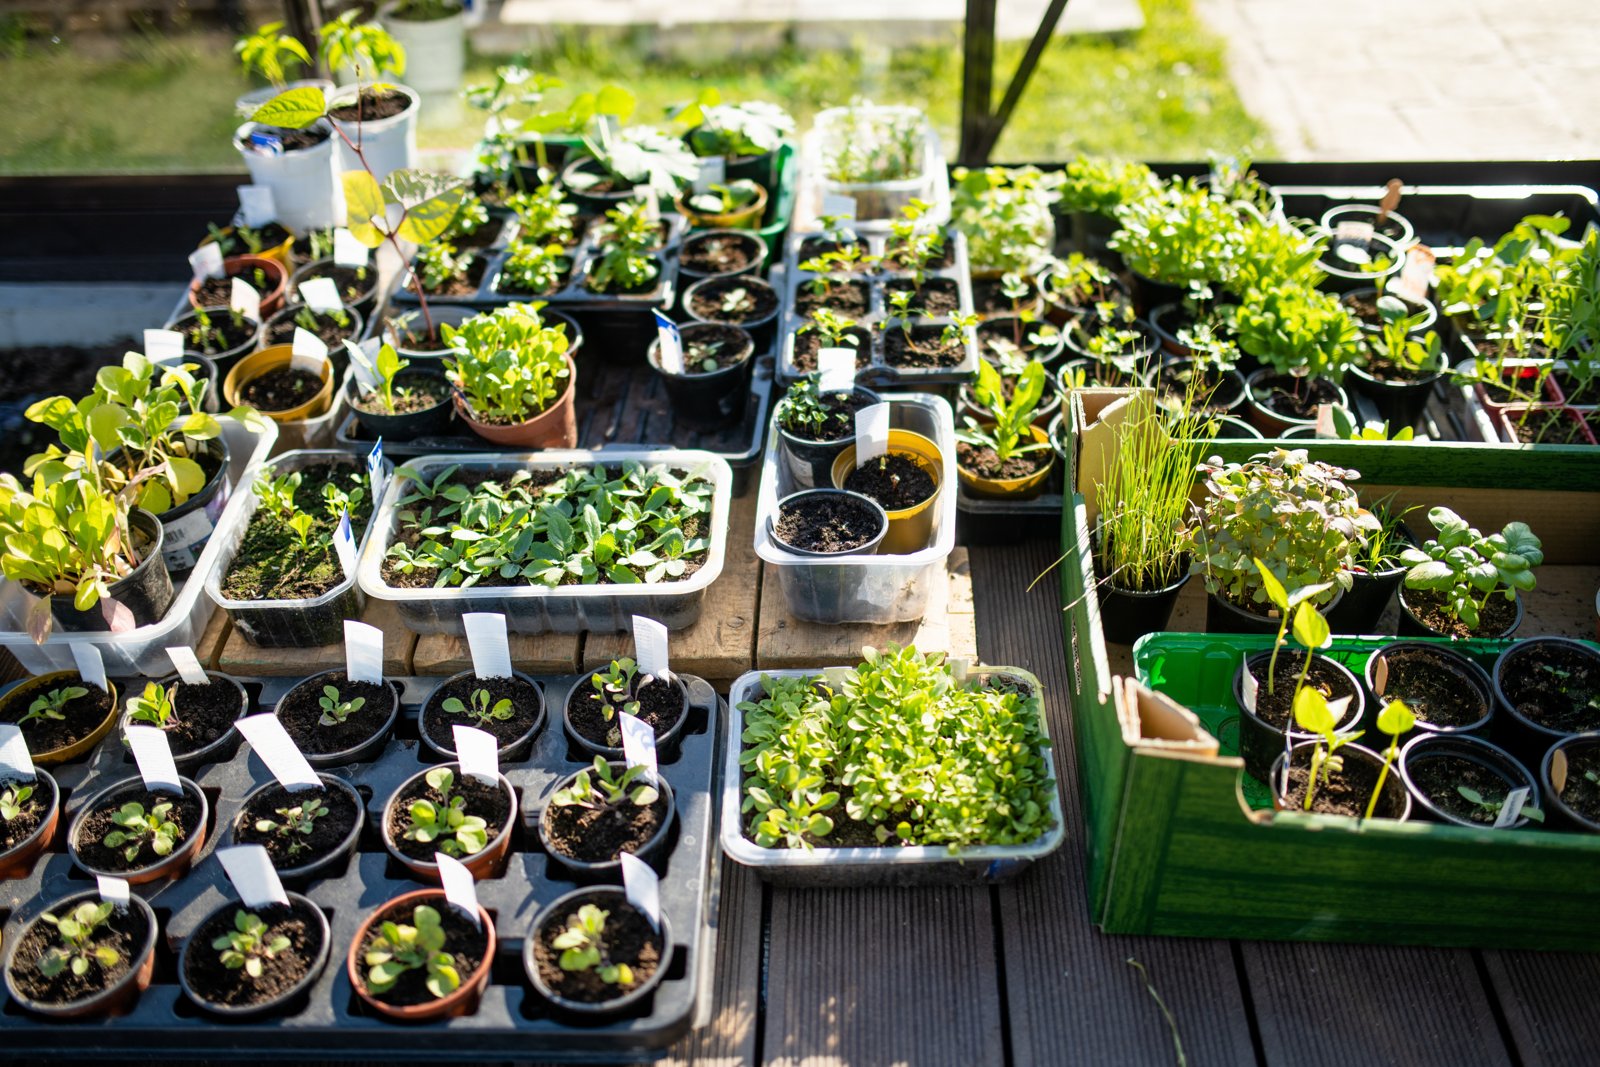
On the first day, put the pots outside in shade and shelter for an hour or two. Each day, give them a little longer and a little more direct sun. By the end of the week they can stay out all day in full sun. Leave them out overnight only when nights hold above about 55°F (13°C).
Bring them in if frost, strong wind or a cold snap is forecast. Do not rush this step. Leaves raised behind glass scorch white in a single afternoon of full sun. The plant recovers, but it loses two weeks of growth doing so.
Step 5: Plant out in warm soil
Choose the sunniest place you have, with at least six to eight hours of direct sun. Soil should drain freely. Work in a few inches of finished compost before planting. Avoid ground that grew tomatoes, potatoes, eggplants or peppers last year, because these relatives share soil diseases.
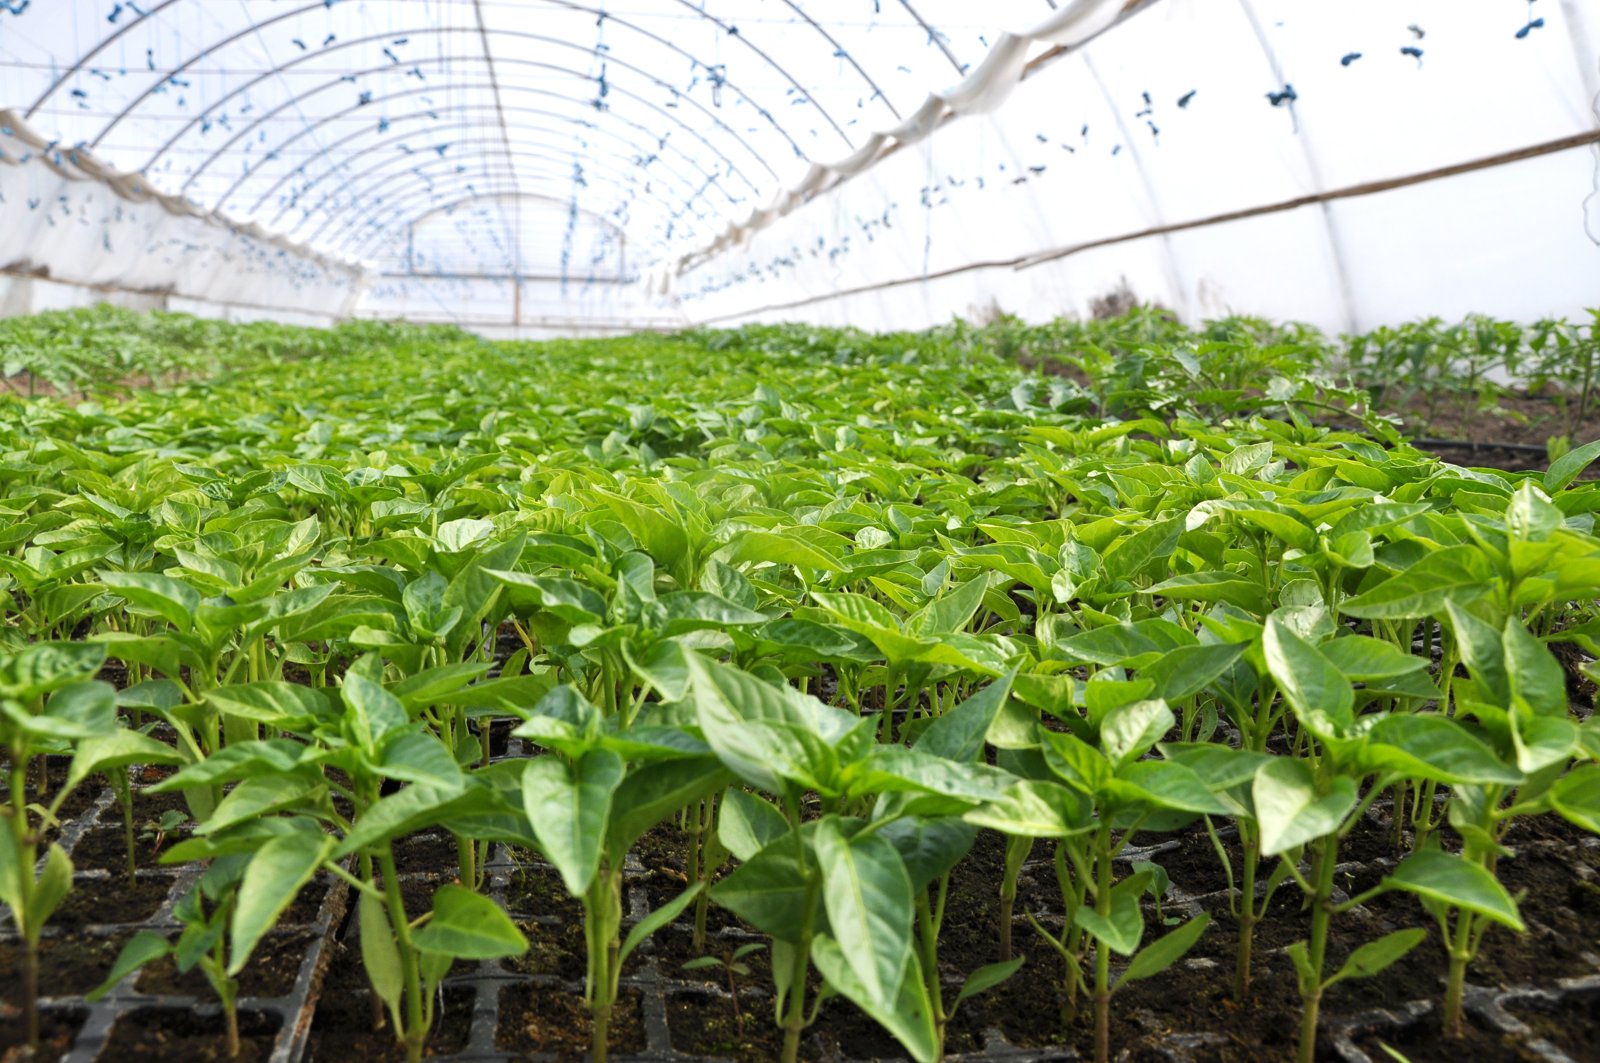
Set plants 18 inches (45 cm) apart, in rows 24 to 30 inches (60 to 75 cm) apart. Plant at the same depth as in the pot, firm the soil and water well. In containers, grow one plant per pot of at least 3 gallons (11 litres), in potting mix rather than garden soil.
Push in a short stake at planting time. A cayenne loaded with pods is top-heavy, and branches are brittle. Once the soil is thoroughly warm, spread a 2 inch (5 cm) mulch of straw or shredded leaves. Mulch laid on cold soil keeps it cold, so wait.
Step 6: Water, feed and support the plants
Water deeply once or twice a week, enough to keep soil evenly moist. In most gardens that means about 1 inch (2.5 cm) of water a week, including rain. Pots need water far more often, sometimes daily in hot weather. Water at the base and keep the leaves dry.
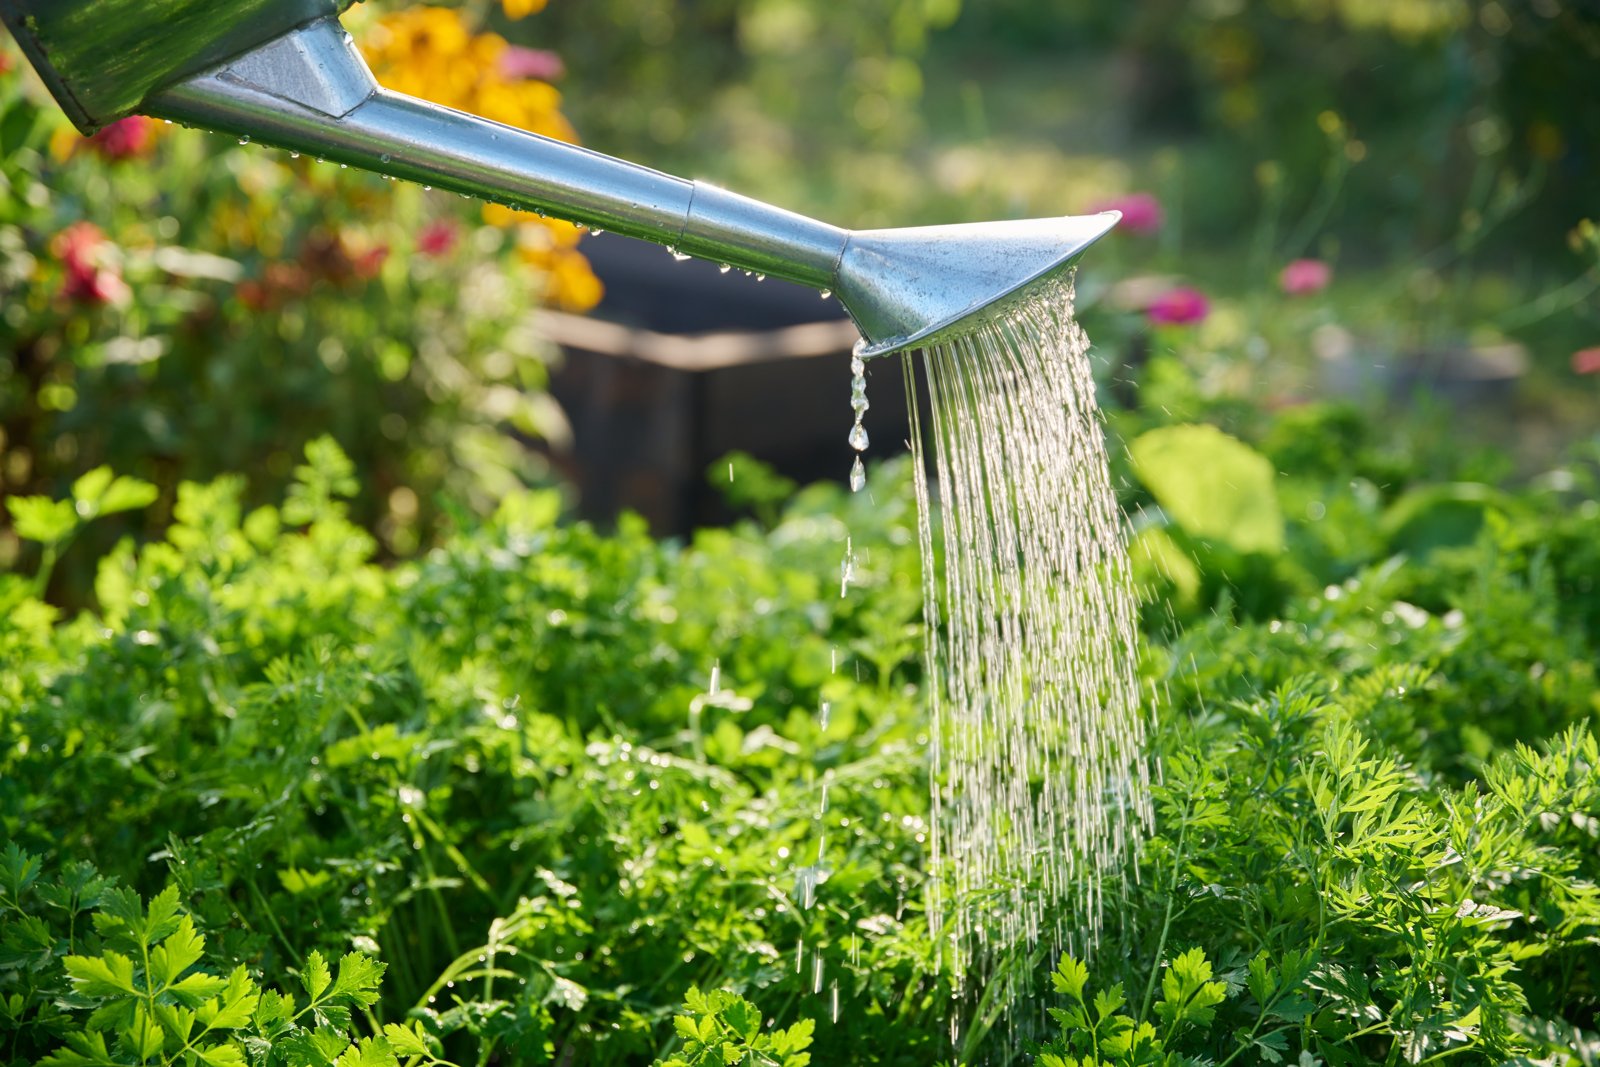
Feed lightly. Too much nitrogen gives a big, leafy plant with few pods. When the first flowers open, switch to a fertilizer made for tomatoes and fruiting crops. Follow the label rate and wear gloves when handling any concentrated fertilizer.
Tie the main stem loosely to its stake as it grows. Pinching out the first flower buds is optional. It helps a small plant put on size first, but in a short season it simply delays the crop.
Step 7: Harvest red pods and dry them whole
Pods start green and ripen to a glossy, even red. They are usable green, but full heat and flavor come with full color. Red pods also dry far better. Expect the first ripe ones about 70 to 100 days after planting out, depending on variety and summer warmth.
Cut each pod with scissors or pruners, leaving a short piece of stem attached. Pulling by hand often snaps a whole branch. Pick regularly, since this keeps the plant flowering. Before the first fall frost, strip every pod that has started to color. These usually finish ripening indoors.
Wear gloves when you pick, cut or string hot peppers, and keep your hands away from your eyes and face. The oils that carry the heat cling to skin and burn badly. Wash hands, knives and boards with soapy water afterwards.
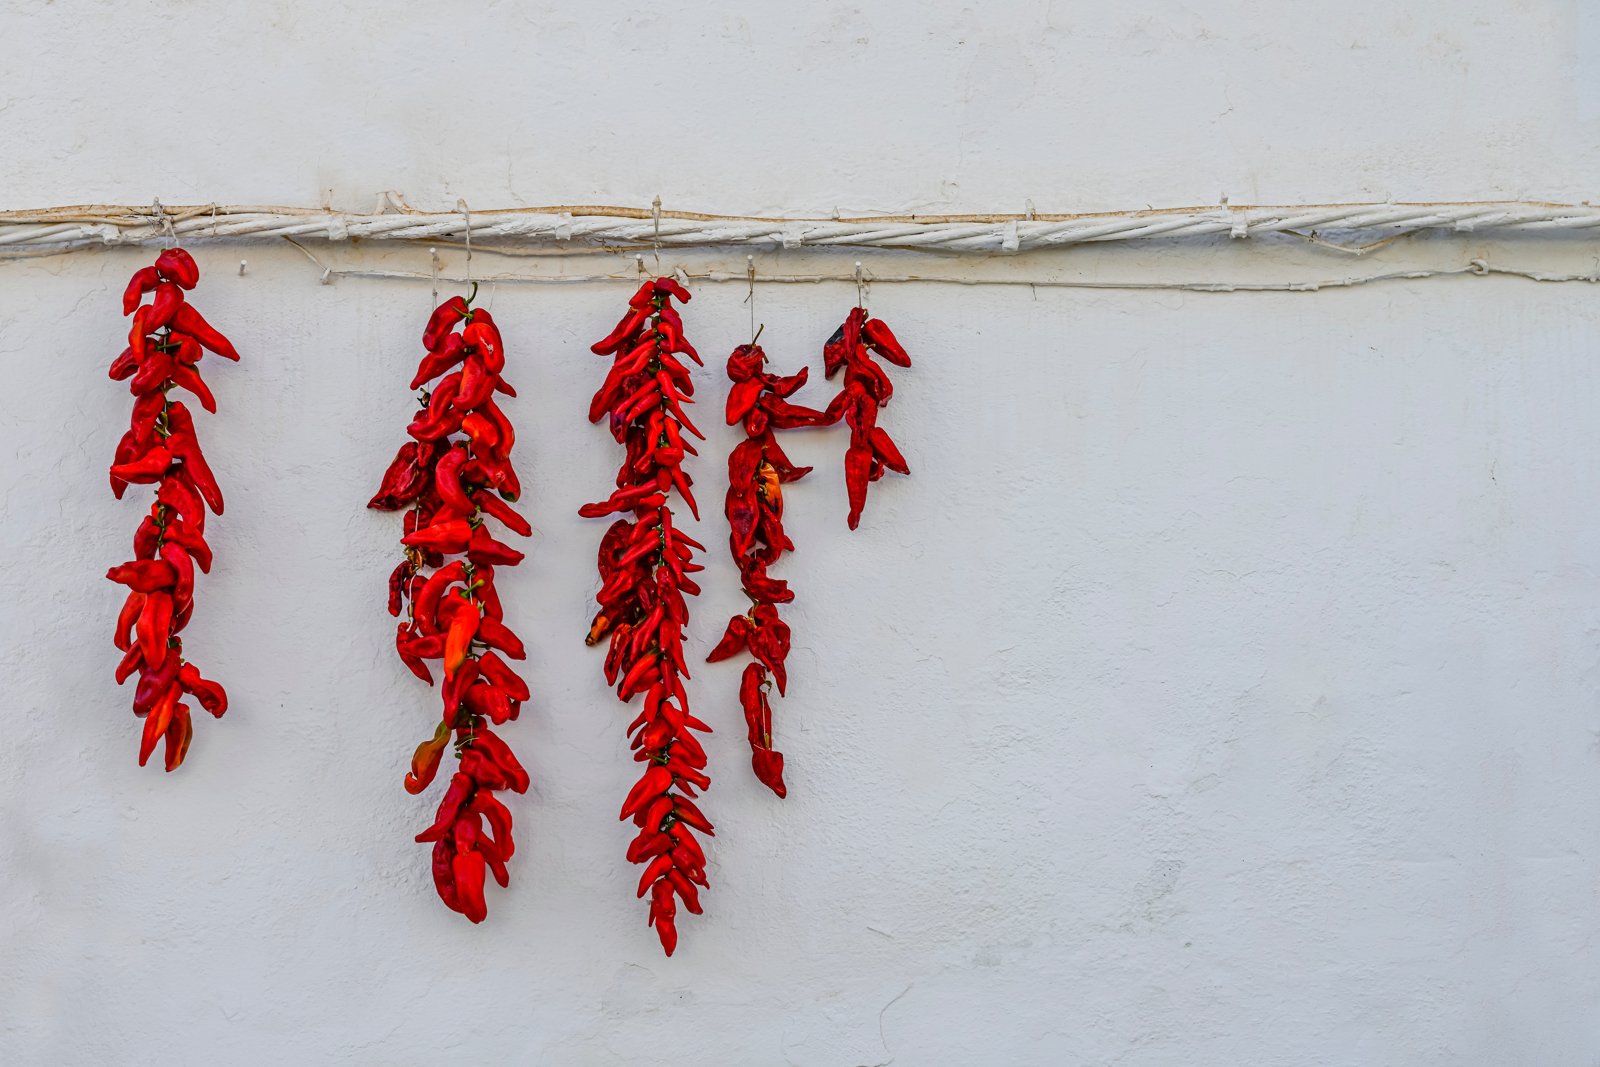
To dry, leave the thin-walled pods whole. Thread a needle through the green stems and hang the string in a warm, dry, airy room out of direct sun. You can also spread pods in one layer on a rack. Drying takes two to four weeks. A dehydrator or an oven on its lowest setting with the door ajar is quicker and safer in humid climates. Pods are ready when they are brittle and rattle when shaken. Store them in a sealed jar in the dark.
Dried red pepper has a long history in the eastern mountains. In Folk Medicine in Southern Appalachia, Anthony Cavender records that mountain families drank cayenne tea during fevers and colds. They also rubbed red pepper and vinegar on aching joints. That is history only. Nothing here is medical advice.
Common problems
Seeds do not come up
The mix is almost always too cold. Check that the tray really sits at 80 to 85°F (27 to 29°C). Old seed is the other cause. Pepper seed loses vigor after two or three years, so sow fresh seed.
Seedlings collapse at soil level
This is damping off, a fungal rot of the young stem. It follows wet mix, still air and reused trays. Use fresh seed-starting mix and clean containers. Remove the lid promptly, water from below and thin crowded seedlings.
Flowers drop without setting pods
Peppers shed blossoms when stressed. Nights below about 55°F (13°C) cause it. So do days above about 90°F (32°C), dry soil and heavy nitrogen feeding. Keep watering steady and be patient. Fruit set usually resumes when temperatures settle.
Pods have sunken, dark patches at the tip
This is blossom end rot. The plant cannot move enough calcium into the fruit, nearly always because watering is uneven. Water regularly, mulch the soil and remove the damaged pods. Later pods are usually sound.
Leaves curl and feel sticky
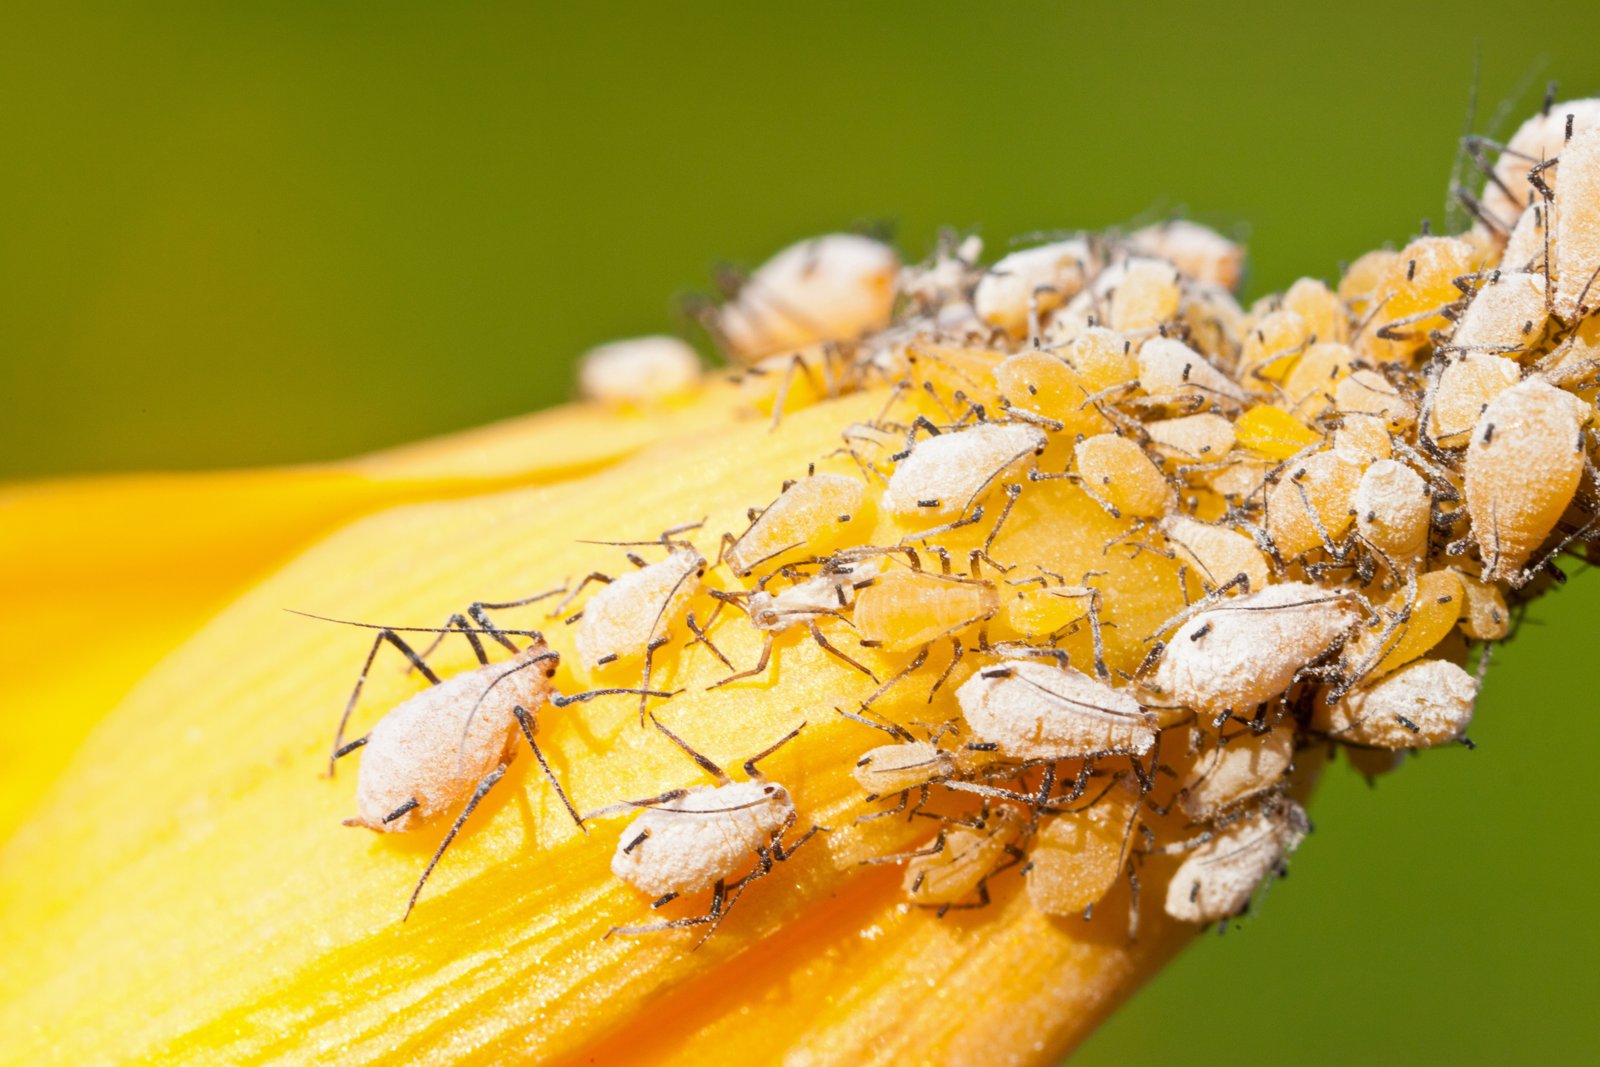
Look under the leaves and on shoot tips for aphids, which are small, soft, sap-sucking insects. Knock them off with a firm spray of water every few days. If they persist, use insecticidal soap. Follow the label, wear gloves and spray in the cool of evening.
What to do next
Once your dried pods rattle, grind a few into flakes or powder. Wear gloves, work in a ventilated room and keep your face back from the dust. Save seed from your best fully ripe pods for next year, if your variety is not a hybrid. After the first frost, pull the plants and plan to grow next year's peppers in a different bed.