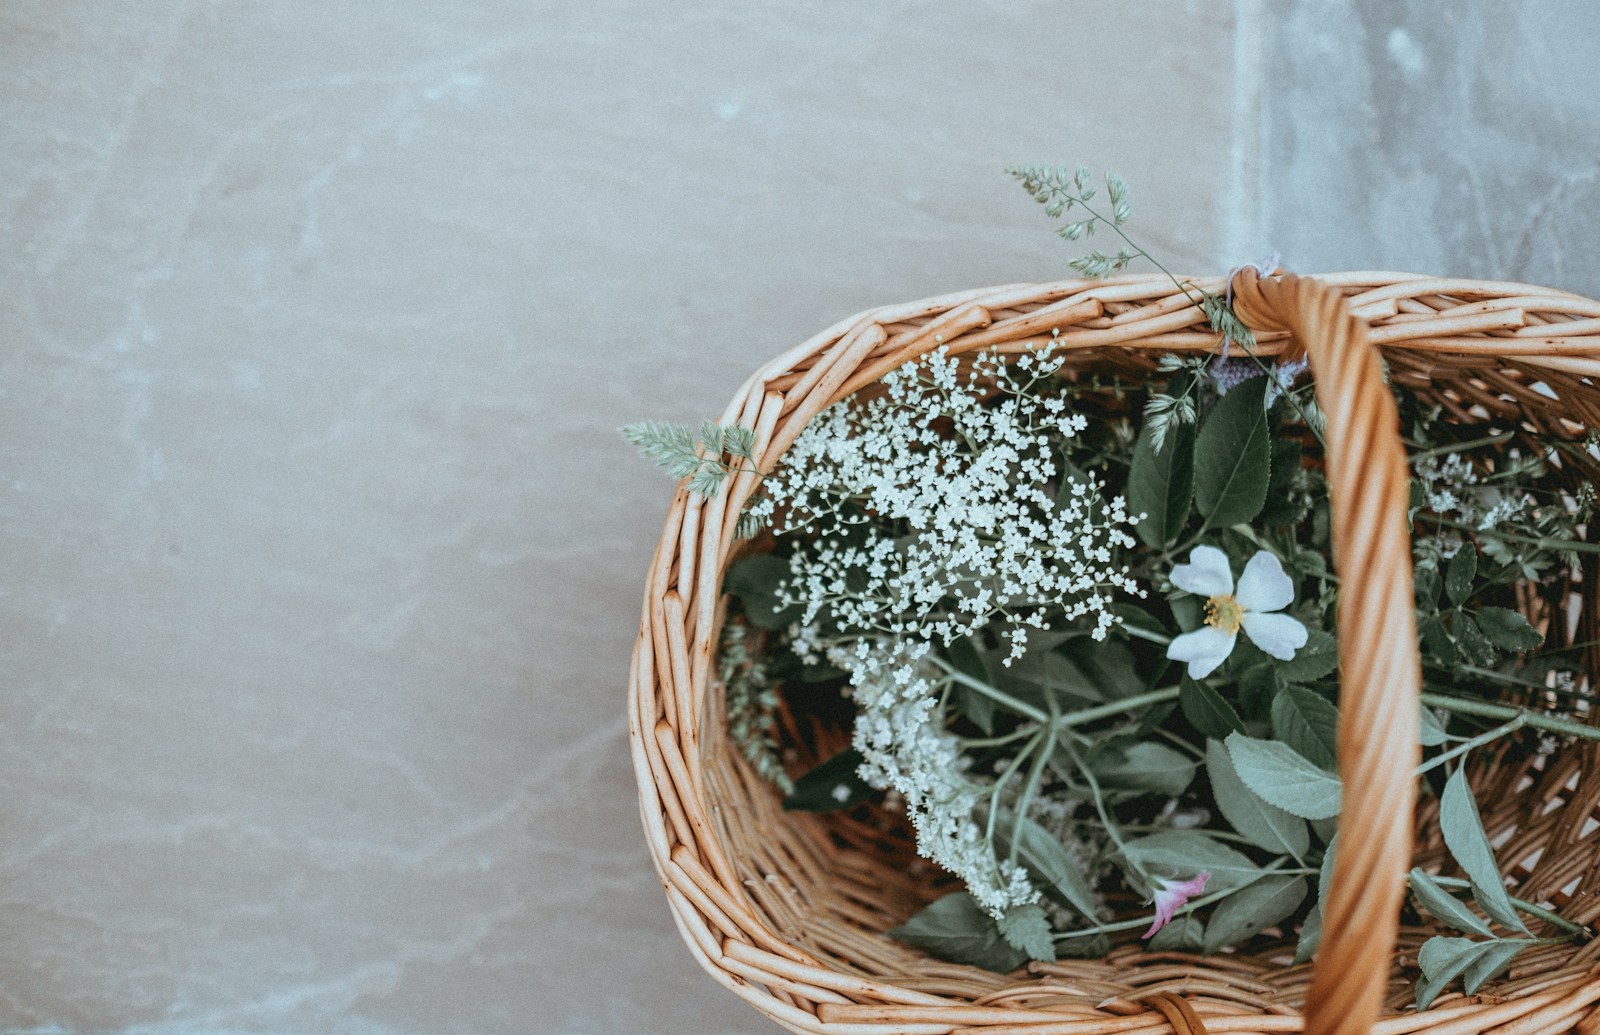
Gathering wild herbs connects you to the land around you, and a good harvest leaves the patch as healthy as you found it. This guide takes you from getting permission to getting your herbs home in good condition. The one thing that matters most is certain identification. Every other rule only works if you know exactly what you are picking.
What you need
- Written or spoken permission from the landowner, or confirmation of the rules for public land
- A regional field guide with clear photos and botanical keys
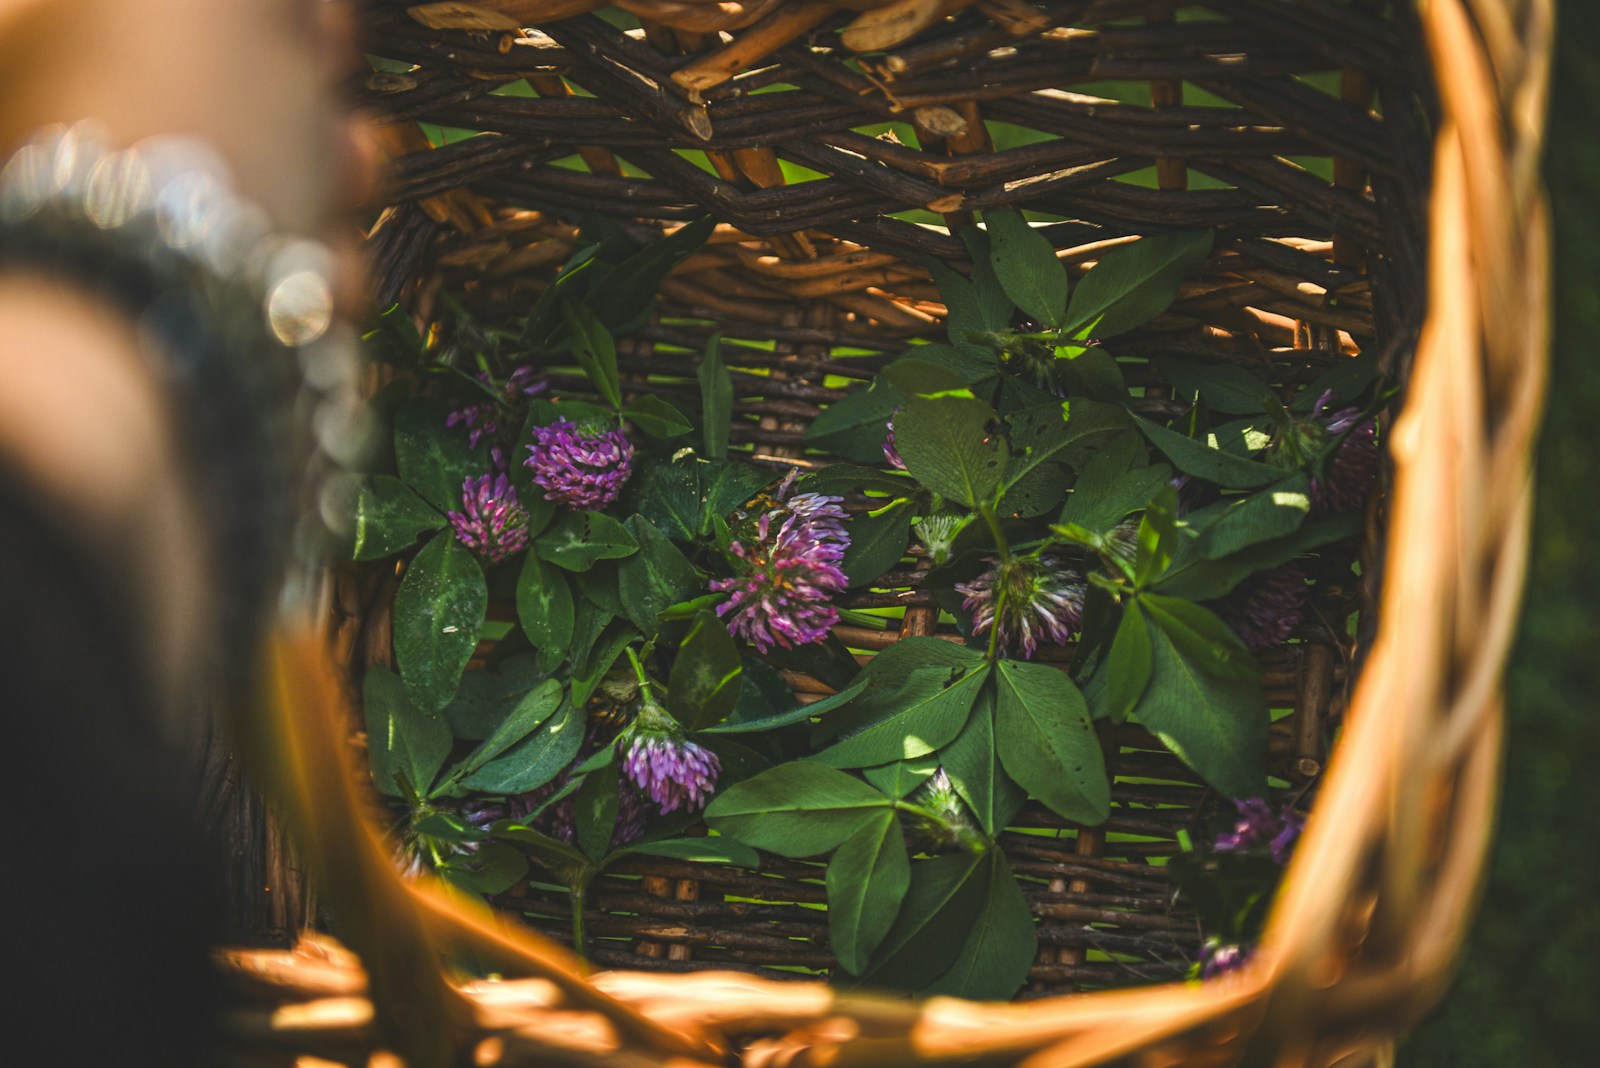
- A basket or cloth bag, which lets herbs breathe and stay cool
- A sharp knife or garden snips
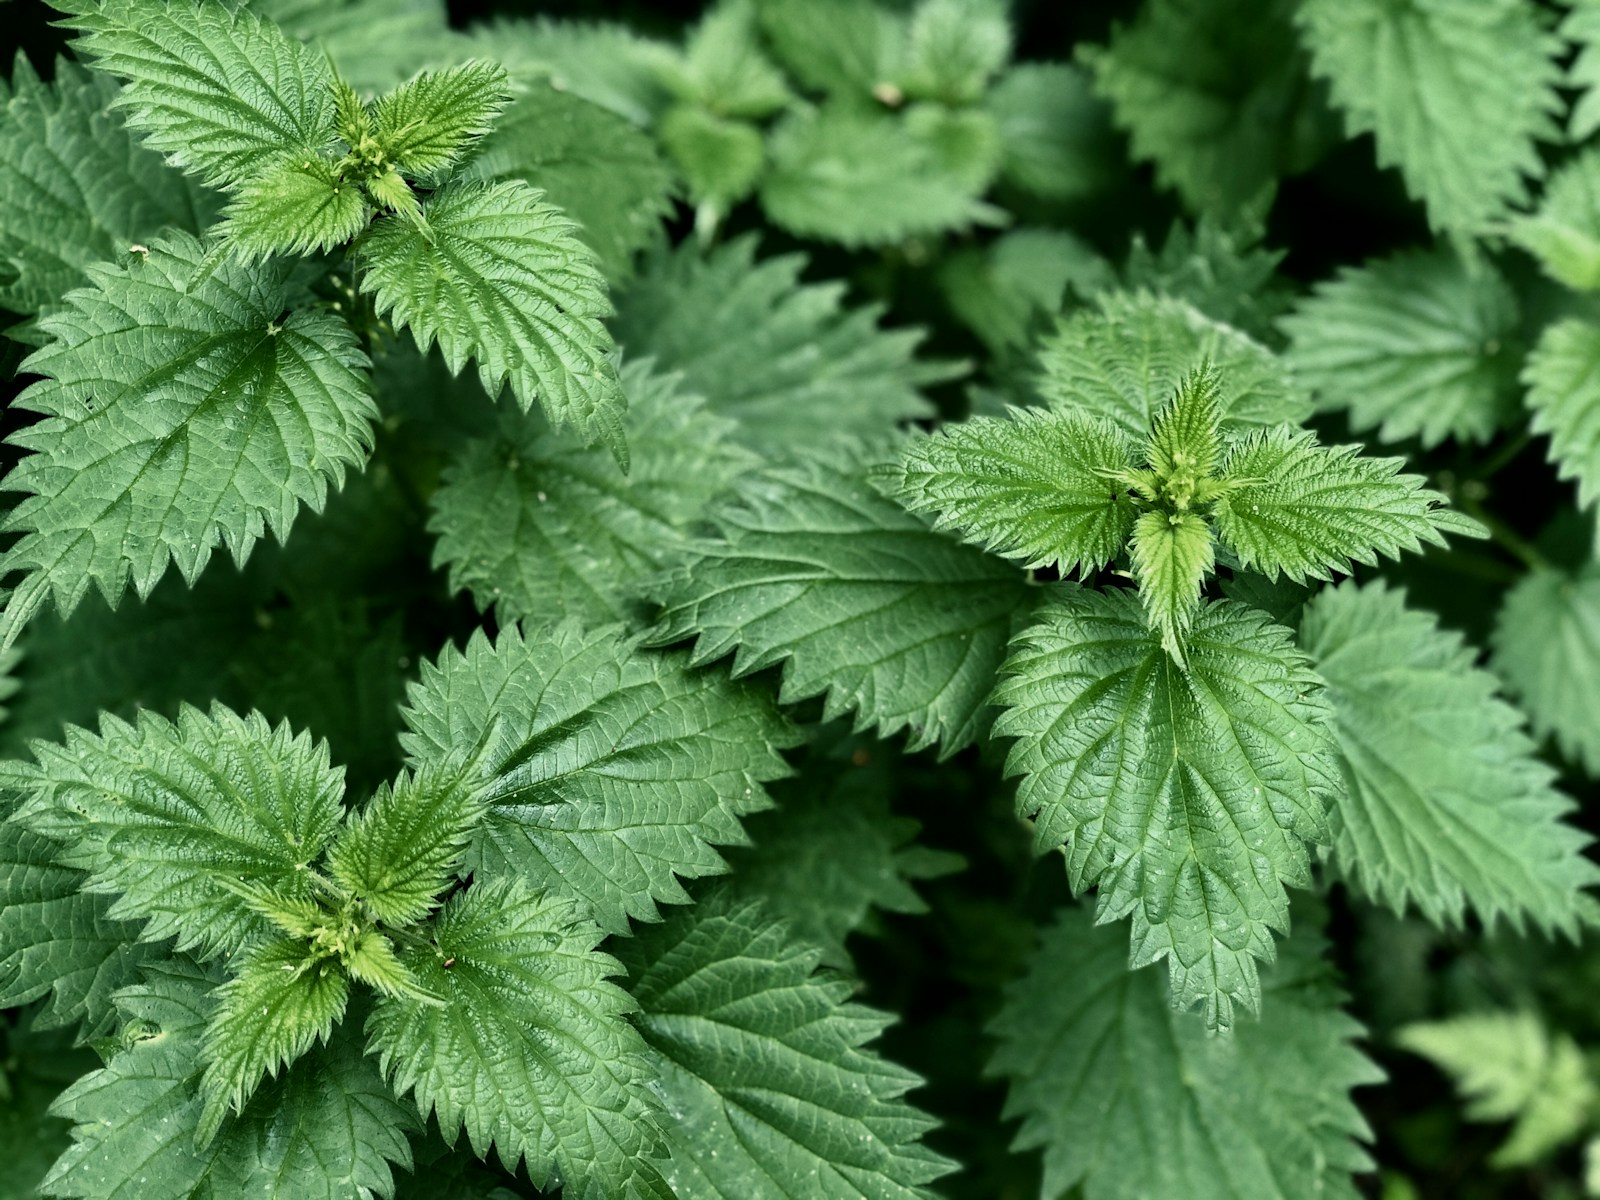
- Gloves, for nettles, thorns and sap
- A small trowel, only if you plan to dig roots
- Paper bags or labels to keep each species separate
- Water and a notebook to record where and what you picked
When to forage wild herbs
Timing depends on which part of the plant you want. Leafy herbs are usually best in spring, when growth is young and tender. In most areas that is the few weeks around your last frost. Flowers are picked as they open, often in late spring and summer. Seeds come in late summer and fall, once they are dry and dark. Roots are dug in fall after the tops die back, or in very early spring before new growth starts.
Pick on a dry morning after the dew has gone. Wet herbs bruise and spoil faster. Seasons shift a great deal with climate. A plant that leafs up early in USDA zone 8 can appear three or four weeks later in zone 5, so learn the rhythm of your own area rather than following a fixed calendar.
Step 1: Get permission and check the rules
Ask the landowner before you pick anything on private land. A friendly request is usually welcome, and it tells you whether the ground has been sprayed. Keep a note of who said yes and where.
Public land is less simple than it looks. Many parks, nature reserves and state or national park units ban collecting any plant material at all. Others allow small amounts for personal use but ban certain species or all roots. Some national forests need a free or paid permit, even for personal harvests. Read the posted rules or ask the managing office before you go. Rules differ between neighboring sites, so never assume one site follows another's rules.
Some plants are protected by law wherever they grow. Check your state's list of protected or endangered plants. If you cannot confirm that picking is allowed, leave the plant alone. The fine is only part of the problem. Illegal picking can wipe out a local population that took decades to establish.
Step 2: Identify the plant with certainty
Positive identification means you can name the plant from several features that all agree. A single feature, such as leaf shape, is never enough. Check the leaves, stem, flowers, smell, growth habit and habitat. Use at least two trusted field guides or keys, and compare your plant against every feature they list.
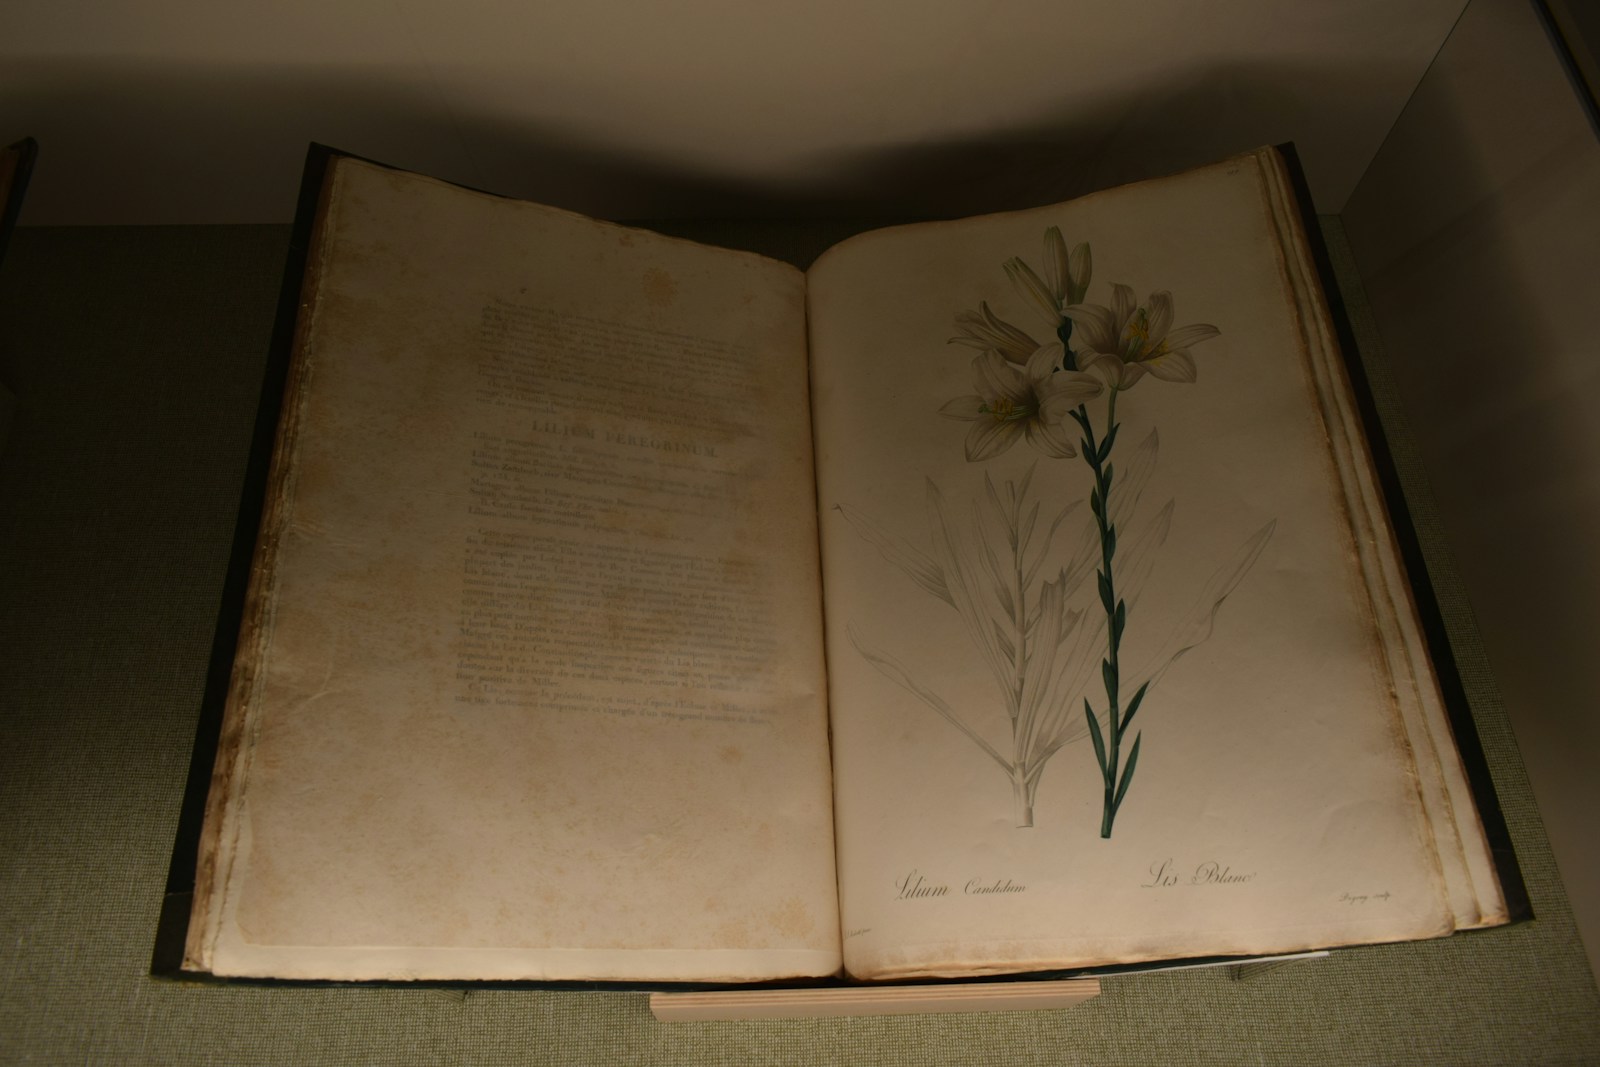
Pay special attention to toxic lookalikes. The carrot family is the classic trap. Edible plants such as wild carrot share their lacy leaves and umbrella-shaped flower heads with deadly poison hemlock and water hemlock. Many experienced foragers avoid that whole family for this reason.
Learn a plant through a full season before you pick it. Watch it emerge, flower and set seed. Local foraging walks, native plant societies and your county extension office can help you confirm a plant in person. Apps and online photos are useful starting points, but never rely on them alone.
Never eat, drink, or put on your skin any plant you cannot identify with complete certainty. Several deadly plants look very like common herbs. When in doubt, leave it out.
Step 3: Choose a clean site and a healthy patch
Plants take up pollution from soil, water and air, and washing does not remove it. Avoid these places:

- Roadsides and road verges, which collect exhaust, road salt and tire dust
- Lawns, parks and sports fields that are sprayed with weedkillers or fertilizers
- Rail lines, power line corridors and field edges, which are often sprayed to keep them clear
- Streams and ditches that take farm runoff, drain water or sewage
- Old industrial sites, dumps and the base of old painted buildings
Stay at least 50 to 100 feet (15 to 30 m) from busy roads where you can. Look for signs of spraying, such as yellowed or browned plants in neat strips.
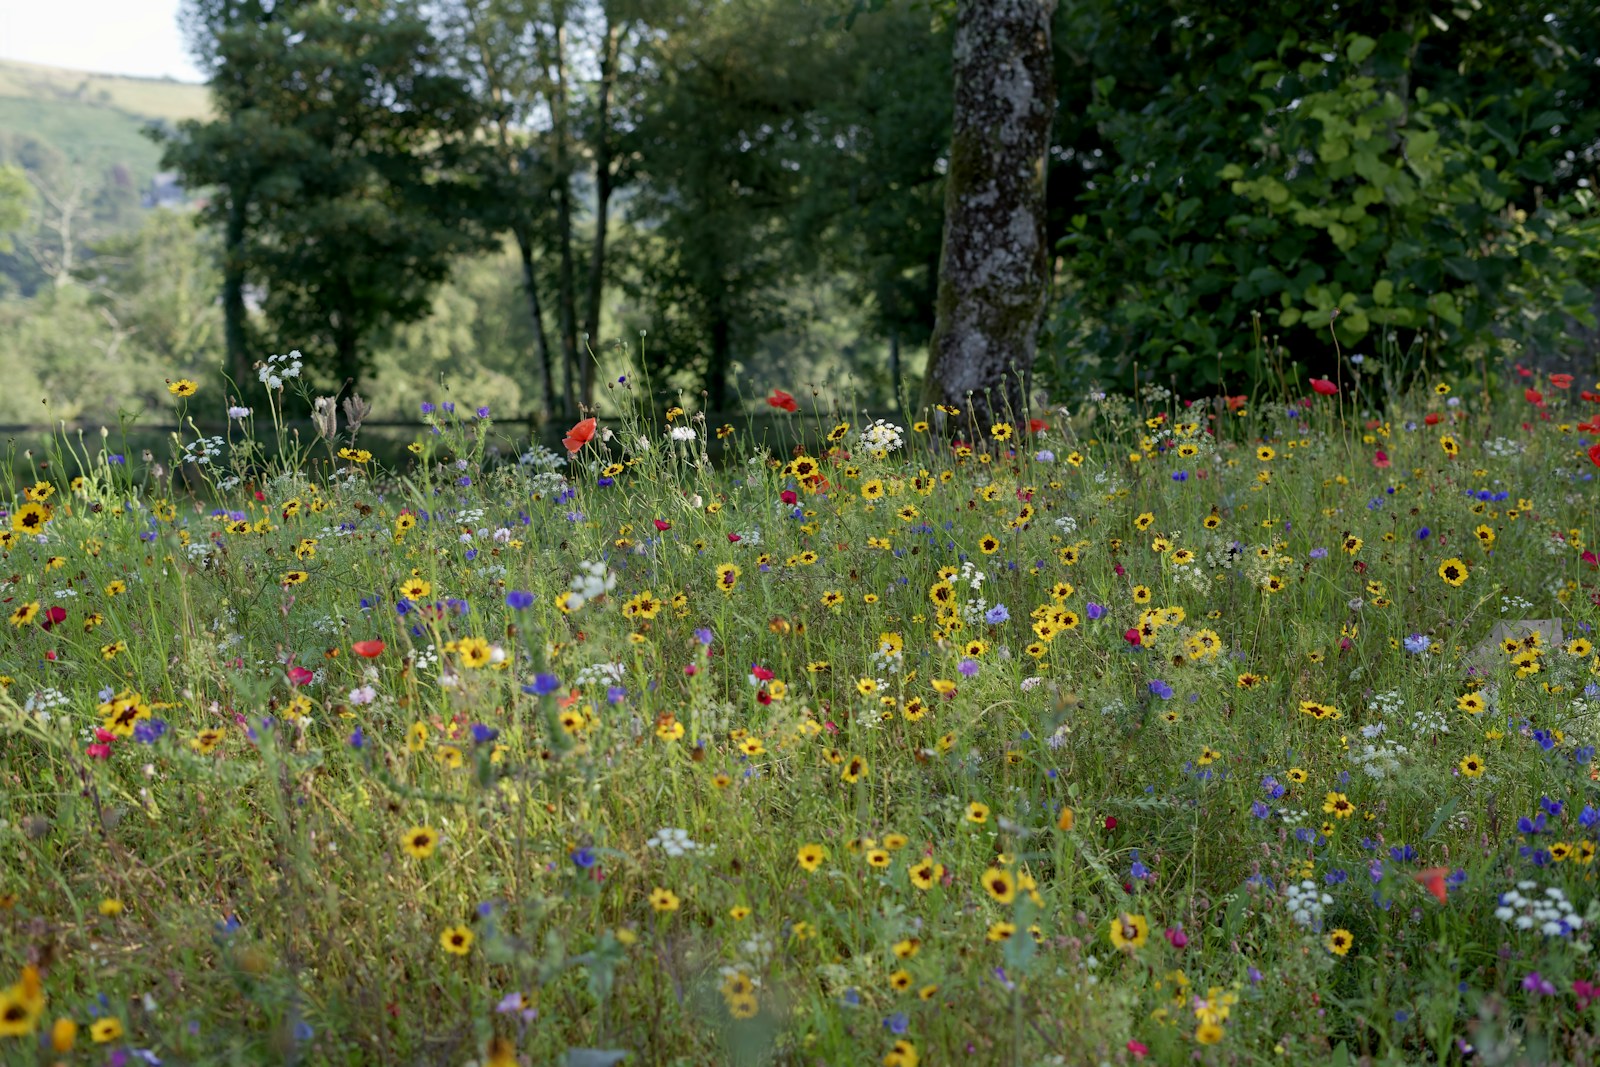
Next, judge the patch itself. Only pick from large, thriving stands. Take no more than a small share of any patch. Many foragers aim for about one tenth, and never more than a third. Leave the first and last plant you find untouched, and skip any patch of just a few plants.
Leave small or at-risk populations alone entirely. The nonprofit United Plant Savers keeps a list of native medicinal plants that are at risk from overharvesting. Check it before you pick any native woodland herb.
Step 4: Harvest so the plant regrows
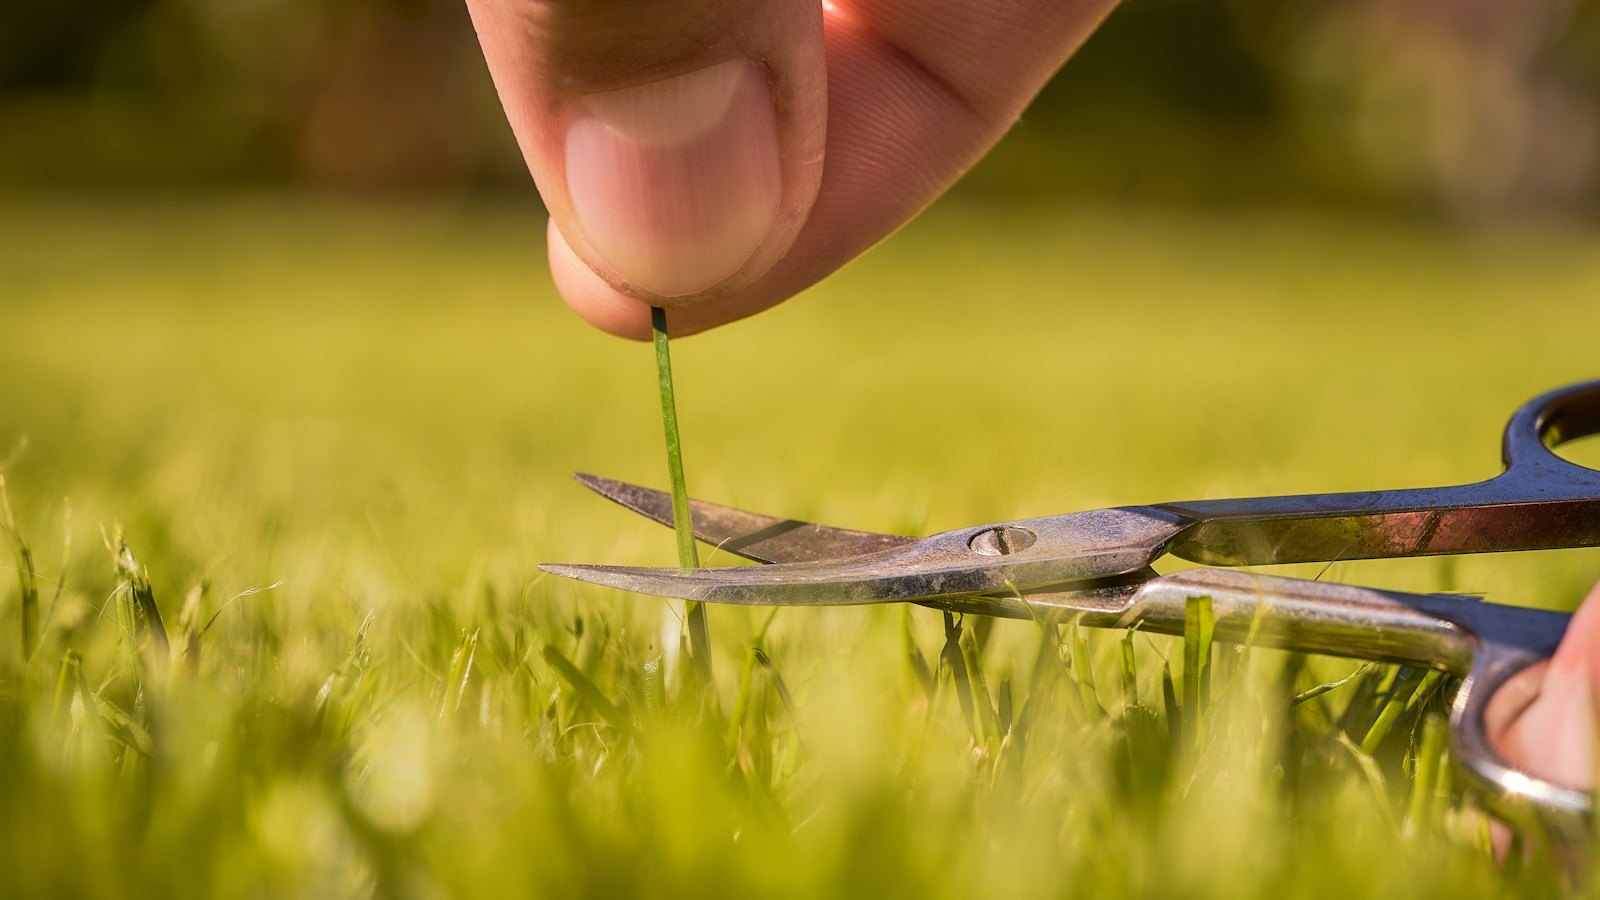
Cut rather than pull. For leafy herbs, cut each stem just above a leaf node (the point where a leaf joins the stem). New shoots grow from that node, so the plant bushes out again. Take a few stems from each plant rather than stripping one plant bare. Spread your picking across the whole patch.
Leave roots in the ground unless the root is the part you want. Pulling up a whole plant for its leaves ends that plant for good. When you do dig roots, take only a few from a large, well-established patch. Replant any root crowns or side shoots you do not need, and firm the soil back over the hole.
For flowers, leave plenty on each plant for pollinators and to set seed. For seeds, take only a portion and scatter a few where you found them.
Use your tools with care. Always cut away from your body and your other hand. Close the snips or sheathe the knife before you move on. Wear gloves when you handle nettles, thorny stems or any plant whose sap can irritate skin. Keep a first aid kit in your bag.
Step 5: Process your herbs promptly
Freshly cut herbs start to wilt and lose flavor within hours. Keep them in the shade on the way home, loose in a basket or cloth bag. Plastic bags trap heat and moisture, which makes leaves sweat and rot.
Sort your harvest as soon as you get home. Lay each species out separately and check every stem again for identity. Remove any stray plants, insects, grit and damaged leaves.
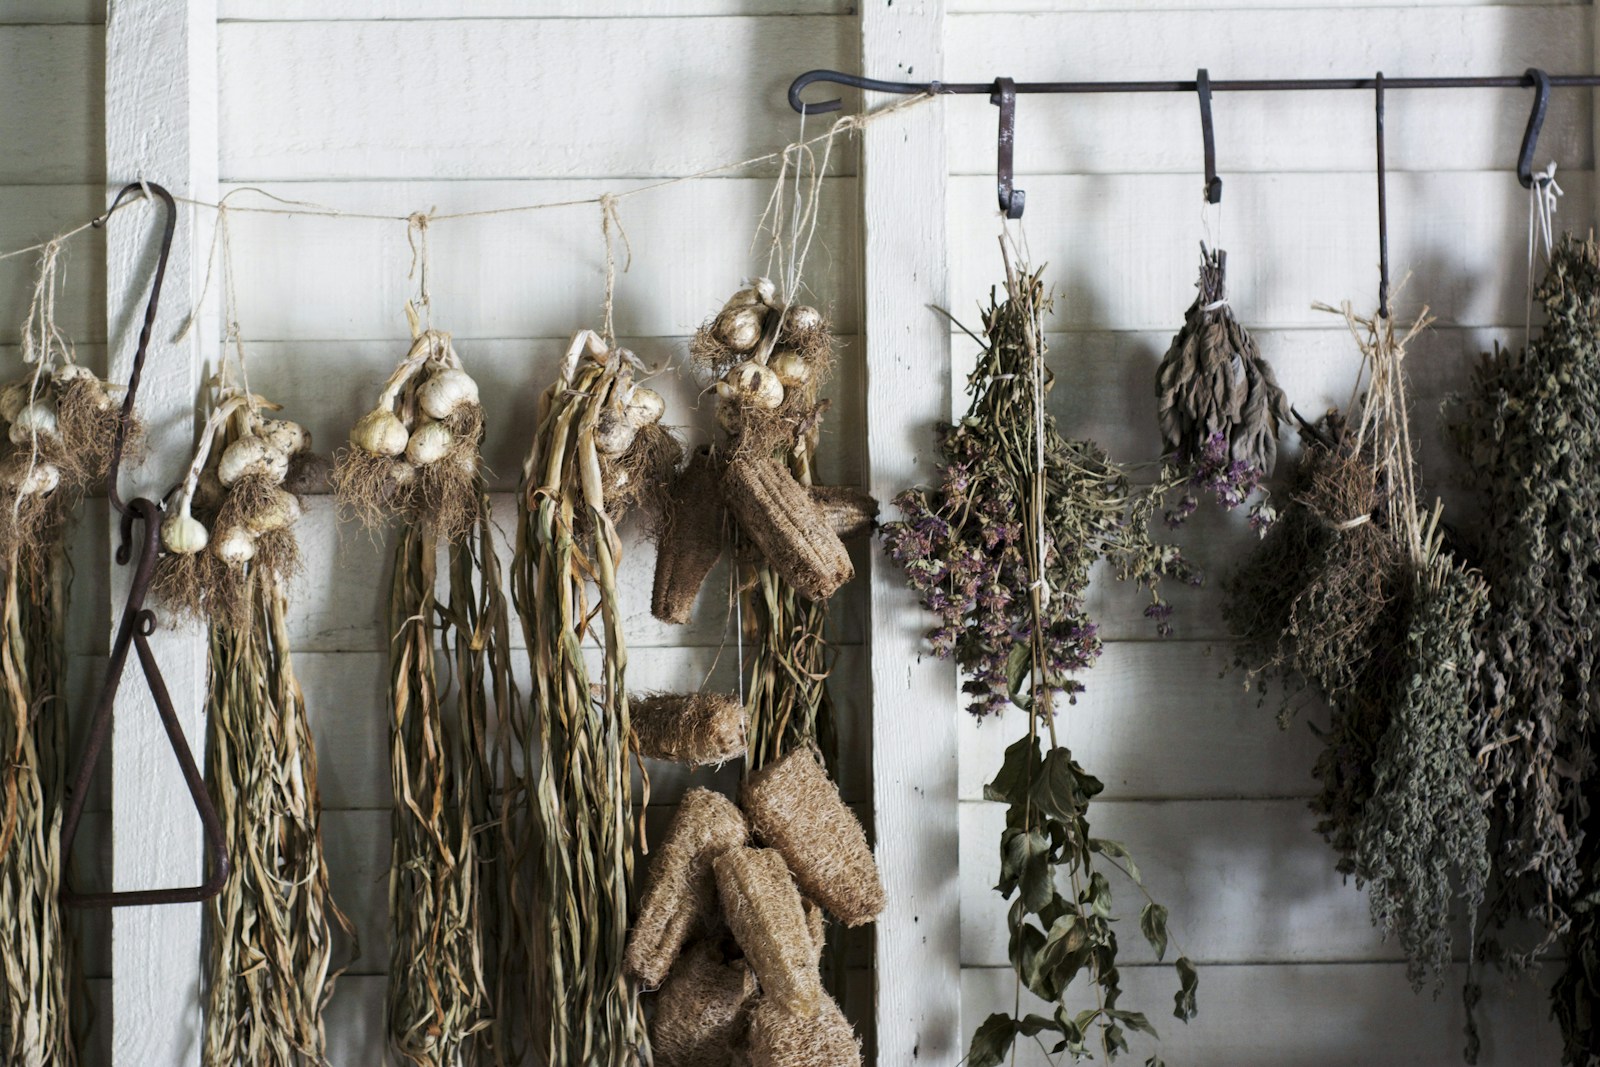
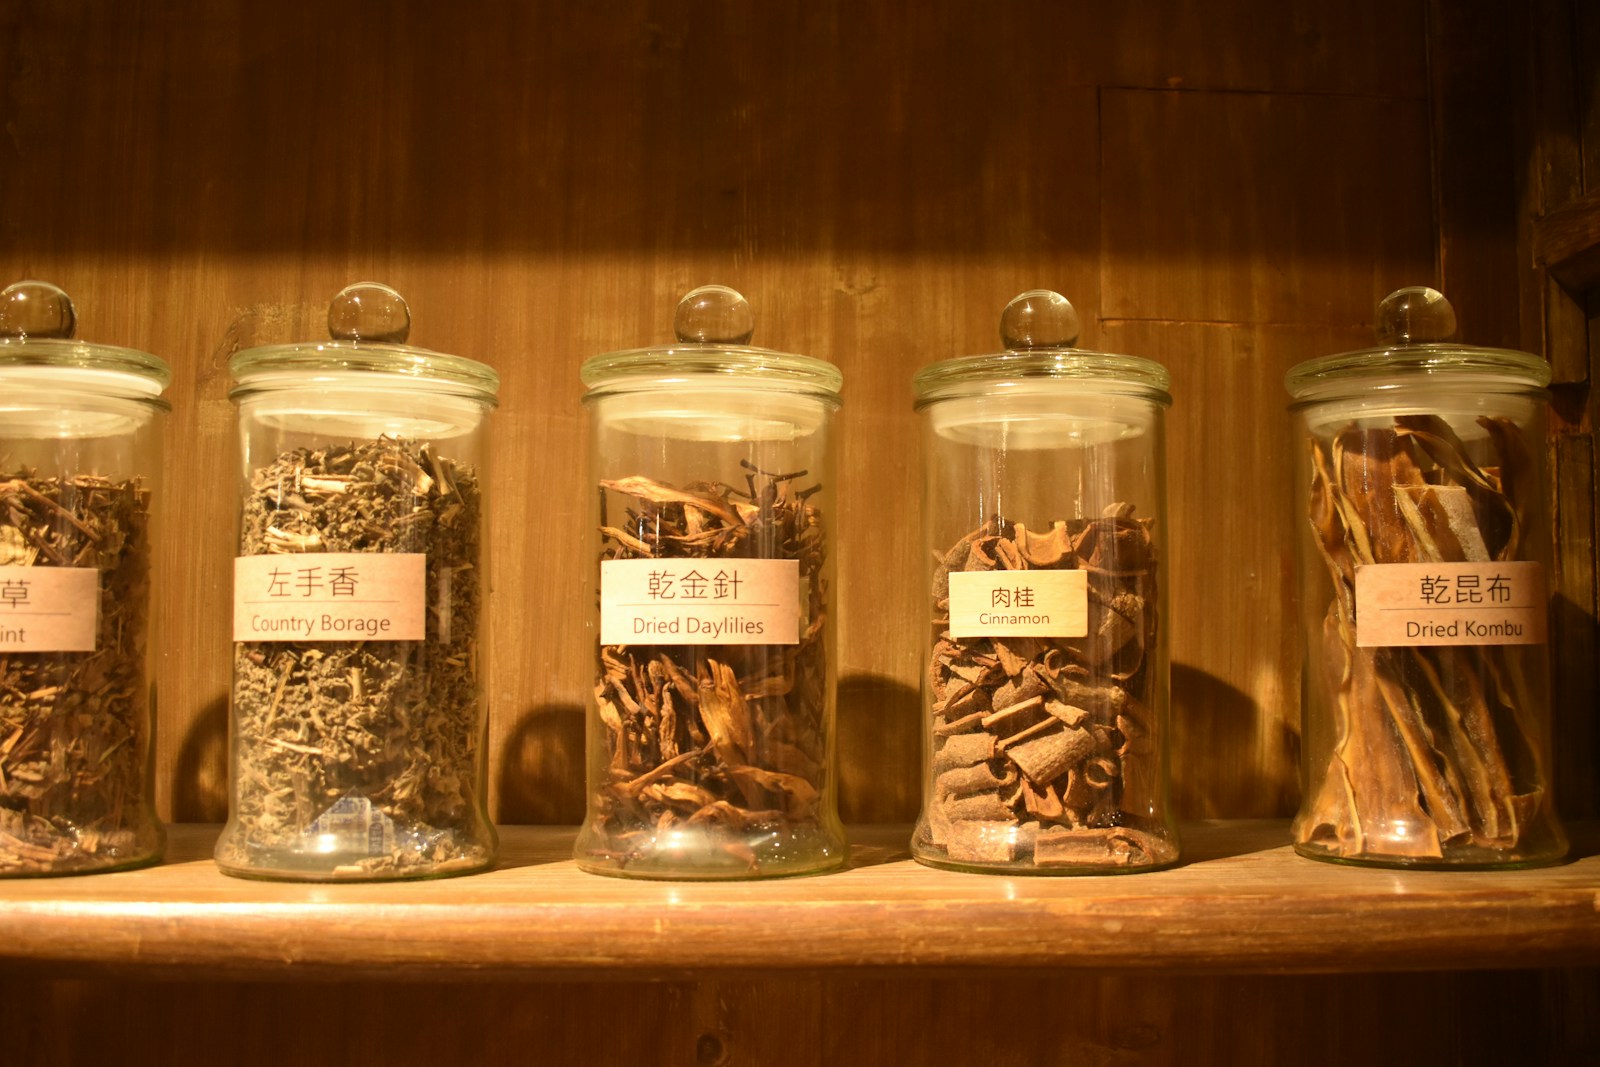
Rinse herbs you plan to eat fresh under cool running water, then pat them dry. For drying, bundle a few stems loosely and hang them upside down somewhere warm, dark and airy. You can also spread them on a screen. Most leafy herbs are dry in one to two weeks, once the leaves crumble easily. Store them in labeled, airtight jars away from light.
Label every jar with the plant name, the date and the place you gathered it. If you make a skin product such as an infused oil or salve, test a small amount on the inside of your arm first. Wait a full day to check for redness or itching before you use it more widely.
Common problems
You are not sure the plant is the one in your guide
The cause is usually one mismatched feature, such as a hairy stem where the guide says smooth, or a flower color that seems slightly off. Treat any mismatch as a no. Photograph the plant, note its habitat and come back when it flowers. Ask a local expert or extension office to confirm it in person.
Herbs turn slimy or black before you get home
Heat and trapped moisture are to blame. Plastic bags and hot cars are the usual causes. Carry herbs loose in a basket or cloth bag, keep them shaded, and pick in the cool of the morning. Go home sooner on hot days.
Last season's patch has shrunk or vanished
Overharvesting, trampling or a change in land use can all cause this. Picking by other foragers is common in popular spots. Rest the patch for at least a full season. When it recovers, take a smaller share and spread your picking more widely.
Dried herbs smell musty or grow mold
The herbs were stored before they were fully dry, or dried somewhere too humid. Throw away any moldy batch. Next time, dry in smaller bundles with better airflow, and check that leaves crumble before you jar them.
What to do next
Start a foraging notebook. Record each plant, its location, the date, what you took and how the patch looked. Return to the same patches next season and compare. Over time you build a map of healthy stands, and you learn exactly how much each one can safely give.