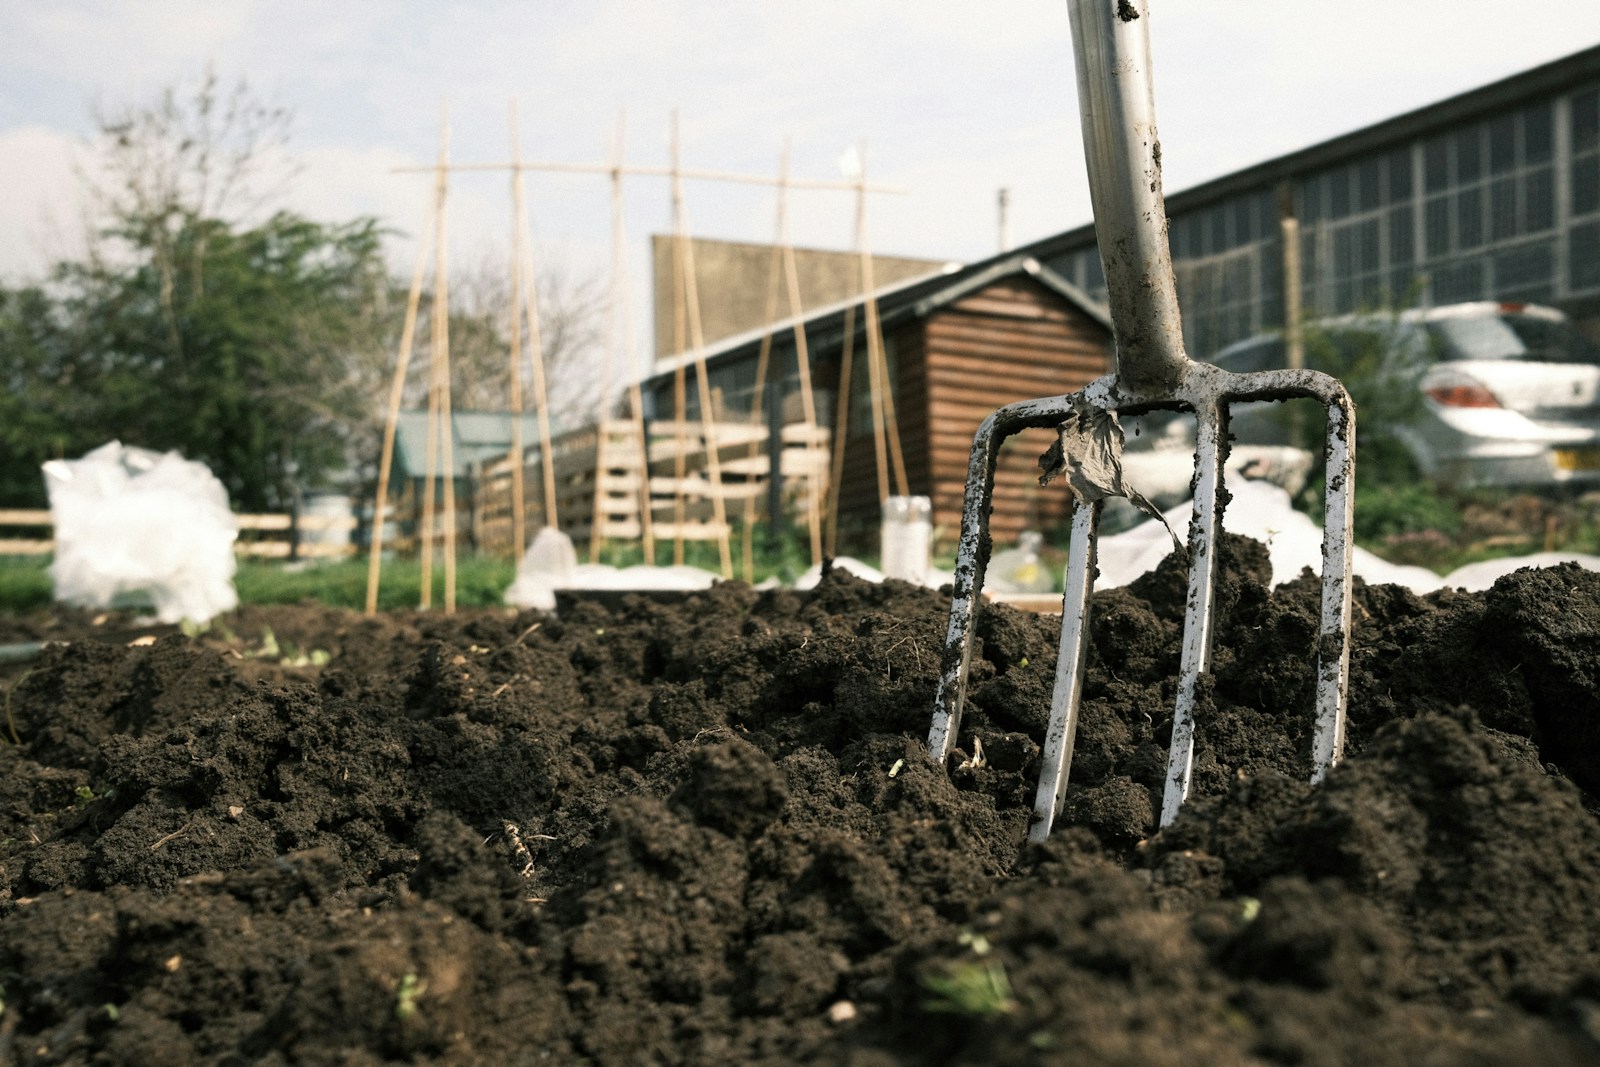
Roots are the slowest part of the garden to harvest and the longest-keeping part once dried. A single afternoon with a digging fork can fill several jars. The step that decides success is slicing. Cut every root while it is fresh and soft, because a dried root is almost as hard as wood.
What you need
- A digging fork (a fork with flat, strong tines) and a spade
- A bucket, a stiff vegetable brush and a hose or outdoor tap
- A sharp kitchen knife and a sturdy chopping board
- Drying screens, or a dehydrator with a temperature dial
- Airtight glass jars and labels
- Gloves for horseradish, which irritates skin and eyes
- Your own garden bed, or the landowner's permission
When to dig roots
Fall is the main window. Through the growing season, perennials and biennials move sugars and starches down into their roots for the winter. Once the tops yellow and die back, usually after the first frosts, that store is at its fullest. The roots are plump, firm and at their best flavour.
Early spring is the second window. Dig just as new leaves show, before the plant spends its reserves on fresh growth. Once stems start to lengthen, the roots turn thinner and more fibrous.
In USDA zones 3 to 6, finish digging before the ground freezes hard. In zones 7 to 9, where the soil rarely freezes, you can dig on and off through winter. Wet, heavy soil tears roots and compacts the bed, so pick a day after a dry spell.
Step 1: Choose which roots to lift
Several common garden plants give useful roots:
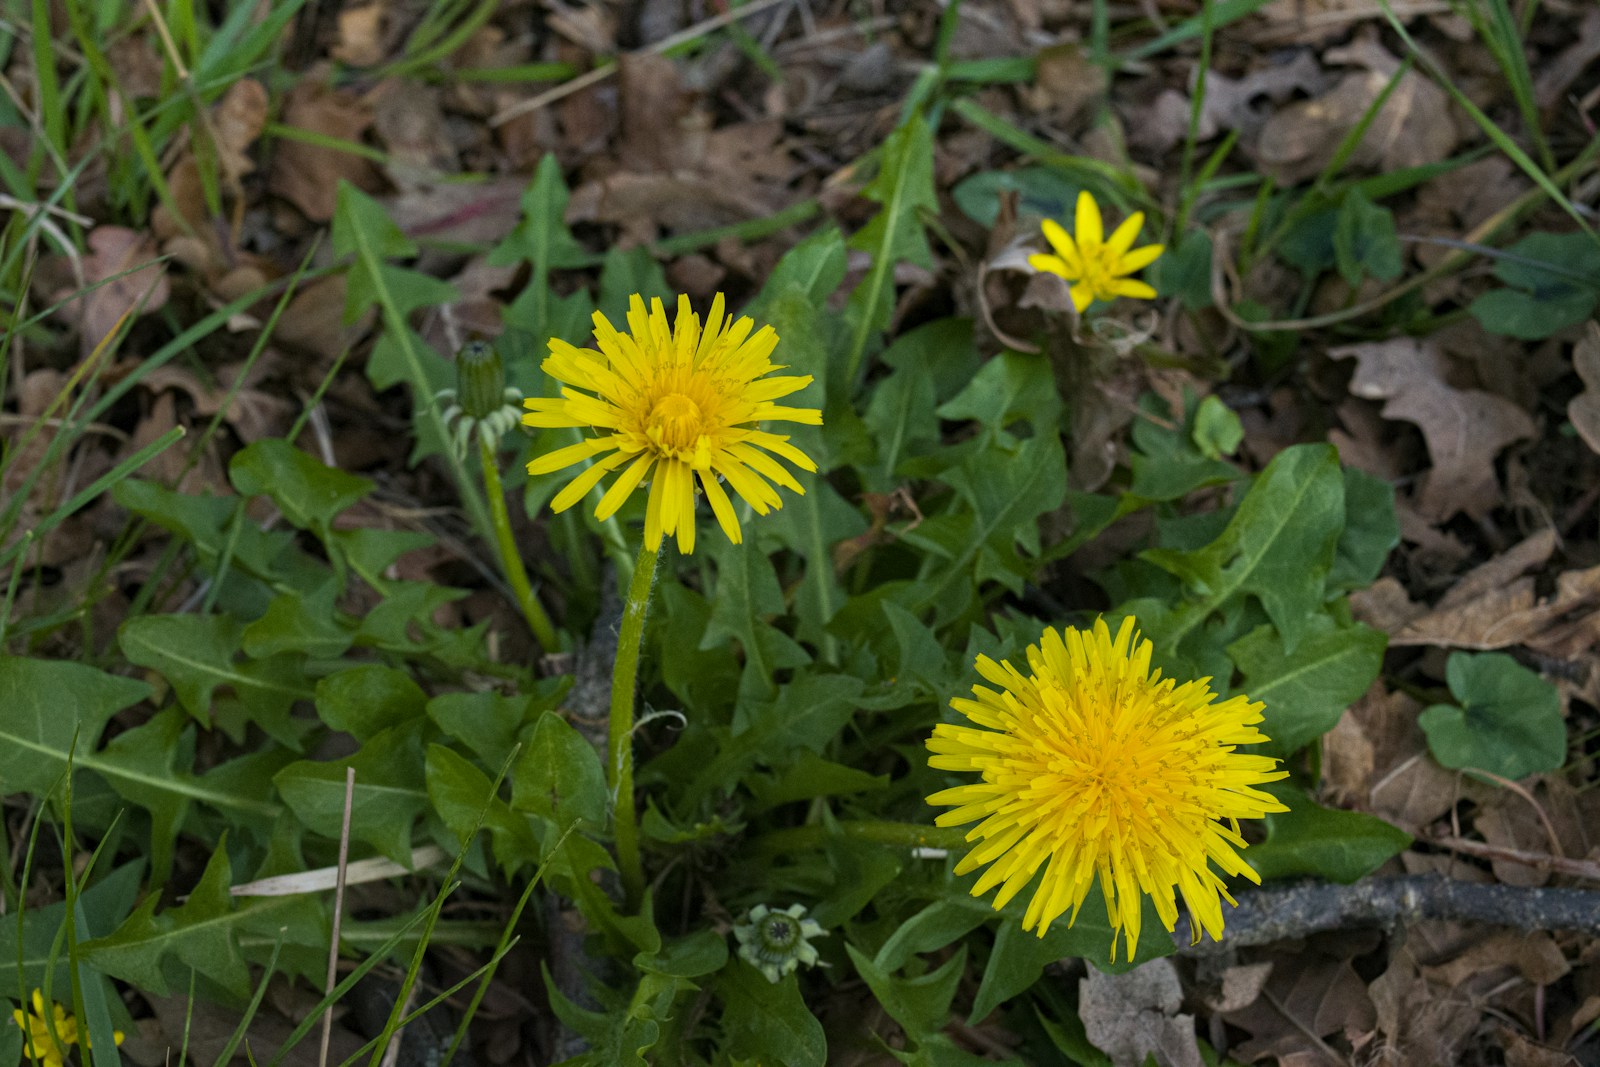
- Dandelion (Taraxacum officinale). Any established plant. The long taproot is at its sweetest in fall.
- Burdock (Arctium lappa). A biennial (a plant that lives two years). Dig only first-year plants, which grow a flat rosette of leaves and no flower stalk. Second-year roots turn woody and hollow.
- Echinacea (Echinacea purpurea). Use plants at least three years old, so the root system is worth taking. Lift the whole clump, keep some roots, and divide and replant the crowns.
- Horseradish (Armoracia rusticana). Roots are best after a few hard frosts.
- Yellow dock (Rumex crispus). A long, yellow-cored taproot on a common garden weed.
- Chicory (Cichorium intybus). A thick taproot, much like dandelion's.
Take roots only from beds you own or have permission to dig. Never dig wild native plants that are rare or at risk, such as goldenseal or American ginseng. Grow your own instead.
Be completely certain of a plant's identity before you dig. Some deadly plants, such as water hemlock, are most poisonous in the root. Its roots can look like a harmless parsnip or carrot. Mark the plants you want while they still show leaves and flowers, then dig only those.
Step 2: Lift the roots with a digging fork and replant crowns
Push the fork in straight down about 12 inches (30 cm) out from the crown, the point where stems meet root. Work around the plant in a full circle, rocking the handle gently at each spot to crack the soil. For deep taproots such as burdock and dock, go round again, further out and deeper. Then work the fork under the root mass and lever it up slowly. If the root holds, loosen more soil rather than pulling, or a snapped taproot leaves its best part behind. Wear sturdy boots, keep your feet clear of the tines, and lay the fork tines-down when you set it aside.
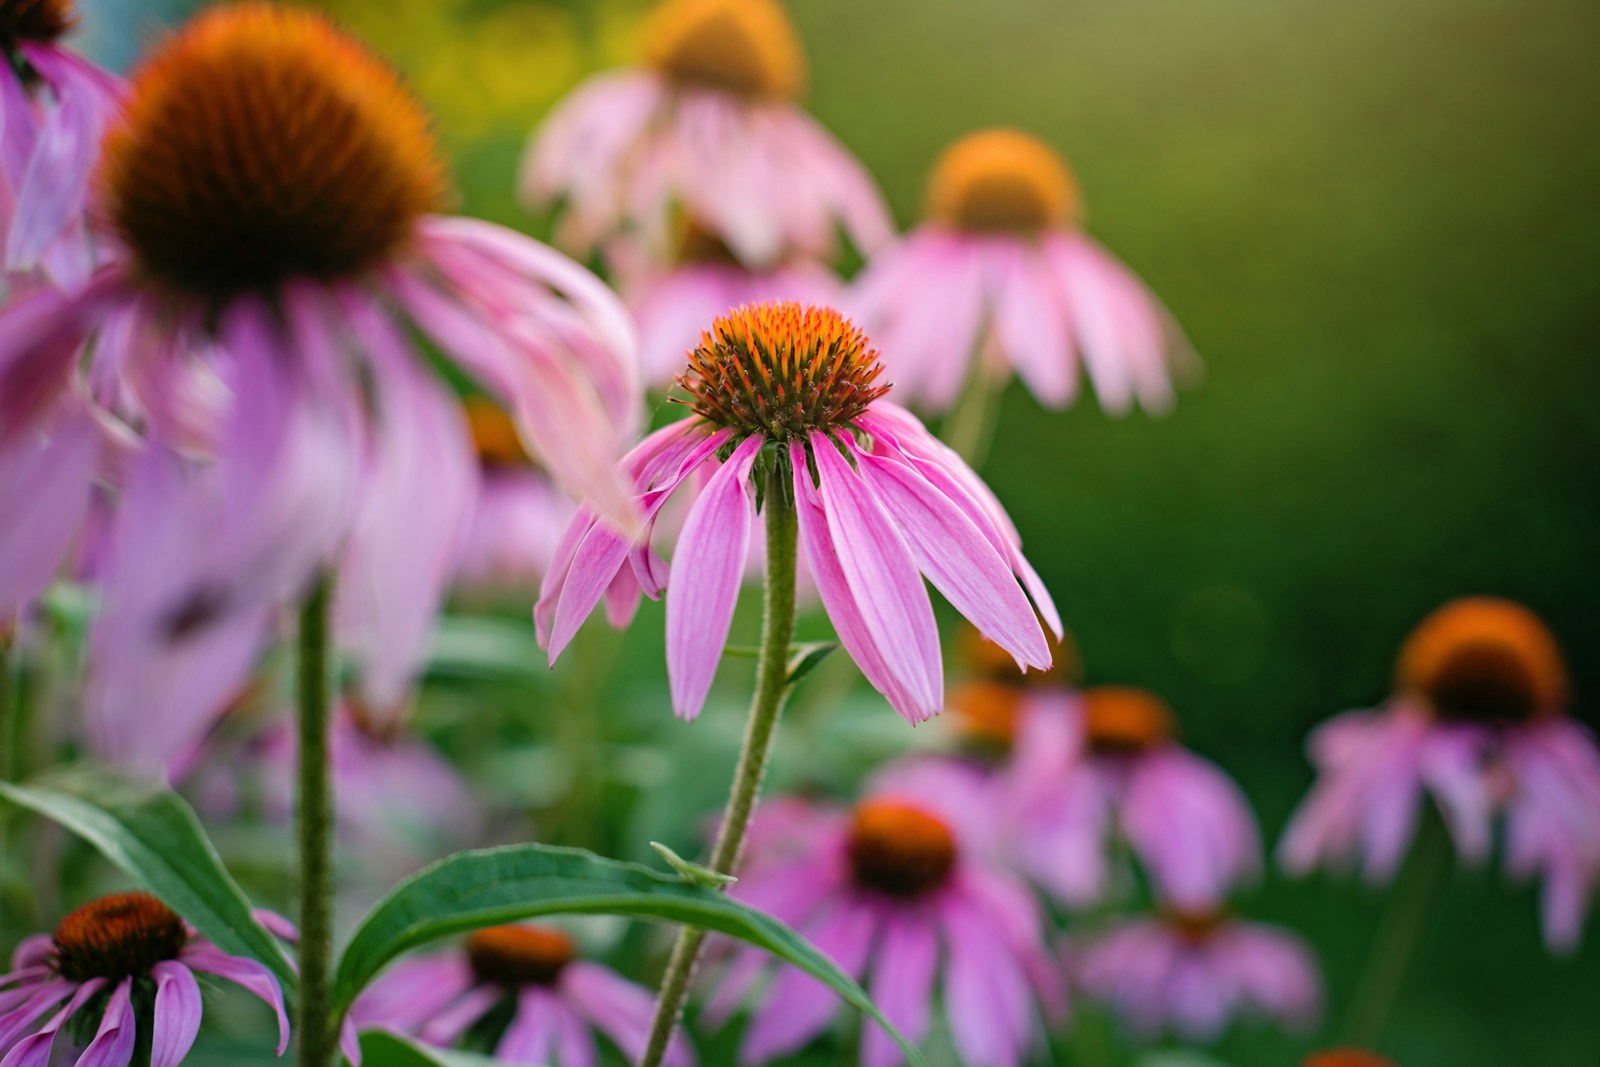
Decide what to keep before you trim anything. Pull echinacea clumps into sections, each with a bud and some roots. Keep about a third of the roots for drying, and replant the healthiest crowns at their old depth. For horseradish, save a few pencil-thick side roots about 8 inches (20 cm) long and replant them at a slant. Dandelion, chicory and dock regrow from pieces left in the soil. Leave a few if you want them back.
Step 3: Scrub the roots clean without soaking
Knock off loose soil in the garden, then wash roots outdoors under a hose or in a bucket of fresh water. Scrub with a stiff brush, paying attention to the crown and any creases where grit hides. Change the water as soon as it turns muddy.
Work quickly and never leave roots soaking. Standing water swells the outer layer and washes out flavour. It also adds moisture you then have to dry back out. Pat the roots dry with a towel.
Trim off fine hair roots, the leafy crown and any soft, dark or damaged parts. Keep burdock and dandelion skins on. Much of the flavour sits just under the surface.
Step 4: Slice the roots while they are fresh
Slice everything the day you dig it. Fresh roots cut easily. After drying, most become so hard they can crack a blender jar or chip a knife.
Pick a cut to suit the root. Split long, thin roots such as dandelion and chicory lengthwise into halves or quarters. Cut thick roots such as burdock, dock and horseradish into coins about 1/4 inch (6 mm) thick. Chop echinacea's tangled fibrous roots into short lengths about 1 inch (2.5 cm) long.
Use a sharp knife, a stable board and a claw grip, with your fingertips curled back from the blade. Burdock is tough even when fresh, so cut slowly.
Slice horseradish outdoors or beside an open window, and wear gloves. The cut root gives off fumes that sting the eyes and nose, and the juice can irritate skin.
Step 5: Dry the slices on screens or in a dehydrator
Spread the pieces in a single layer on screens, with space between them for air. Set the screens somewhere warm, dry, shaded and airy, such as a spare room with a fan. Turn the pieces every day or two. Air-drying roots usually takes one to three weeks, depending on thickness and humidity.
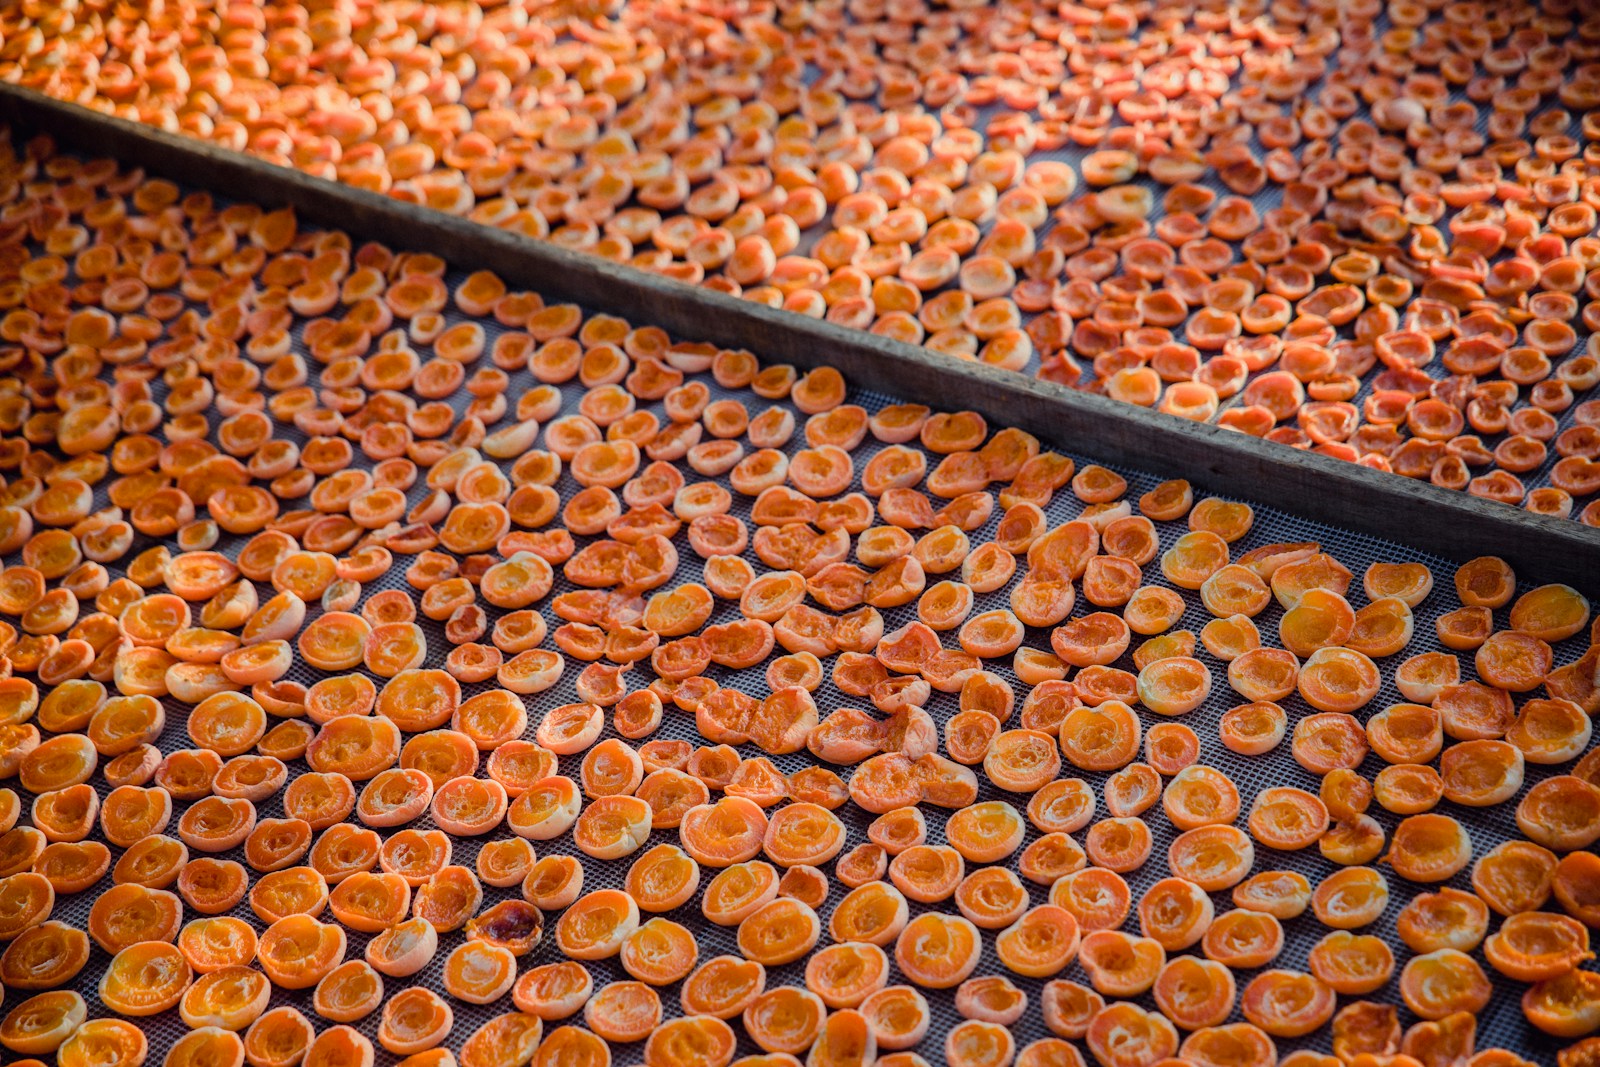
A dehydrator is faster and more reliable in damp fall weather. Many growers use a setting of about 100 to 125°F (38 to 52°C) for roots. That is warmer than the setting suited to leaves, but still gentle. Expect 6 to 24 hours or more, depending on the root and the size of the cut. Keep the dehydrator on a heat-safe surface, clear of curtains and paper, and unplug it before cleaning the trays.
Roots are done when a piece snaps cleanly with a crack. If it bends, or feels cool and leathery, it still holds moisture. Test a thick piece from the middle of the tray, not a thin one from the edge.
Step 6: Roast dandelion or chicory roots (optional)
Roasted dandelion and chicory roots make a dark, bitter drink that many people use as a coffee substitute. Treat this as a culinary use only.
Start with fresh chopped root or with dried pieces. Spread them on a baking tray and roast at about 350°F (175°C). Stir every 10 minutes. They are ready when they turn an even deep brown and smell like toasted bread, usually after 20 to 40 minutes. Watch closely at the end, because they scorch quickly.
Use oven gloves, and let the tray cool before you handle the roots. Once cool, grind a small batch at a time in a sturdy grinder. Store the roasted pieces separately from plain dried root.
Step 7: Store in labelled airtight jars
Let the dried pieces cool to room temperature, then fill clean, dry glass jars. Label each one with the plant name, the part, the date dug and whether it is plain or roasted. Store the jars in a cool, dark cupboard.
Check the jars after a week. Any moisture or softness means the batch needs more drying.
Kept whole or in coarse pieces, dried roots usually keep their quality for one to three years. Powdered roots fade faster. Grind only what you need.
Common problems
Slices are soft or bendy after a week
The pieces are too thick or the air is too humid. Cut the next batch thinner. Move the screens into a warmer, drier room with a fan, or finish the batch in a dehydrator.
Roots show mould or smell sour
They went onto the screens wet, were packed too closely, or soaked too long in the wash. Throw away any mouldy piece, and the whole batch if mould has spread. Next time, pat roots dry after washing and leave space between slices.
Dried roots are too hard to cut or grind
They were dried whole or in large chunks. Break them with a heavy knife on a board, keeping your hand clear of the blade. Or snip them with strong kitchen shears. From now on, always slice roots fresh.
Burdock roots are woody and hollow
The plant was in its second year, when the root feeds the flower stalk. Dig only flat rosettes without a stalk. Sow burdock seed each spring for a steady supply of first-year roots.
Echinacea fails to regrow after dividing
The crowns were too small, dried out, or were replanted too deep. Keep each division with at least one strong bud. Replant it at its old depth the same day, and water it in well.
What to do next
Mark the plants you replanted, so you do not dig them again by mistake. In early spring, check that the echinacea divisions and horseradish sets are sprouting. Sow burdock seed at the same time for roots you can lift next fall. Then note in your garden journal which roots dried well and how long each batch took.